
Lock of the lifted luggage compartment door
Note. A new tailgate waterproofing sheet may be required upon installation.
Removing
1. Remove the tailgate trim panel as described in paragraph 28.
2. Using a sharp knife, carefully separate the plastic waterproofing sheet from the adhesive layer on the door and remove the sheet. If you are careful, you can remove the waterproofing sheet in one piece and reuse it when installing.
3. Disconnect the link from the lock cylinder and the tailgate lock lever (pic. 17.3).
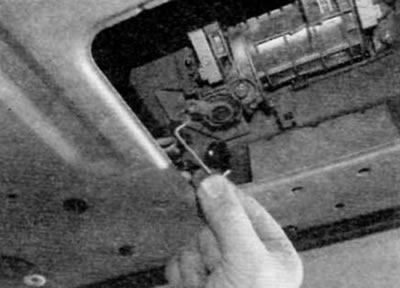
Pic. 17.3. Disconnect the linkage from the tailgate lock cylinder and the tailgate lock lever
4. Loosen the nut securing the lock cylinder to the outer handle and remove the lock cylinder through the opening in the tailgate (pic. 17.4).
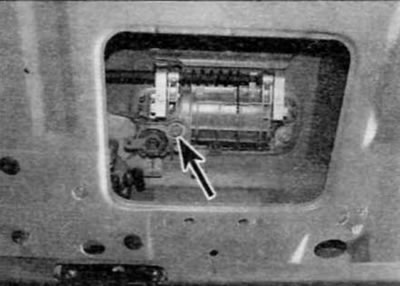
Pic. 17.4, a. Loosen the nut (marked with an arrow) attaching the lock cylinder to the outside handle...
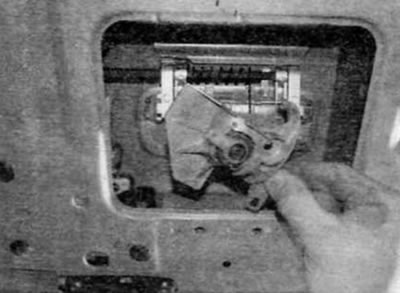
Pic. 17.4, b....and remove the lock cylinder through the opening in the tailgate
5. Turn away the remained nuts of fastening of the external handle to a tailgate. Unhook the drive rod from the door lock and remove the outside handle from the door (pic. 17.5, a, b).
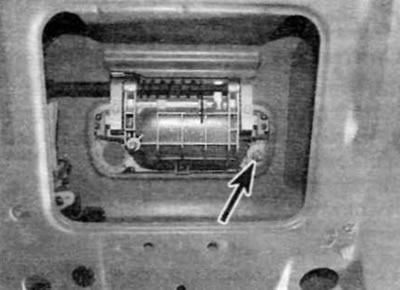
Pic. 17.5, a. Loosen the remaining nut (marked with an arrow)...
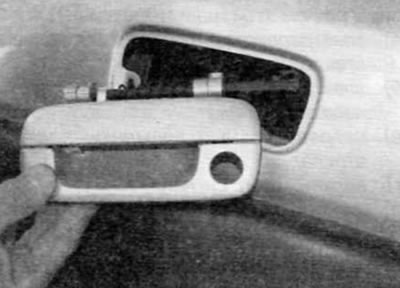
Pic. 17.5, b....and then unhook the link and remove the outside handle from the tailgate
6. Turn out two screws and remove a latch in gathering from a tailgate. When removing the latch, disconnect the rod from the latch lever (pic. 17.6, a, b).
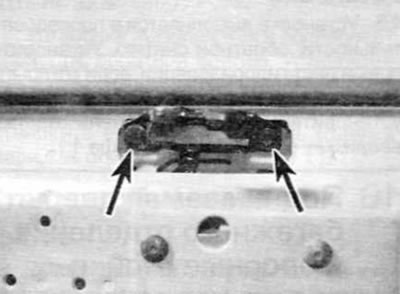
Pic. 17.6, a. Remove two screws (marked with arrows)...
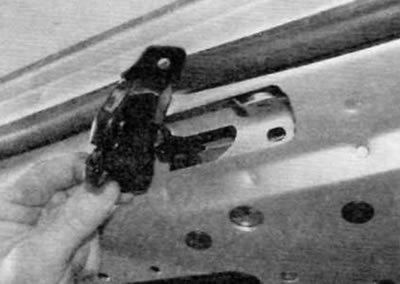
Pic. 17.6, b.... and remove the latch assembly from the tailgate
7. Turn out three screws of fastening of the lock of a door of a luggage space. Remove the lock through the opening in the tailgate and disconnect the electrical connector (pic. 17.7).
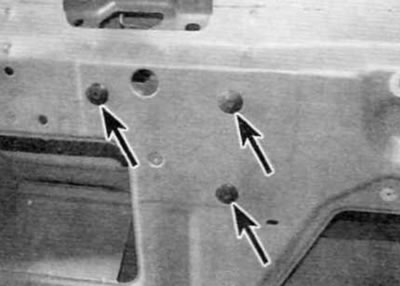
Pic. 17.7, a. Remove the three screws securing the tailgate lock (marked with arrows)...
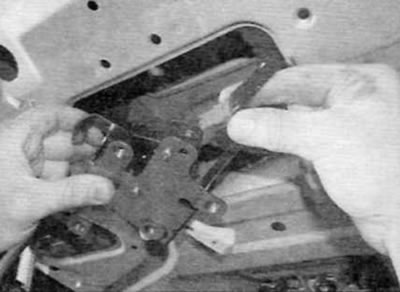
Pic. 17.7, b.... then remove the lock through the opening in the tailgate and disconnect the electrical connector
Installation
8. Installation is carried out in the reverse order of removal. Install a new waterproofing sheet on the tailgate if «old» was damaged upon removal. If necessary, adjust the position of the counter part of the door lock to ensure satisfactory operation of the lock. Finally, install the tailgate trim panel as described in paragraph 28.
Counter part of the tailgate lock
Removing
9. To gain access to the cover of the counterpart of the lock, bend the floor covering.
10. Remove the three screws and remove the cover from the floor (pic. 17.10).
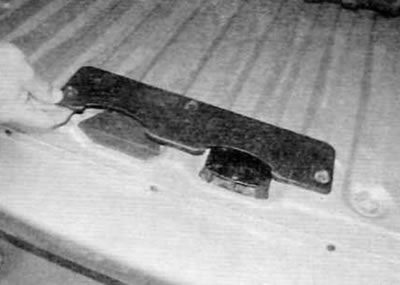
Pic. 17.10. Remove the three screws and remove the cover of the lock counterpart from the floor
11. Mark the position of the counter part of the lock on the body to ensure correct installation. Turn out two bolts and remove a mating part of the lock from a body (pic. 17.11).

Pic. 17.11. Remove two screws (marked with arrows) and remove the counter part of the lock from the body
Installation
12. Installation is carried out in the reverse order of removal. Before tightening the bolts, adjust the position of the counterpart of the lock (using elongated bolt holes) so as to achieve satisfactory operation of the lock. Use the marks made before removal (if applicable).