



Table of contents: Lifting tailgate 🠇 Support posts 🠇
Lifting tailgate
Note: New tailgate waterproofing sheets may be required during installation.
Removal
1. Remove the tailgate trim panel as described in paragraph 28.
2. Using a sharp knife, carefully separate the plastic waterproofing sheets from the adhesive layer on the door and remove the sheets. If you are careful, you can remove the waterproofing sheets without damaging them and reuse them during installation (figure 16.2).
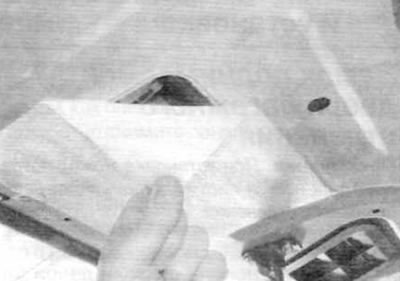
Figure 16.2. Carefully separate the plastic waterproofing sheets from the adhesive layer and remove the sheets from the tailgate
3. Disconnect the rear window washer hose from the wiper motor and release the hose from the corresponding clamps.
4. Disconnect the electrical connectors of the components listed below (referring to the relevant paragraphs of this chapter and chapter 12):
- a) rear window wiper motor;
- b) electric motor of the luggage compartment door lock;
- c) rear window heating elements;
- d) high brake light;
- d) license plate lights.
5. Release the wiring harness clips from the tailgate.
6. Make sure all electrical connectors are disconnected, then release the wiring harness grommet and remove the wiring harness from the tailgate.
7. Remove the two screws and hinge covers on each side of the tailgate (figure 16.7).
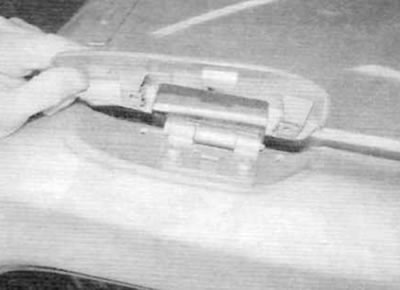
Figure 16.7. Remove the two screws and the hinge cover from the tailgate
8. Get a helper. Properly support the tailgate, then release the spring clips on the support struts and remove the struts from the ball joints on the body.
9. Unscrew the tailgate hinge pin on each side and carefully remove the tailgate from the vehicle (figure 16.9).
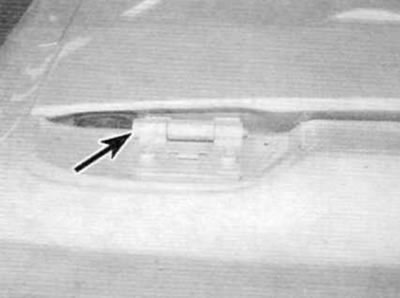
Figure 16.9. Unscrew the hinge axis of the door, luggage compartment (marked with an arrow) on each side
Installation
10. If a new tailgate is to be installed, reinstall all serviceable components onto it (lock mechanism, windshield wiper motor, etc.) (referring, if necessary, to the relevant paragraphs of this chapter and chapter 12).
11. Installation is carried out in the reverse order of removal, taking into account the following points:
- a) Install new waterproofing sheets on the door if the "old" sheets were damaged during removal.
- b) Adjust the rubber feet if necessary to ensure satisfactory door closure.
- c) If necessary, adjust the position of the tailgate lock striker to ensure satisfactory operation of the lock.
- d) Finally, install the door trim panel as described in paragraph 28.
Support posts
Removal
12. Support the tailgate in the open position. To do this, get an assistant or use a strong wooden block.
13. Using a suitable flat-head screwdriver, release the spring clip and disconnect the support strut from the ball joint on the body (figure 16.13).
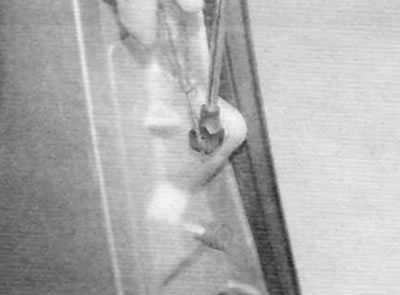
Figure 16.13. Release the spring clip and disconnect the support strut from the ball joint on the body
14. Similarly, disconnect the rack from the ball joint on the tailgate and remove the rack from the vehicle.
Installation
15. Installation is carried out in the reverse order of removal. Secure the spring clips properly.