
Removing
Air filter
1. Loosen the clamps on the air duct from the air filter to the manifold and remove the air duct mounting bolt. Disconnect the air line and remove it from the engine.
2. Turn out two bolts of fastening of an inlet air line to the forward panel of a body. Release the clamp, and then disconnect the air line from the air filter and remove it from the vehicle.
3. Turn out a bolt of fastening of the basis of the case of the air filter to a basic arm. Lift the body, unhook the front dowel pins and remove it from the vehicle.
Air distribution housing (models with 1.9 l engine)
4. Disconnect the air duct and crankcase ventilation hose from the front of the air distribution housing.
5. Remove the two bolts securing the chassis to the front support brackets (pic. 3.5). Remove spacer plates.
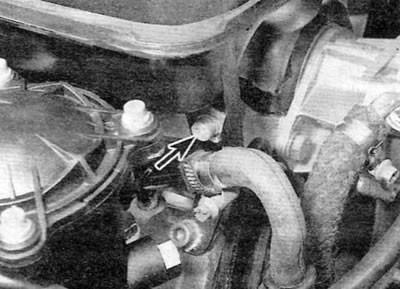
Pic. 3.5. Bolt of fastening of the forward case of distribution of air (marked with an arrow)
6. Turn out four bolts of fastening of the case to an inlet collector. Remove washers (pic. 3.6).
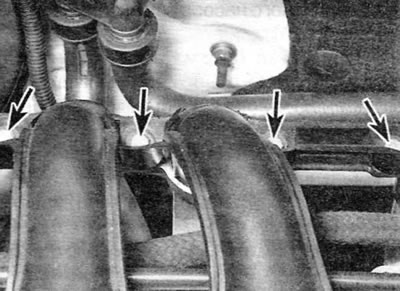
Pic. 3.6. Bolts of fastening of the case of distribution of air to an inlet manifold (marked with arrows)
7. Remove the housing from the intake manifold and remove the seals.
Installation
8. Installation is carried out in the reverse order of removal. Inspect seals and replace if necessary.