



Table of contents: Cars with overhead console 🠇 Cars without overhead console 🠇 Instrument cluster illumination lamps 🠇 Heater panel illumination lamps 🠇 Clock backlight lamp 🠇 Multifunction display backlight lamp 🠇 Switch illumination bulbs 🠇
Cars with overhead console
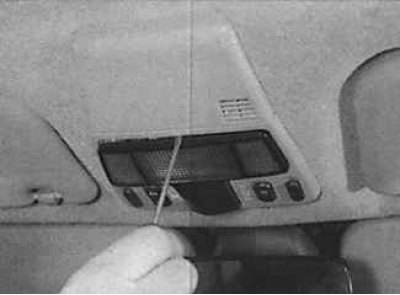
1. Using a screwdriver, remove the front interior light from the overhead console.
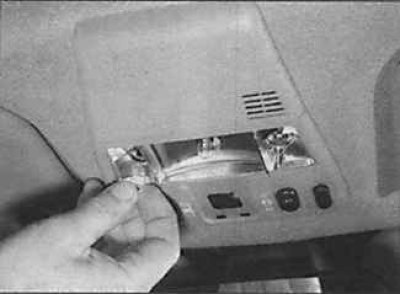
2. Remove the front interior light bulb by pulling it out of the socket.
3. Installation is carried out in the reverse order of removal.
Cars without overhead console
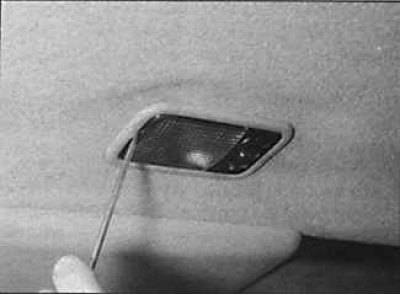
1. Using a thin screwdriver, remove the interior light from the ceiling.
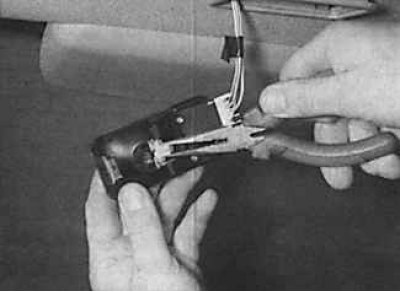
2. Turn the bulb holder counterclockwise and remove it from the flashlight.
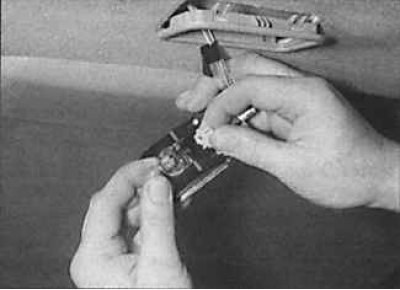
3. To replace a light bulb, pull it out of the socket.
4. Installation is carried out in the reverse order of removal.
Instrument cluster illumination lamps
1. Remove the instrument cluster.
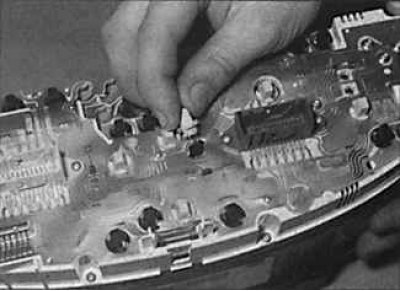
2. Turn the bulb holder counterclockwise and remove from the rear of the instrument cluster.
3. When replacing the instrument cluster light bulbs, use only bulbs of the same type and wattage.
4. Install the bulb holder into the instrument cluster and turn it clockwise. Install the instrument cluster into the dashboard.
Heater panel illumination lamps
1. Remove the heater panel from the instrument panel.
2. Turn the bulb holder clockwise or counterclockwise and remove it from the control unit.
3. Remove the bulb from the socket by pulling it towards you.
4. Installation is carried out in the reverse order of removal.
Clock backlight lamp
1. Take off your watch.
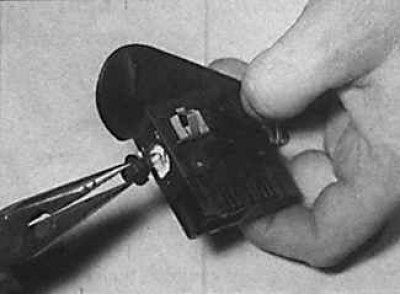
2. Turn the bulb holder 90° and remove it from the side of the clock.
3. Installation is carried out in the reverse order of removal.
Multifunction display backlight lamp
1. Remove the multifunction display.
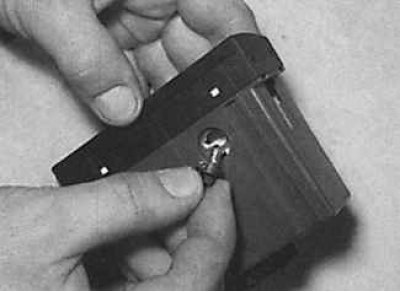
2. Turn the socket with the bulb 90° and remove it from the display.
3. Installation is carried out in the reverse order of removal.
Switch illumination bulbs
Switch illumination bulbs are in most cases an integral part of the switches and cannot be replaced separately.