
Attention! Before replacing exterior light bulbs, check the appropriate electrical circuit and fuse.
Attention! Do not touch the glass bulb of the lamp with your hands. The fingerprint evaporates and is deposited on the reflector, resulting in poor lighting. Be sure to replace defective lamps with lamps of the same type. Wipe off inadvertent contact stains with a clean, lint-free cloth or alcohol.
Farah
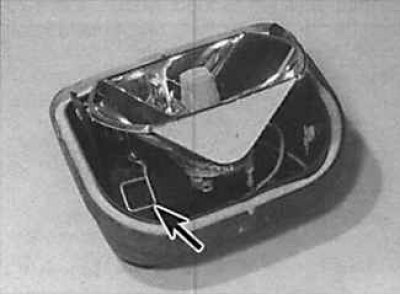
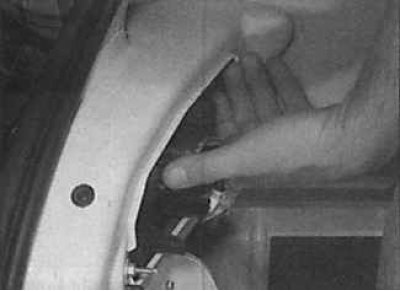
1. Release the mounting brackets and remove the cover from the back of the headlight.
2. Remove the electrical connector from the back of the headlight bulb.
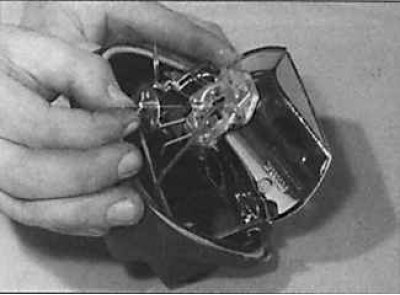
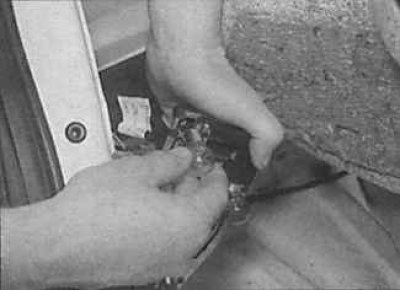
3. Squeeze the light bulb spring clips and fold them aside. Remove the bulb from the headlight.
4. Install the new bulb so that the tabs on the bulb socket align with the slots in the headlight, and secure the bulb with the spring clips.
5. Connect the electrical connector and install the headlight rear cover.
Front position light
1. Release the mounting bracket and remove the rear cover from the headlight.
2. Rotate the marker lamp socket and remove it from the headlamp. Remove the bulb from the socket by pulling it towards you.
3. Installation is made in sequence, return to removal.
Fog lights
1. Raise the front of the car and secure it on stands.

2. unscrew the screws (indicated by arrows) and remove the plastic mudguard located under the fog lamp.
 |  |
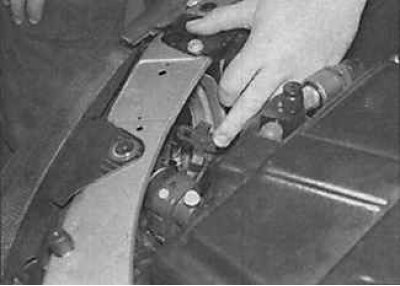
3. Disconnect the electrical connector (photo on the left), release the mounting bracket and remove the fog lamp (photo on the right).
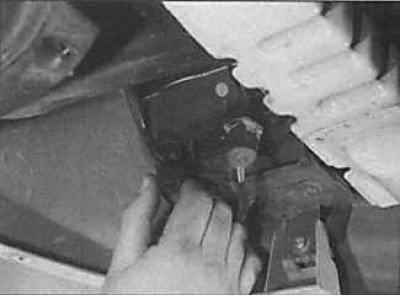
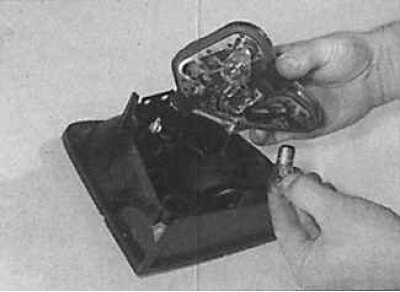
4. Detach the spring clip (indicated by an arrow) and remove the reflector from the headlight housing.
 |  |
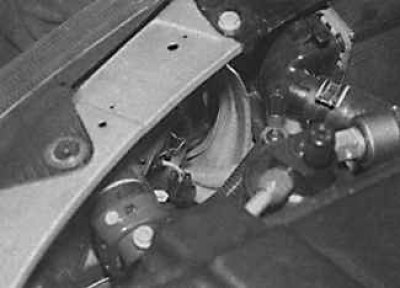
5. Disconnect the electrical connector (indicated by the arrow in the photo on the left), compress the bulb mounting spring and remove the bulb from the headlight (photo on the right).
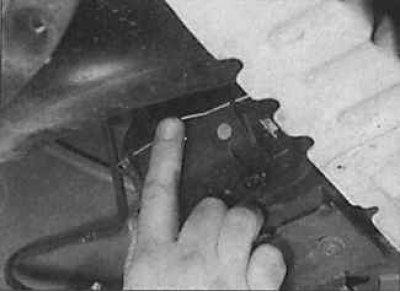
6. Install the new bulb so that the tabs on the bulb socket align with the slots in the headlight, and secure with the spring clip.
7. Connect the electrical connector and the headlight reflector retaining clip.
8. Install the headlight in place and secure with the mounting bracket.
9. Reconnect the electrical connector and replace the plastic splash guards under the headlight.
Front turn signal
1. To improve access to the front left turn signal, remove the protective cover from the battery.
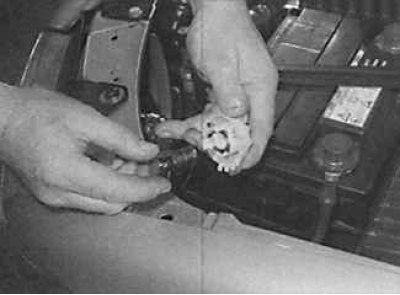
2. Turn the front turn signal bulb holder counterclockwise and remove it from the rear of the turn signal. To remove an incandescent bulb from its socket, press it in and turn it clockwise or counterclockwise in this position.
3. Installation is made in sequence, return to removal.
Side repeater
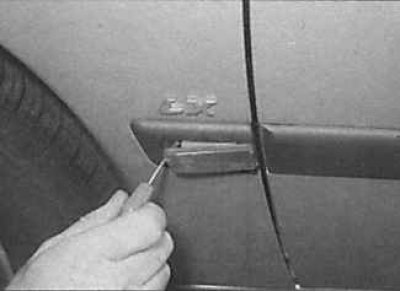
1. Using a screwdriver, remove the side repeater from the fender of the car.
2. Turn the bulb socket counterclockwise and remove it. To remove the light bulb from the socket, pull it towards you.
3. Installation is made in sequence, return to removal.
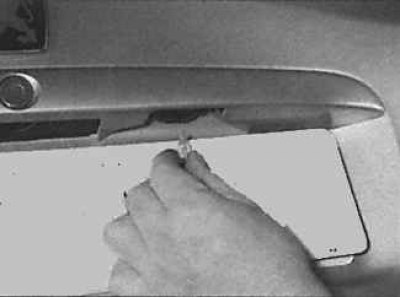
Rear light bulbs
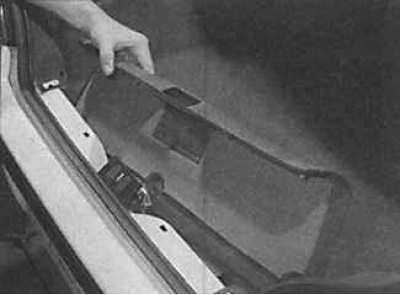
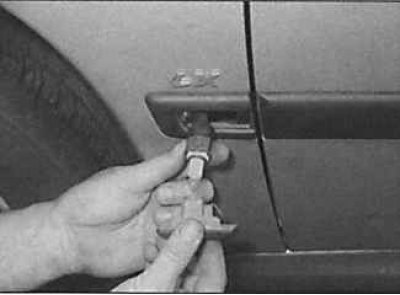
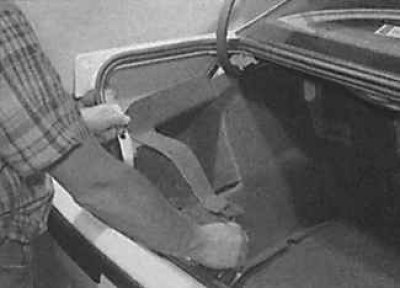
1. At the rear of the luggage compartment, unscrew the screws and remove the rear luggage compartment trim. Remove the clips and remove the rear trunk lining.
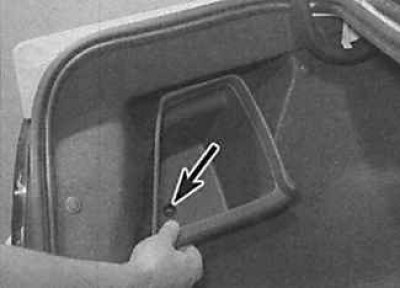 |  |
2. On some models, to access the left rear light, unscrew the connector (indicated by the arrow in the photo on the left), remove the storage compartment and fold to the side the left side luggage compartment (photo on the right).
3. Release the clips and remove the bulb holder from the rear light.
4. To remove the light bulb from the socket, press it and in this position turn it counterclockwise.
5. Installation is made in sequence, return to removal.
Tail light bulbs on combi models (estate)
1. Remove the rear light.

2. Release the clips and remove the bulb holder from the rear light.
3. To remove the light bulb from the rear light holder, press it in and turn it counterclockwise in this position.
4. Installation is made in sequence, return to removal.
License plate light on sedan models (saloon)
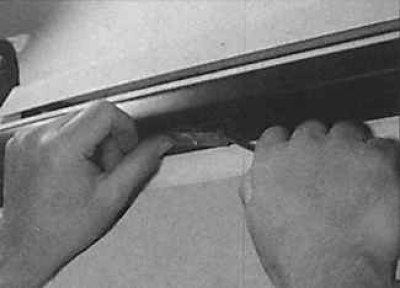
1. Release the mounting bracket and remove the cover from the license plate light.
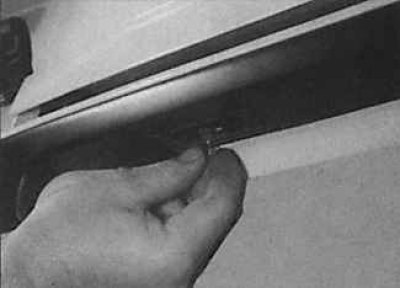
2. Remove the bulb from the holder by pulling it towards you.
3. Installation is made in sequence, return to removal.
License plate light on combi models (estate)

1. Remove the screw and remove the license plate light cover.
2. Remove the bulb by pulling it towards you.
3. Installation is made in sequence, return to removal.