
Attention! Before removing lighting devices, remove the negative terminal from the battery.
Headlights
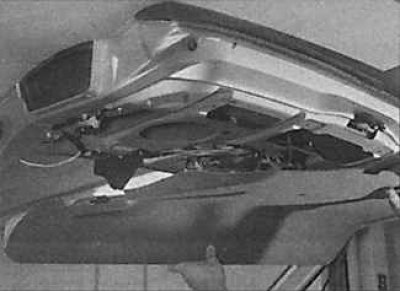
1. Open the hood and remove the grille mounting connectors.
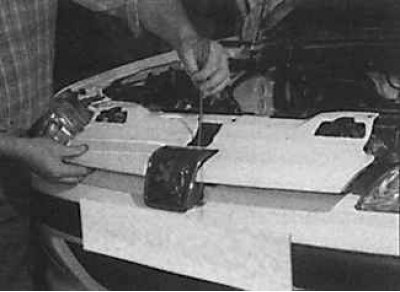
2. Using a screwdriver, disconnect the mounting brackets and remove the grille.
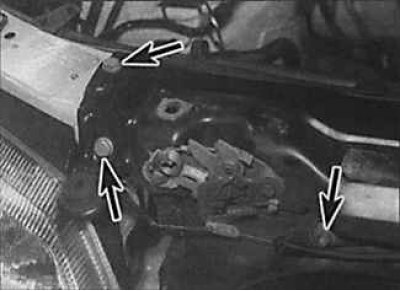
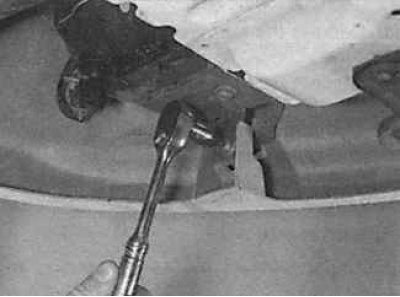
3. Unscrew the nuts securing the fan shroud to the hood latch. unscrew the bolts (indicated by arrows) securing the hood latch and disconnect the cable from it.
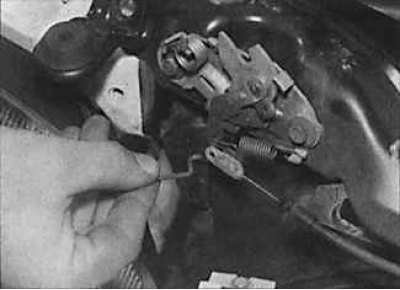
4. Disconnect the cable from the hood lock and remove the lock.
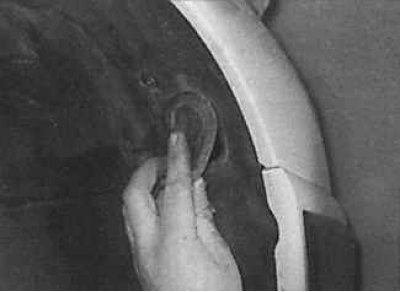
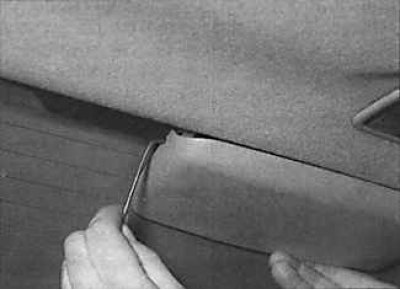
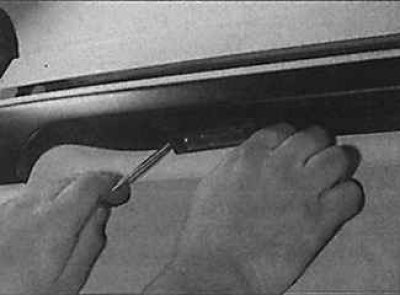
5. From under the wheel arch, use a small screwdriver to remove the plug to access the headlight fixing spring.
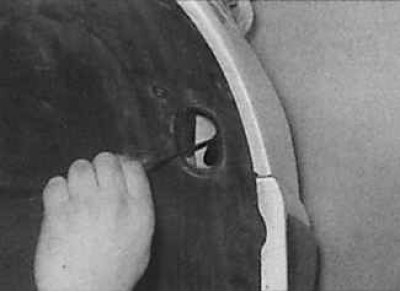
6. Using pliers or a special rod, disconnect the headlight fixing spring to the car body.
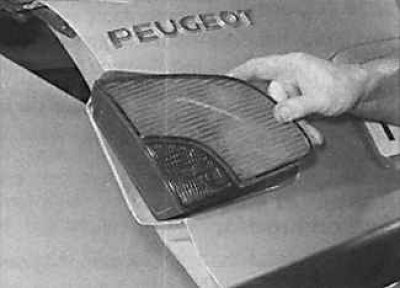
7. Remove the 3 headlight mounting bolts.
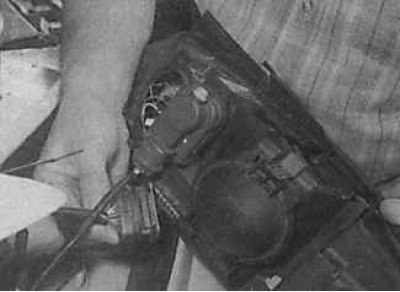 | 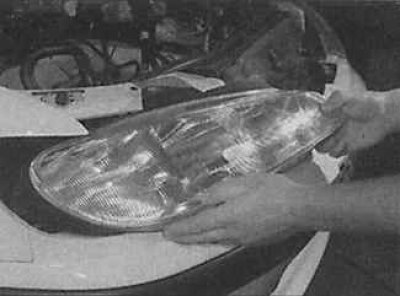 |
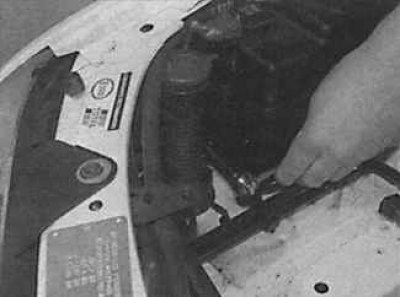
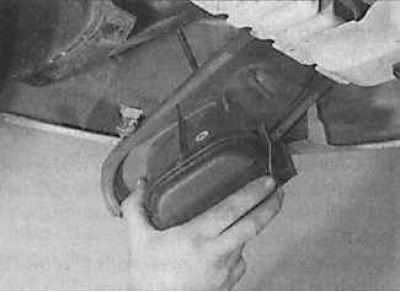
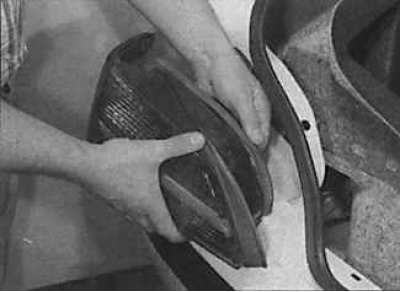
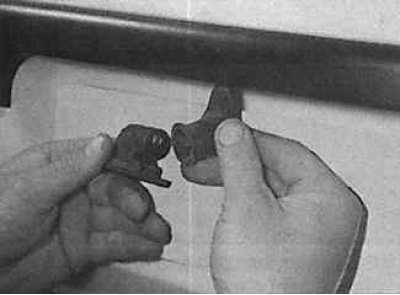
8. Disconnect the electrical connector (photo on the left) and remove headlight (photo on the right).
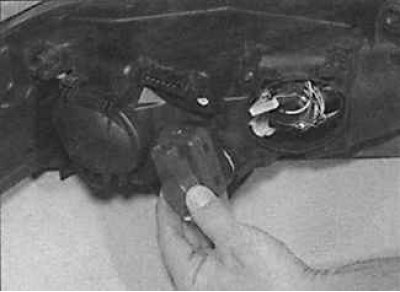
9. On vehicles equipped with a headlight range control, remove the range control motor from the rear of the headlight by turning it counterclockwise.
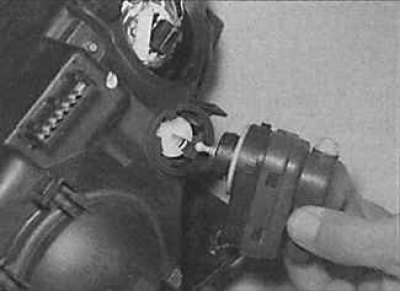
10. Using caution, disconnect the ball joint from the rear of the headlight reflector.
11. Installation is made in sequence, return to removal.
Anti-fog headlight
1. Raise the front of the car and secure it on stands. Unscrew the screws and remove the plastic protection from the bottom of the fog lamp.
2. Disconnect the electrical connector and unscrew the lower headlight mounting screw.
3. Disconnect the upper retaining spring and remove the headlight from the lower front of the bumper.
4. Installation is made in sequence, return to removal.
5. To adjust the fog light, using the special key, turn the knob on the back of the headlight. If the plastic protective cover on the bottom of the headlight has been removed, the headlight dimmer can be turned by hand.
Rear light on sedan models (saloon)
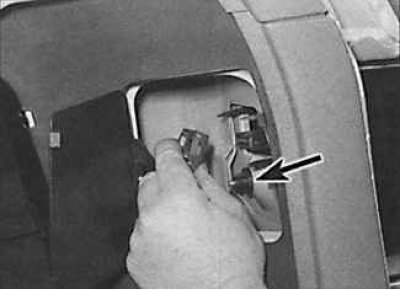
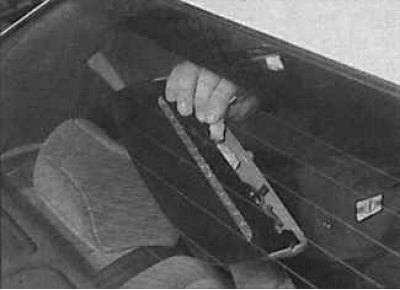
1. Unscrew the fastening screws and remove the rear trunk trim. Remove the clips and remove the rear trunk lining. On some models, to access the left rear light, unscrew the clip and remove the storage compartment.
2. Release brackets and disconnect an electric socket from a back lantern.
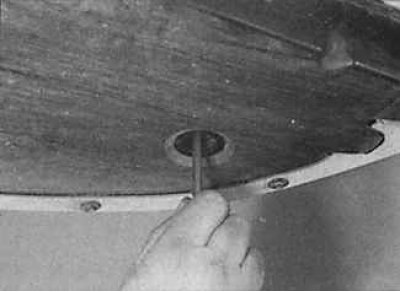
 |  |
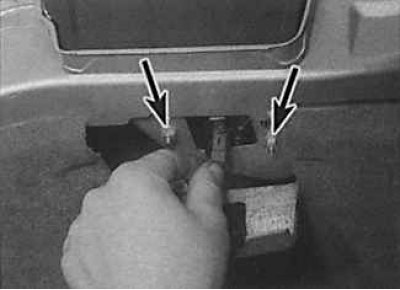
3. Unscrew the nuts (photo on the left) and remove the rear light (photo on the right).
4. Installation is made in sequence, return to removal.
Tail light on the fender of a combi car (estate)
1. Remove the cover of the storage compartment in the luggage compartment.
2. Remove the mounting bracket, disconnect the electrical connector, unscrew the nut (arrow) fasteners and remove the rear light from the fender of the car.
3. Installation is made in sequence, return to removal.
Rear lamp located on the rear door of combi cars (estate)
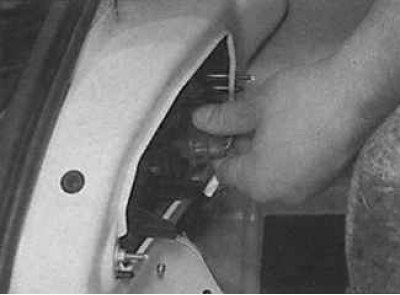
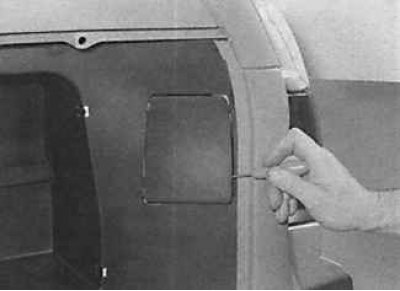
1. Open the back door and remove the upholstery from it.
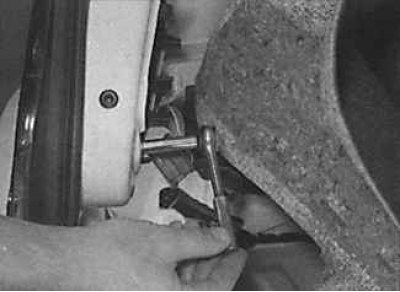
 |  |
2. Release the bracket and disconnect the electrical connector. Unscrew the nuts (indicated by arrows in the photo on the left) fasteners and remove the rear light from the tailgate.
3. Installation is made in sequence, return to removal.
Additional upper brake lights
Sedan models (Saloon)
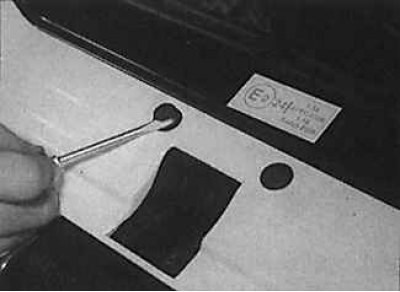
1. Using a bent rod, insert it into the lamp retainers, release the mounting brackets and pull the lamp down.
2. Slide the lamp back, release from the guides, remove from the vehicle and disconnect the electrical connector.
3. Installation is made in sequence, return to removal.
Combi models (Estate)
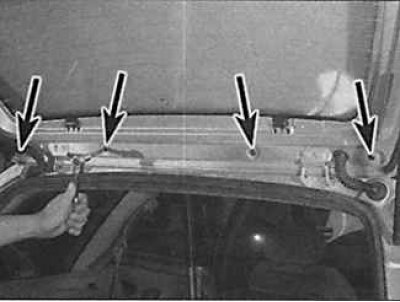
4. Open the tailgate and remove the screws (indicated by arrows) spoiler mounts from the top of the door.
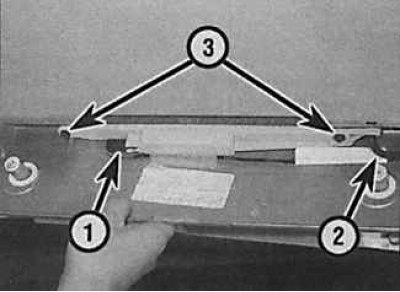
5. Remove the spoiler, disconnect the electrical connector (1) and hose (2) rear window washer and remove them from the rear door (3 - screws for attaching an additional lanyard signal and spoiler).
6. Installation is made in sequence, return to removal.
License plate light
Sedan models (Saloon)
 |  |
1. Remove the license plate light from the rear bumper (photo on the left) and disconnect the electrical connector (photo on the right).
2. Installation is made in sequence, return to removal.
Combi models (Estate)
3. Open the tailgate, unscrew the screws and remove the inner handle. Remove a decorative overlay of the internal button of the lock. Remove the rear door trim.
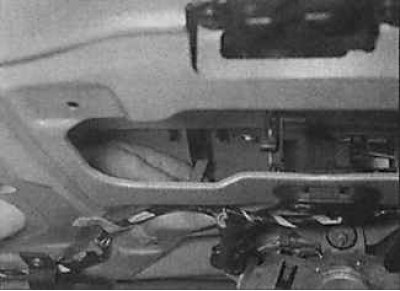 | 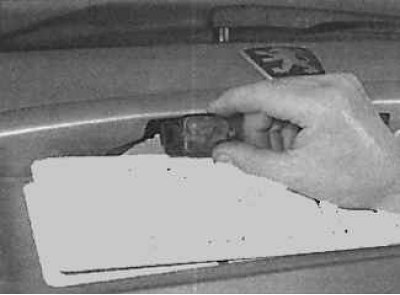 |
4. Disconnect the electrical connector from the rear of the light (photo on the left) and remove the light from the back door (photo on the right).
5. Installation is made in sequence, return to removal.