
Note. It is recommended to use two people to remove and install the bumper.
Removing
1. Place wheel chocks under the front wheels. Raise the rear of the vehicle and securely jack stands under it (see «Lifting and placing the car on supports»).
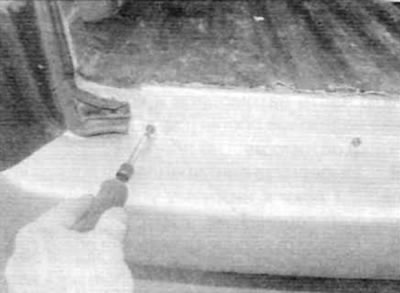
2. Remove the screw securing the wheel arch locker to the lower corner of the bumper on each side (pic. 7.2).

Pic. 7.2. Remove the screw securing the locker to the lower corner of the rear bumper
3. Remove the rear lights on both sides as described in chapter 12. Detach the wheel arch locker from the bumper and remove the screw securing the upper front corner of the bumper to the rear fender on each side (pic. 7.4).
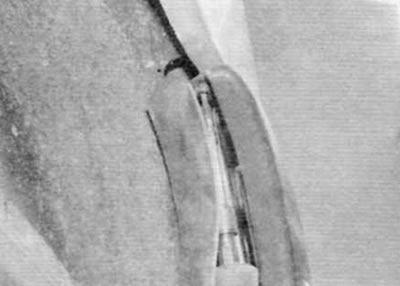
Pic. 7.4. Remove the screw securing the upper front corner of the bumper to the rear fender
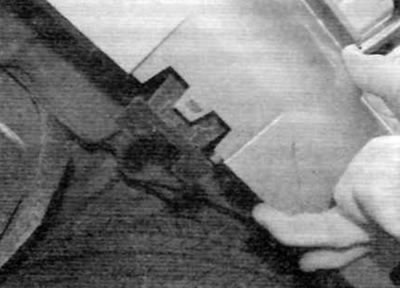
5. Similarly, due to the wheel arch locker, unscrew the bolt securing the bumper sidewall to the rear fender (pic. 7.5).
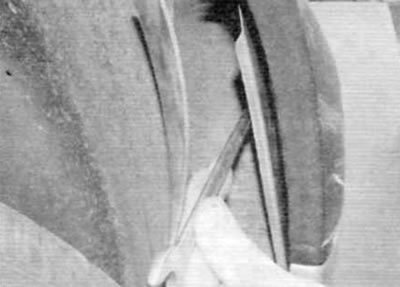
Pic. 7.5. Remove the bolt securing the side of the bumper to the rear fender
6. Remove the bumper mounting screw on each side at the base of the taillight mounting location (pic. 7.6).
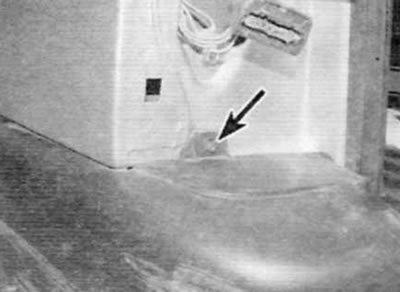
Pic. 7.6. remove the screw (marked with an arrow! on each side at the base of the rear light mount
7. Remove the five screws securing the top edge of the bumper to the bumper bracket (pic. 7.7).
Pic. 7.7. Remove the screws securing the upper edge of the bumper to the bumper bracket
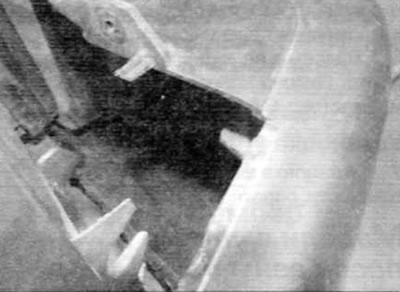
8. Release the two clips on the lower edge of the bumper from the support brackets (pic. 7.8).
Pic. 7.8. Release the fixing elements on the lower edge of the bumper from the support brackets
9. Together with an assistant, gently pull the bumper back and remove from the vehicle.
10. To remove the bumper bracket, remove the four bolts and remove the bracket.
Installation
11. Installation is carried out in the reverse order of removal. Follow that. that the lugs on each side are correctly locked into the rear fenders (pic. 7.11).
Pic. 7.11. Make sure the tabs on each side are correctly locked into the rear fenders when installing the bumper