



Table of contents: Removal 🠇 Installation 🠇
Removal
1. Remove the radiator grille as described in paragraph 25.
2. Remove the two bolts securing the hood lock to the radiator support frame (figure 9.2). Remove the lock and disconnect the release cable from it.
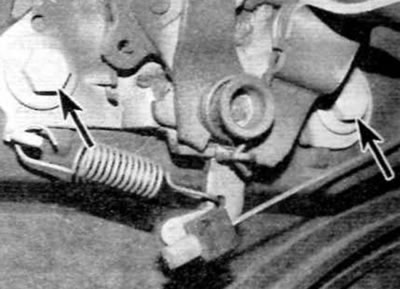
Figure 9.2. Hood lock mounting bolts (marked with arrows)
3. Follow the cable along its entire length in the engine compartment, mark its installation position and release the cable fixing clamps.
4. Use a screwdriver to push the cable sealing bushing out of the bulkhead and into the vehicle interior.
5. Under the front panel on the right or left side (depending on the model) unscrew the release lever mounting bolt and remove the lever assembly from its standard location (figure 9.5).
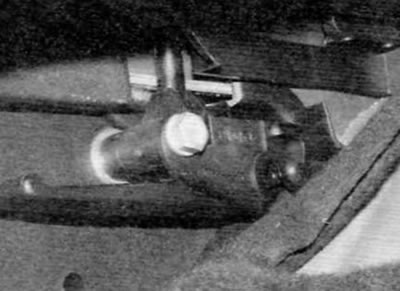
Figure 9.5. Remove the hood release lever mounting bolt
6. Tie a piece of fishing line to the end of the cable in the engine compartment, mark the route of the cable, and then carefully pull the cable into the vehicle. Untie the fishing line from the end of the cable and leave it in place for easier installation.
Installation
7. Place the cable in its proper place inside the vehicle.
8. Tie the end of the new cable to the fishing line and pull it into the engine compartment.
9. Securely fix the sealing grommet into the bulkhead, then untie the fishing line and connect the cable to the hood lock lever.
10. Secure the release lever in its normal position by securely tightening the corresponding bolt.
11. Connect the cable to the hood latch, then install the latch and tighten the corresponding bolts securely.
12. Fix the cable in the required position with the appropriate clamps. Check the operation of the lock and, to ensure satisfactory operation of the lock when closing the hood, adjust the position of the lock, if necessary, as far as the elongated bolt holes allow.
View the original on the website: PeugeotBook.ru
13. Finally, install the radiator grille as described in paragraph 25.