



 |
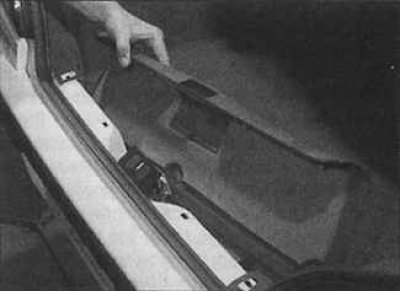 |
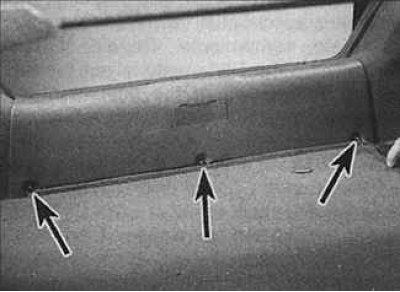
1. On sedan (Saloon) models, unscrew the retaining screws from the inside of the luggage compartment (indicated by arrows in the photo on the left) and remove the rear trunk trim (photo on the right).
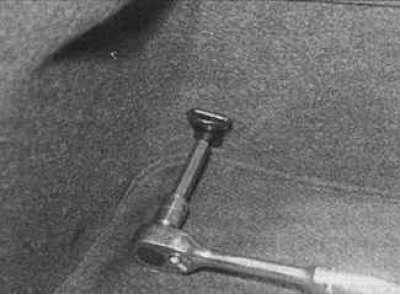
2. Unscrew the screws and remove the left and right corner mounting plates of the luggage compartment trim.
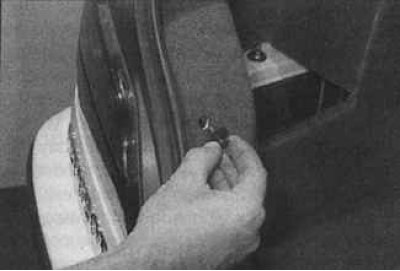
3. Remove the mounting pins (remove the center pins, then remove the piston) and release the side trim of the trunk to access the bumper mount.
4. On Estate models, open the rear door and remove the support surface from the base and sides. Unscrew the screws and remove the rear trim plate. Remove the left and right lower trunk side trim. Remove the pistons securing the trunk side trim to the floor. Release the retaining brackets and remove the plastic storage compartment.
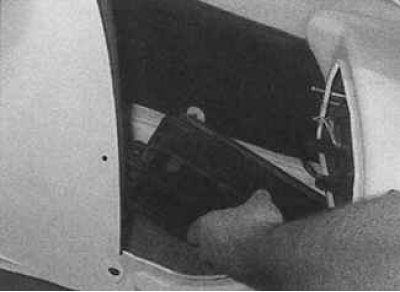
5. On all models, remove the nuts and vent assembly from the right rear corner of the trunk.
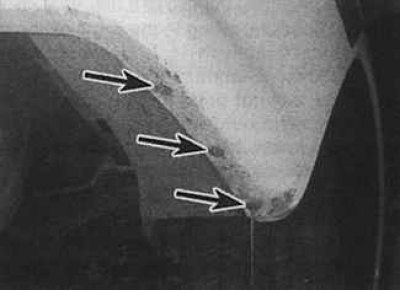
6. Remove the screws from underneath the car (indicated by arrows) fastening the rear part of the wheel liner to the bumper.
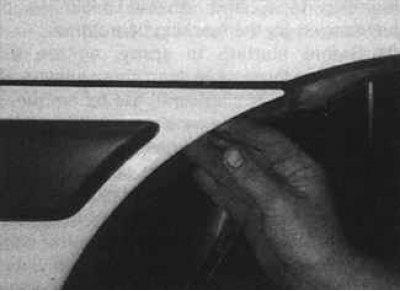
7. Move the inserts away from the bumper and unscrew the nuts securing the left and right ends of the rear bumper to the body.
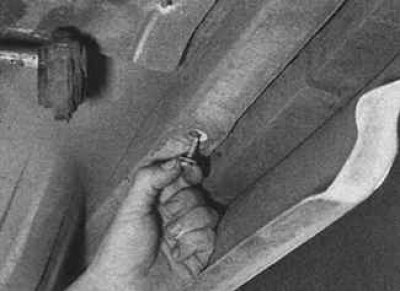
8. Unscrew the bolts securing the rear bumper to the body.
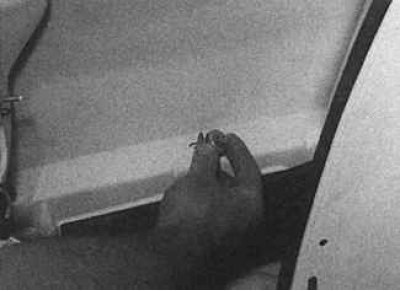
9. In the luggage compartment, unscrew the 6 nuts securing the upper part of the rear bumper.
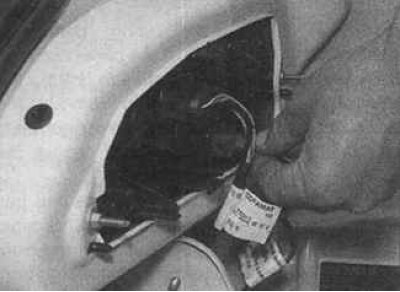
10. On sedan (Saloon) models, disconnect the license plate light electrical connector located near the left tail light.
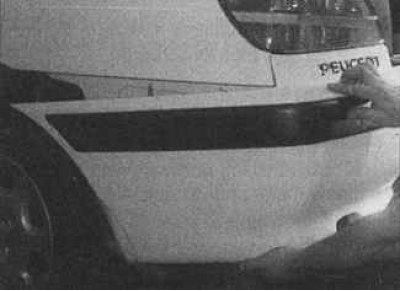
11. Release the ends of the bumper and remove it from the vehicle, releasing the sealing ring of the license plate light electrical wires from the body.
12. Installation is carried out in the reverse order of removal.