
English Русский
Български
Беларускі
Український
Српски
Hrvatski
Română
Polski
Slovenský
Magyar
Bookmark Articles Sitemap Contacts
Company Hyundai Company Opel Company Skoda Company Kia Company Mitsubishi Company LADA Company Audi
PeugeotBook.ru


Series 100   Series 200   Series 300   400-500   Series 600   Crossovers   Others
 
Peugeot 106 (1991-2003)

Rear bumper — removal and refitting (Peugeot 106)

  • Main
  • 10X
  • Peugeot 106 (1991-2003)
  • Body and interior
  • Exterior (external elements)
  • Rear bumper — removal and refitting
0
Table of contents: Removal 🠇 Refitting 🠇

Removal


1. Disconnect the battery negative terminal (refer to "Disconnecting the battery").

2. Open the tailgate.

3. Prise the plastic cover from the left-hand rear light unit (see illustration).
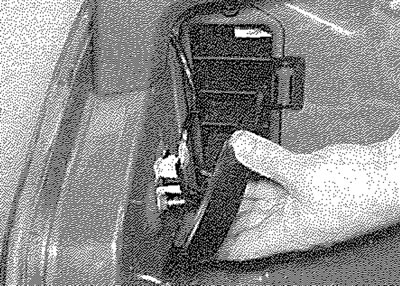
7.3. Prising the plastic cover from the lefthand rear light unit

7.3. Prising the plastic cover from the lefthand rear light unit


4. Remove the securing screw and unclip the air extraction grille from the side of the luggage compartment (see illustration).
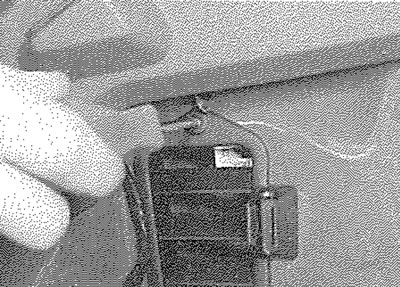
7.4. Removing the air extraction grille securing screw

7.4. Removing the air extraction grille securing screw


5. Reach up through the aperture behind the air extraction grille and separate the two halves of the rear number plate light wiring connector.

6. Working under the rear wheel arches, unscrew the side bumper securing bolts (one under each wheel arch) (see illustration).
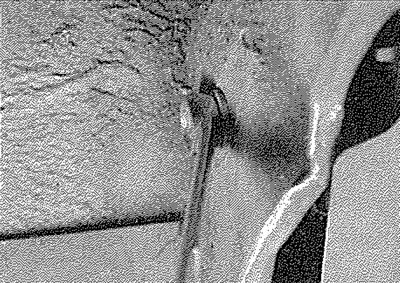


7.6. Unscrewing a rear bumper side securing bolt

7.6. Unscrewing a rear bumper side securing bolt


7. Working under the bumper, at each side, prise out the clips securing the bottom of the bumper to the wheel arch liners (one clip on each side) (see illustration).
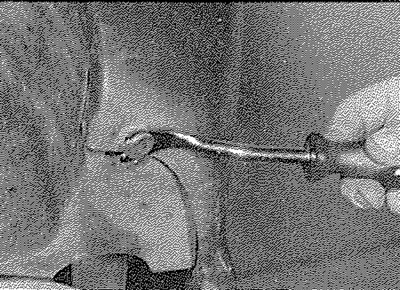
7.7. Prising out a rear bumper-to-wheel arch liner clip

7.7. Prising out a rear bumper-to-wheel arch liner clip


8. Working at the rear of the luggage compartment, prise out the rubber grommets to reveal the two bumper securing bolts and the central nut (see illustration). Unscrew the bolts and the nut.
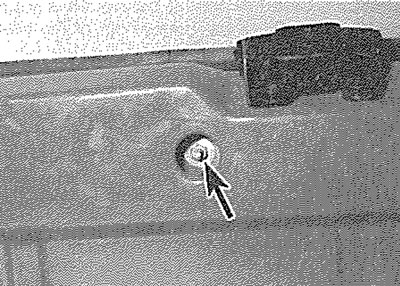
7.8. Rear bumper central securing nut (arrowed)

7.8. Rear bumper central securing nut (arrowed)


9. Again working in the luggage compartment, unscrew the two lower bumper securing bolts (see illustration).
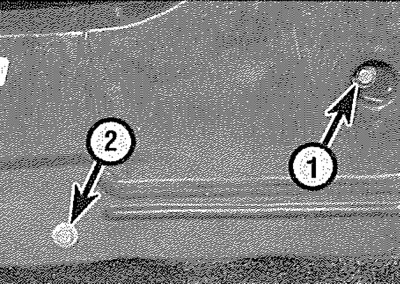
7.9. Rear bumper upper (1) and lower (2) securing bolts (one side shown)

7.9. Rear bumper upper (1) and lower (2) securing bolts (one side shown)


10. Carefully lift the bumper from the body and pull the number plate wiring grommet from the aperture in the body (see illustrations). Feed the wiring through the body aperture and withdraw the bumper from the vehicle.
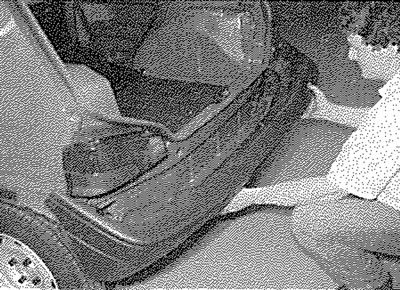
7.10a. Lift the bumper from the body...
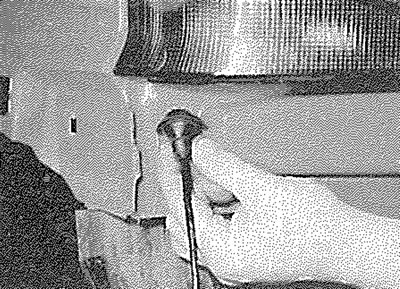
7.10a. Lift the bumper from the body...


7.10b.... and pull the number plate wiring grommet from the body

7.10b.... and pull the number plate wiring grommet from the body


Refitting


11. Refitting is a reversal of removal, but make sure that the number plate wiring is correctly routed through the body and that the wiring grommet is securely located In the body aperture. Also make sure that the clips securing the bumper to the wheel arch liners are correctly refitted.sure that the fog/driving light wiring is correctly routed.
This article is available at russian, bulgarian, belarusian, ukrainian, serbian, croatian, romanian, polish, slovak, hungarian
Article reviewed by editor: Matveev Demid
Share information:
Previous
Peugeot 106: Exterior (external elements)
Next

Front bumper — removal and refitting
Major body damage — repair
Minor body damage — repair
Maintenance — upholstery and carpets
Maintenance — bodywork and underframe
Bonnet and support struts — removal, refitting and adjustment
Bonnet release cable — removal and refitting
Bonnet lock — removal and refitting
Body exterior fittings — removal and refitting
See similar information for other Peugeot models

➨ Disassembly and assembly of the rear bumper (3- and 5-door… Peugeot 207 (2006-2014)
➨ Replacing the rear bumper cover Peugeot 307 (2001-2008)
➨ Rear bumper — removal and installation Peugeot 405 (1987-1997)
➨ Rear bumper Peugeot 605 (1989-2000)
➨ Rear bumper — removal and installation Peugeot Partner I (1996-2008)
Link to this article in different formats
Comments and feedback from visitors
No comments yet


Add two numbers 18 + 45


Peugeot 106 (1991-2003) 
  • General information
  • Introduction to manual
  • Weekly checks
  • Maintenance (petrol)
  • Maintenance (diesel)
  • Troubleshooting
  • Power unit
  • Petrol engines
  • Diesel engines
  • Engine overhaul
  • Cooling and heating
  • Fuel system (carburetor)
  • Single point injection (petrol)
  • Multipoint injection (petrol)
  • Fuel system (diesel)
  • Emission control system
  • Engine electrical equipment
  • Ignition system
  • Diesel heating
  • Transmission
  • Clutch
  • Manual gearbox
  • Automatic gearbox
  • Drive shafts
  • Chassis, running gear
  • Brake system
  • Car suspension
  • Steering
  • Body and interior
  • Exterior (external elements)
  • Interior (internal elements)
  • Doors, locks and windows
  • Electrical equipment
  • Equipment and devices
  • Electrical diagrams
PeugeotBook.ru © 2018–2026 | Mobile version | Sitemap: EN BG BY UA RS HR RO PL SK HU | Write message | Site search | Add to bookmarks | Peugeot owners
106 (1991-2003) | 206 (1998-2012) | 207 (2006-2014) | 305 (1977-1989) | 306 (1993-2002) | 307 (2001-2008) | 405 (1987-1997) | 406 (1995-2004) | 605 (1989-2000) | Partner-I (1996-2008) | Eurovans-807 (2002-2014) | Eurovans-806 (1994-2002) | J5 (1981-1993) |
Cookies are used to ensure the correct display of pages on the site.