



Table of contents: Removal 🠇 Refitting 🠇
Removal
Pre-July 1996 models
1. Disconnect the battery negative terminal (refer to "Disconnecting the battery").
2. Remove both headlights as described in Chapter 12.
3. Working in the engine compartment, unscrew the filler neck from the washer fluid reservoir.
4. Reach down through the headlight apertures and unscrew the two front bumper securing bolts (see illustration).
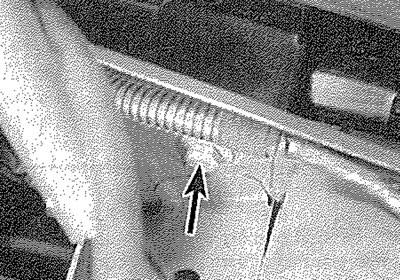
6.4. Front bumper securing bolt (arrowed) - viewed with headlight removed
5. Chock the rear wheels then jack up the front of the vehicle and support it on axle stands (see "Jacking and vehicle support"). Remove the front roadwheels.
6. Remove the screws securing the wheel arch liners to the bumper (see illustration), then release the securing clips (which are a push-fit) and remove the front wheel arch liners.
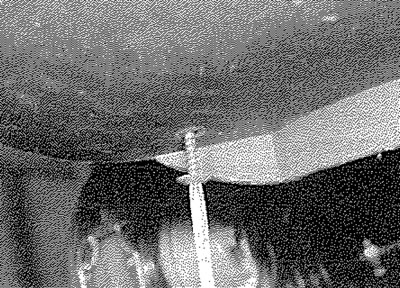
6.6. Removing a wheel arch liner-to-front bumper securing screw
7. Unscrew the three lower bumper securing screws from the bottom edge of the bumper (see illustration).
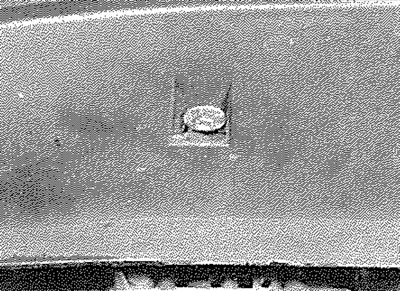
6.7. Front bumper lower securing screw
8. Working under the wheel arch, unscrew the left-hand bumper securing bolt. On models with headlight washers, if necessary, release the fluid reservoir securing strap and move the reservoir for access to the bolt - take care not to strain the wiring or the fluid hoses.
9. Working under the right-hand wheel arch, release the securing strap, then move the washer fluid reservoir to one side (take care not to strain the wiring or the fluid hoses). This will provide access to the two right-hand bumper securing bolts (note that the outer bolt can be reached with the reservoir in place). Unscrew the bolts (see illustrations).
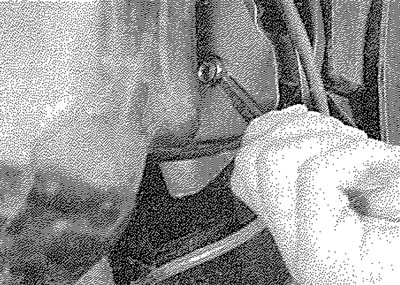
6.9a. Unscrewing the outer...
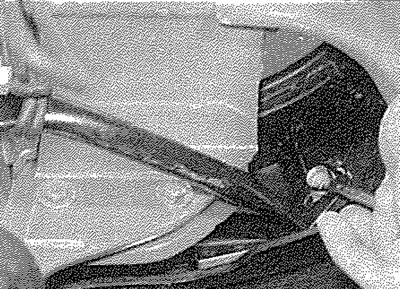
6.9b.... and inner right-hand front bumper securing bolts
10. Lift the bumper from the front of the vehicle (see illustration). Where applicable, disconnect the wiring plugs from the front fog/driving lights; note the routing of the wiring to aid refitting. Similarly, where applicable, disconnect the headlight washer fluid hose.
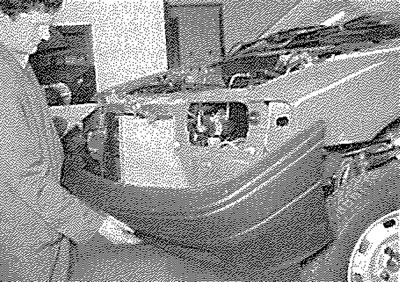
6.10. Lifting the front bumper from the vehicle
July 1996 models onward
11. For improved access, apply the handbrake, then jack up the front of the vehicle and support securely on axle stands (see "Jacking and vehicle support").
Original text is located at PeugeotBook.ru
12. Undo the bolts securing the bumper lower mountings to the front panel (see illustration).
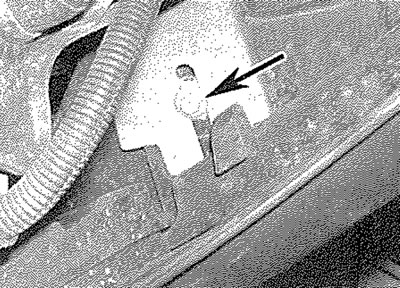
6.12. Left-hand front bumper lower mounting (arrowed) - later models
13. Working at each side of the bumper, remove the screws, clips and where applicable drill out the rivets securing the splash shields and/or the wheelarch liners to the sides of the bumper.
14. Remove the washer fluid reservoir for access to the bumper right-hand attachments.
15. On models with foglights, disconnect the battery negative terminal (refer to "Disconnecting the battery"), then disconnect the foglight wiring connectors.
16. Again working under the bumper, unscrew the bolts securing the bumper to the front body panel (see illustration). Reach up behind the bumper for access to the bolts.
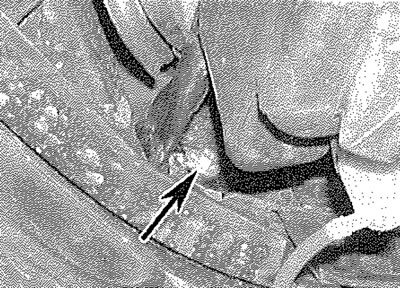
6.16. Right-hand front bumper-to-body panel bolt (arrowed) - later models
17. Carefully withdraw the bumper forwards to release the side locating plates then remove the bumper from the vehicle (see illustration).
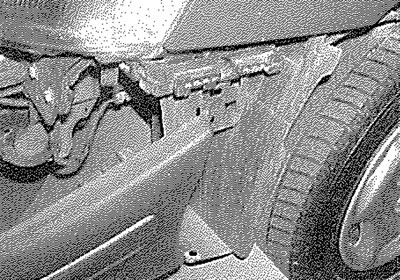
6.17. Withdraw the bumper forwards to release the side locating plates - later models
Refitting
18. Refitting is a reversal of removal. Ensure that the washer fluid reservoir securing strap is/are correctly refitted and (where applicable) make sure that the fog/driving light wiring is correctly routed.