



Table of contents: Headlight - pre-July 1996 models 🠇 Headlight - July 1996 models onward 🠇 Front direction indicator light 🠇 Front direction indicator side…🠇 Front direction indicator side…🠇 Front driving light/foglight 🠇 Rear light cluster -pre-July 1996…🠇 Rear light cluster - July 1996…🠇 High-level stoplight 🠇 Rear number plate light 🠇
Note: Disconnect the battery negative terminal before removing any light unit and reconnect the terminal after refitting the unit. Refer to "Disconnecting the battery".
Headlight - pre-July 1996 models
Removal
1. Remove the front direction indicator light as described in Section 5, paragraphs 13 and 14.
2. Working at the rear of the headlight assembly, release the securing clip and lift up the headlight rear cover.
3. Pull the wiring plugs from the rear of the bulbs in the headlight unit.
4. Carefully pull the corners of the headlight unit forwards to release the three balljoints and withdraw the headlight (see illustrations).
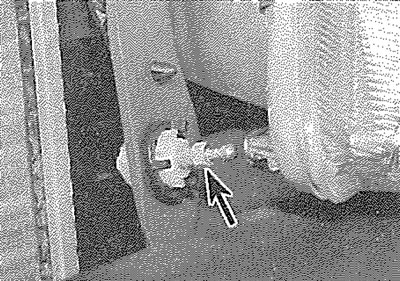
7.4a. Pull the corners of the headlight unit from the balljoints (arrowed)...
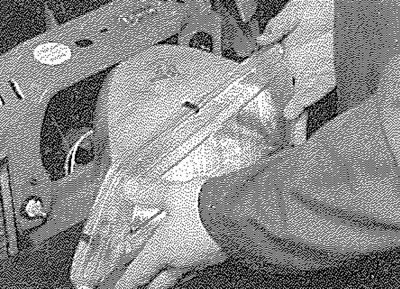
7.4b.... then withdraw the headlight
5. Note that if desired, the balljoint and adjuster units (and the electric adjuster motor, where applicable) can be removed from the body after twisting the unit itself (or the locking collar, as applicable) to release the unit from the aperture in the body (see illustration).
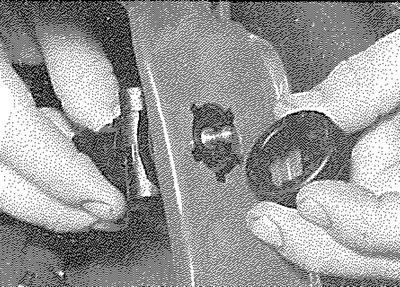
7.5. The headlight adjuster unit can be removed after twisting the locking collar
Refitting
6. Refitting is a reversal of removal, ensuring that the headlight balljoints are correctly engaged. Refit the direction indicator light as described in Section 5.
Headlight - July 1996 models onward
Removal
7. Remove the front bumper as described in Chapter 11.
8. Working at the rear of the headlight assembly, twist the headlight rear cover anticlockwise to remove it from the headlight
9. Pull the wiring plug from the rear of the headlight bulb.
10. Twist the sidelight bulbholder through quarter of a turn and withdraw it from the headlight unit.
11. Undo the three bolts securing the light unit to the front body panel (see illustrations).
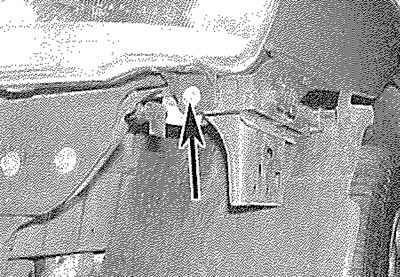
7.11a. Later type headlight unit lower outer
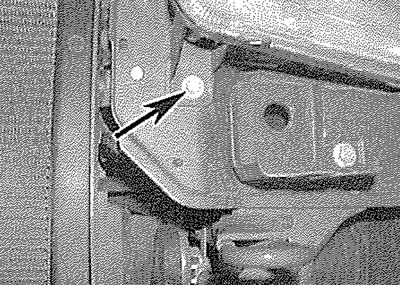
7.11b.... lower inner...
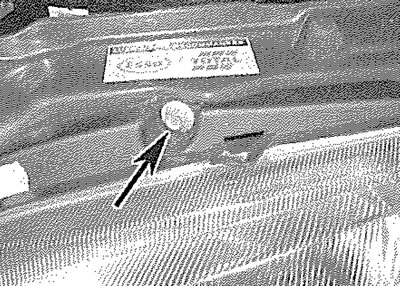
7.11c.... and upper retaining bolts (arrowed)
12. Withdraw the headlight unit from its location (see illustration). When sufficient clearance exists, twist the direction indicator bulbholder anti-clockwise to release it from the rear of the light unit. Where applicable, disconnect the wiring plug for the headlight adjuster motor.
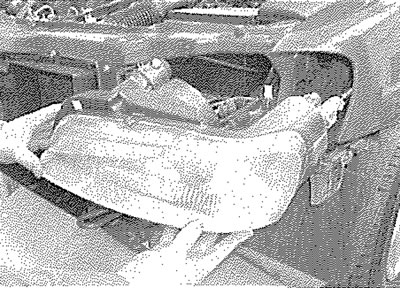
7.12. Withdrawing the later type headlight unit
13. Note that if desired, the balljoint and adjuster units (and the electric adjuster motor, where applicable) can be removed from the light unit after twisting the adjuster itself (or the locking collar, as applicable) to release the adjuster from the aperture in the light unit.
Refitting
14. Refitting is a reversal of removal.
Front direction indicator light
15. On pre-July 1996 models, removal and refitting of the direction indicator light is described in Section 5, paragraphs 13 to 17. On later models the direction indicator and headlight unit are all one assembly. Refer to paragraphs 7 to 14 for headlight unit removal and refitting.
Front direction indicator side repeater light - pre-July 1996 models
Removal
16. Push the light unit towards the rear of the vehicle, to disengage it from the wing panel.
17. Withdraw the light unit from the wing panel and disconnect the wiring plug (see illustration). Tape the wiring to the wing panel, to prevent it falling back into the hole.
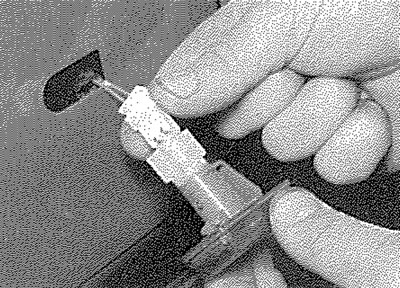
7.17. Removing a front direction indicator side repeater light
Refitting
18. Refitting is a reversal of removal. Push the light unit towards the front of the vehicle until it locks into position.
Front direction indicator side repeater light - July 1996 models onward
19. The procedure is described as part of the bulb renewal procedure in Section 5.
Front driving light/foglight
Removal
20. On early models, trace the wiring back from the light unit and disconnect the wiring connector (usually located in the engine compartment, behind the headlight unit). Note the routing of the wiring, to aid refitting. On later models, twist the bulbholder anticlockwise to release it from the rear of the light unit.
21. On early models, working up behind the front bumper, unscrew the nut and recover the washer from the light mounting stud. Note that the light will be free to pivot once the nut has been loosened. On later models, release the light unit mountings or plastic clips.
22. Withdraw the light unit from the bumper.
Refitting
23. Refitting is a reversal of removal. Ensure that the wiring is routed as noted before removal and check the aim of the light before finally tightening the securing nut (where applicable).
Rear light cluster -pre-July 1996 models
Removal
24. Open the tailgate.
25. Prise the plastic cover from the rear of the light unit (see illustration).
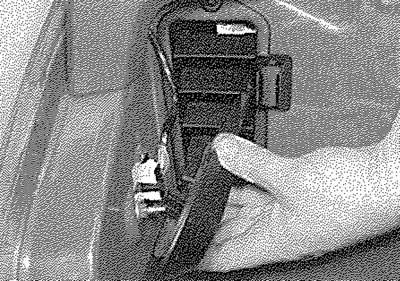
7.25. Prise the cover from the rear light unit
26. Remove the securing screw and unclip the air extraction grille from the side of the luggage compartment (see illustrations).
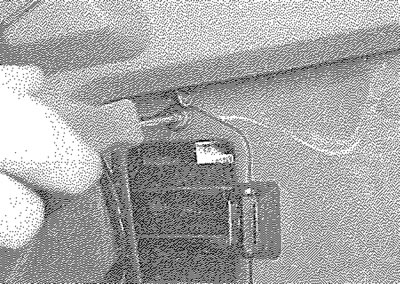
7.26a. Remove the securing screw...
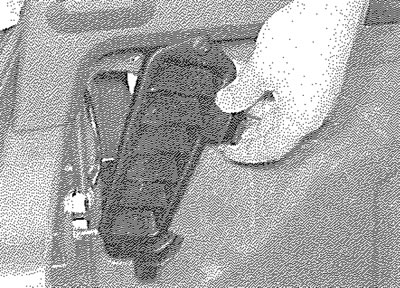
7.26b.... then unclip the air extraction grille
27. Pull the wiring plug from the rear of the light unit (see illustration).
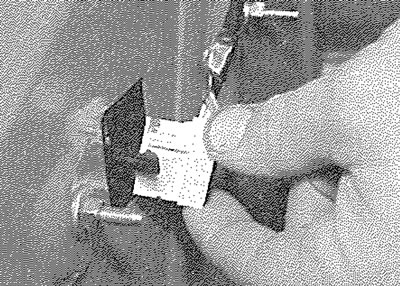
7.27. Puil the wiring plug from the rear of the light
28. Unscrew the two securing nuts and withdraw the light unit from the vehicle (see illustrations).
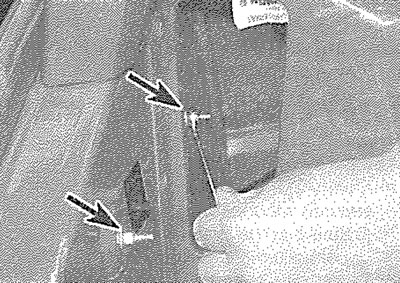
7.28a. Unscrew the securing nuts (arrowed)...
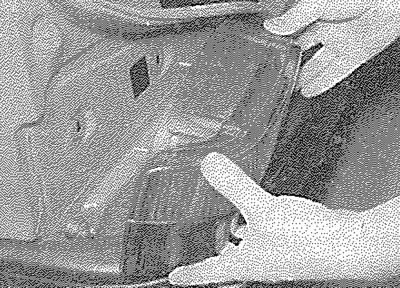
7.28b.... then withdraw the light unit
Refitting
29. Refitting is a reversal of removal, but check the condition of the seals on the rear of the light assembly.
Rear light cluster - July 1996 models onward
Removal
30. Open the tailgate.
31. Prise the plastic cover from the rear of the light unit (see illustration 7.25).
32. Remove the securing screw and unclip the air extraction grille from the side of the luggage compartment (see illustrations 7.26a and 7.26b).
33. Unscrew the two plastic wing nuts and withdraw the light unit for access to the bulbholder (see illustration).
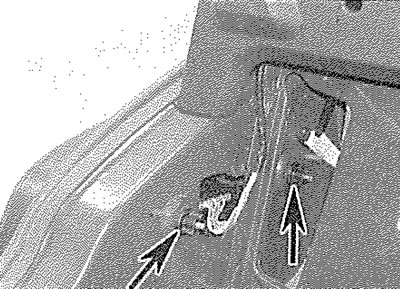
7.33. Unscrew the light unit plastic wing nuts (arrowed)
34. Release the bulbholder from the light unit by squeezing the retaining tabs, then remove the light unit (see illustration).
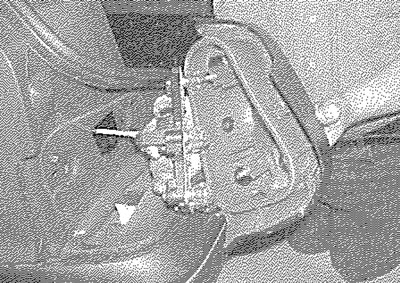
7.34. Release the bulbholder and remove the light unit
Refitting
35. Refitting is a reversal of removal.
High-level stoplight
Removal
36. Using a small screwdriver, depress the retaining tags on the side of the light unit cover and remove the cover.
37. Undo the two screws and withdraw the light unit.
38. Disconnect the wiring connections and remove the unit.
Refitting
39. Refitting is a reversal of the removal procedure.
Rear number plate light
Removal
40. Using a suitable screwdriver, carefully prise the number plate light from the bumper (see illustration).
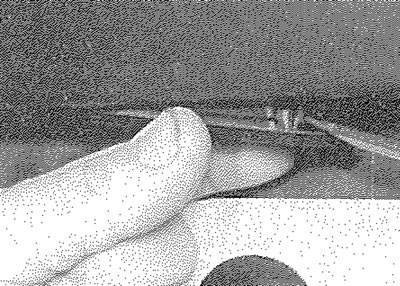
7.40. Prise the rear number plate light from the bumper...
41. Pull the wiring (and its protective rubber boot) from the bumper and pull the rubber boot from the wiring plug.
42. Pull the wiring plug from the rear of the light unit and withdraw the light unit (see illustration).
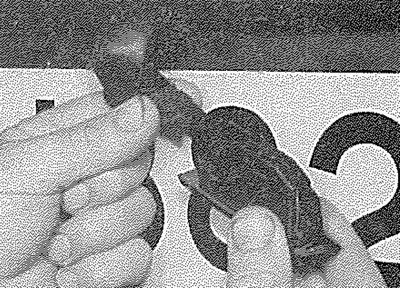
7.42. ... then pull off the boot and disconnect the wiring plug
Refitting
43. Refitting is a reversal of removal. Make sure that the rubber boot is located correctly over the wiring plug.