
Front and rear bumper assemblies

1 - front bumper, 2 - bar, 3 - fog lamp, 5 - amplifier, 6 - holder, 7 - rear bumper, 8 - bar
Removing
1. Working under the bumper base, unscrew the three bumper lower mounting screws.
2. Working on one side of the vehicle, unscrew the three screws securing the outer edge of the wheel arch liner, then move the liner back away from the bumper.
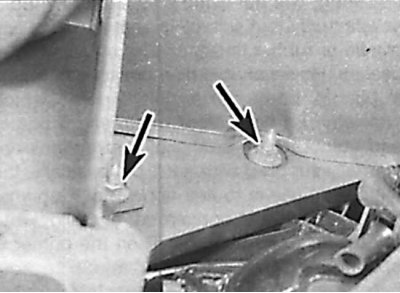
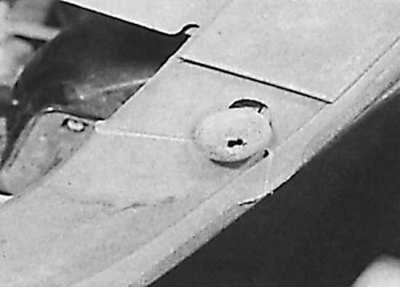
3. Unscrew the two nuts securing the front of the bumper.
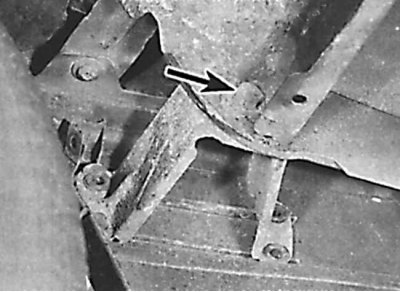
4. Remove the bolt securing the side of the bumper to the fender.
5. On the other side of the car, unscrew the two nuts securing the front of the bumper and the bolt that secures the side of the bumper to the fender.
6. Pull bumper forward (two people), disconnect the wires from the fog lights and the headlight washer hose, being careful not to scratch the varnished surface of the fenders.
7. Remove the bumper from the car.
Installation
1. Install the bumper in the appropriate place without fixing it.
2. Before fixing the entire assembly, fit the bumper to the rest of the body elements.
3. When driving on a cobbled road, check for excessive vibration of the bumper.
Bumper repair
The bumpers are made of polypropylene, so they can be repaired by melting the material with a hot air blower.
1. To facilitate repair, as well as to avoid damage to other body elements, the bumper should be removed.
2. Use a mild solvent to clean the parts to be welded.
3. Attach the parts to be welded to each other and hold them with a vice and a fixed holder.
4. If the bumper is deformed, follow the steps below.
5. Soften the bumper with hot air without allowing the material to melt.
6. Attach the bumper to a special mold to give it its original shape.
7. Wait 10 minutes for the bumper to cool down.
Welding
1. Attach the small tip to the hot air gun.
2. Point the gun at the places to be welded.
3. Move the gun in a continuous motion so as to cause the material to melt.
Attention! For welding, use a thin rod of the same material as the bumper (taken from an old bumper).
Attention! The rod should be applied at right angles to the weld seam.
Attention! Welding is necessary in front of and behind the damage site.
Attention! Welding is carried out on the inside of the damage.
4. Remove surface irregularities that have arisen during the welding process.
5. Sand the surface to be repaired with 150 grit sandpaper and then polish it with 600 grit sandpaper using water.