



Table of contents: Internal door opening handle 🠇 Front door lock cylinder 🠇 Front door outer opening handle 🠇 Front door lock 🠇 Rear door lock 🠇 External rear door opening handle 🠇
1. Remove the door trim.
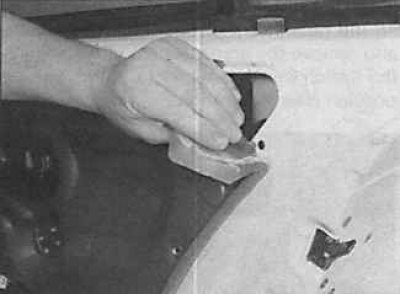
2. To access the door handle and lock, remove the protective film from the door.
Internal door opening handle
Caution: When reinstalling the inside door handle, new rivets must be used.
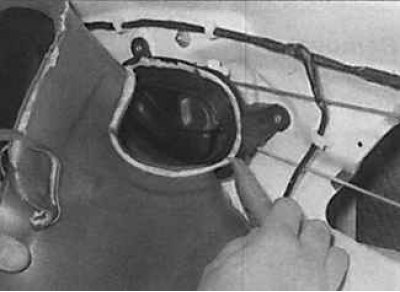
3. Trim the door protective film around the interior handle mounting.
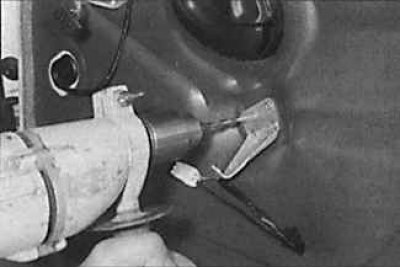
4. Drill out the rivets that secure the handle to the door.
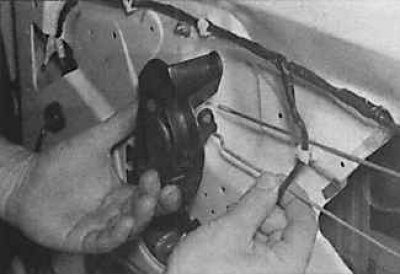
5. Remove the handle from the door and disconnect the rods from it.
Front door lock cylinder
 |
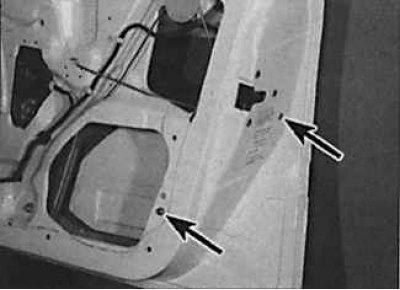 |
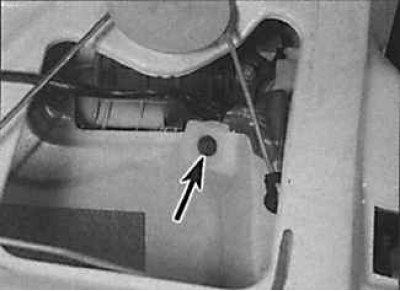
6. Remove the protective film in the place opposite the door lock. Unscrew the fastening nut. Unscrew the upper screw of the door lock protective cover (photo on the left). Unscrew the lower screws securing the door lock protective cover (photo on the right).
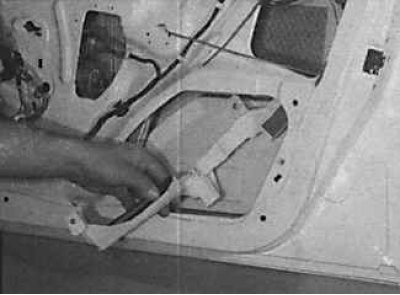
7. Remove the lock protective cover from the inside of the door.
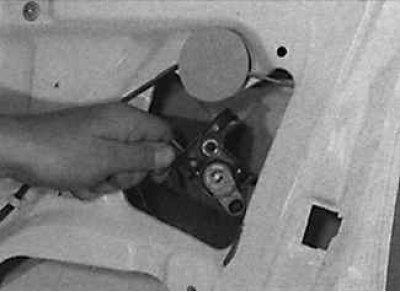
8. To improve access to the lock cylinder, release the bracket and disconnect the electrical connector from the door opening lock.
 |
 |
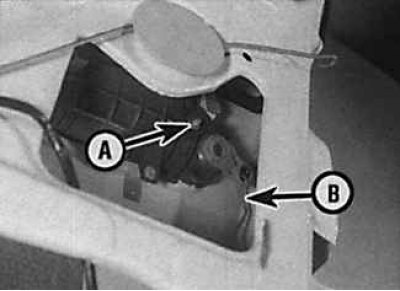
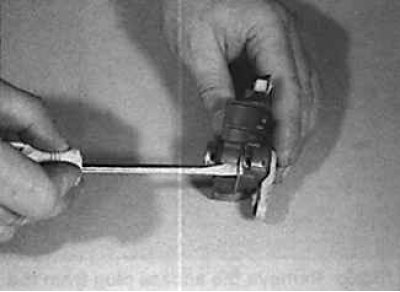
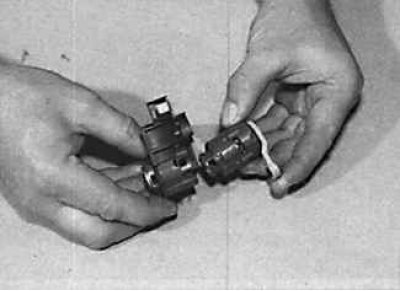
9. Unscrew the rear nut (arrow A in the photo on the left) fastenings of the outer door opening handle, remove the lock cylinder fixing plate (photo on the right) and disconnect it from the rod (arrow B in the photo on the left).
 |
 |
10. To remove the lock cylinder, use the lever to remove the mounting brackets (photo on the left) and separate the cylinder, housing and mounting plate (photo on the right).
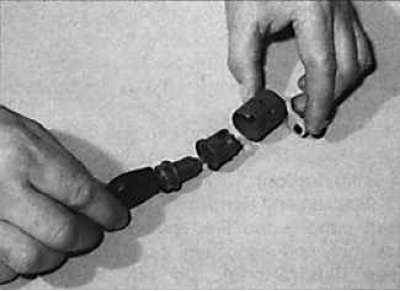
11. Insert the key into the lock cylinder and remove it from the housing.
Front door outer opening handle
12. Remove the door lock cylinder.
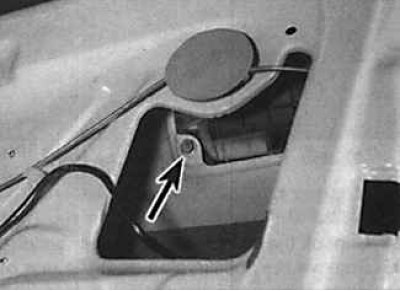
13. Unscrew the front nut securing the outer door opening handle and separate the rod from the handle.
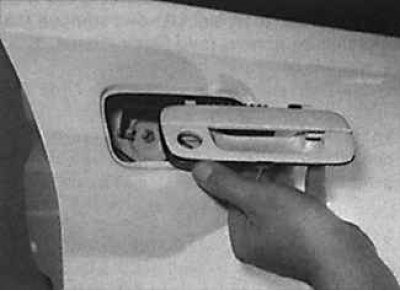
14. Remove the handle from the door along with the rubber gasket.
Front door lock
15. Remove the protective film from the inside of the door to access the door lock.
16. Unscrew the screws securing the lock protective cover and remove the cover from the door.
17. Remove the inside door opening handle.
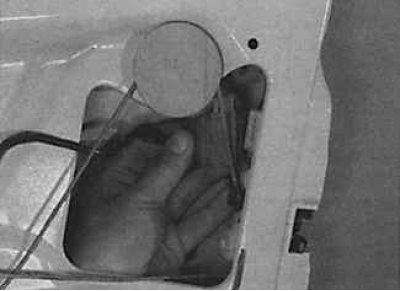
18. Disconnect the electrical connector from the door lock.
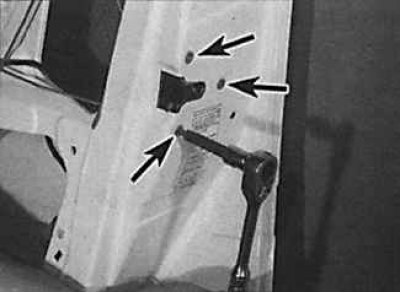 |
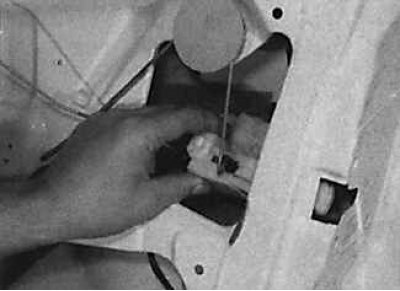 |
19. Unscrew the mounting screws (indicated by arrows in the photo on the left), disconnect the rods from the door lock and remove the lock from the door (photo on the right). The door lock cannot be repaired and if the lock is faulty, it must be replaced completely.
Rear door lock
20. Remove the protective film from the inside of the rear door.
21. Remove the inside rear door opening handle.
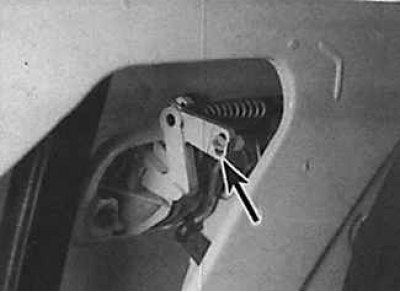
22. Disconnect the rod (indicated by the arrow) from the rear door lock.
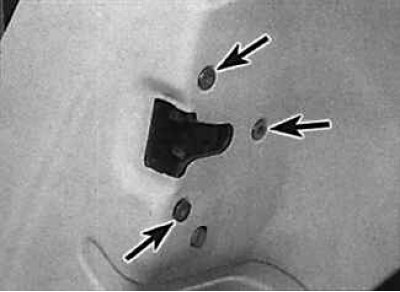
23. Unscrew the screws (indicated by arrows) rear door lock fastenings.
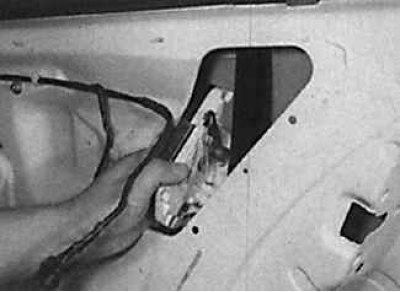
24. Remove the rear door lock from the door.
External rear door opening handle
25. Remove the protective film from the inside of the rear door.
26. Disconnect the electrical connector from the rear lid release switch.
27. Disconnect the rod from the rear door opening handle.
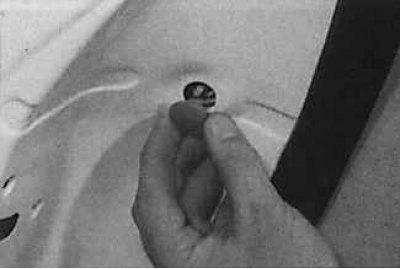
28. Remove the plug located opposite the rear door handle mounting nut.
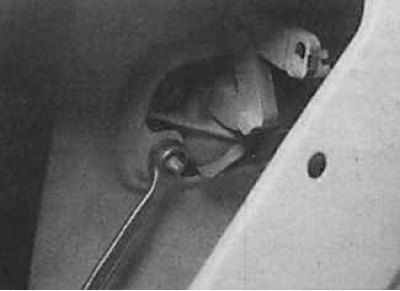
29. Unscrew the rear door handle mounting nuts.
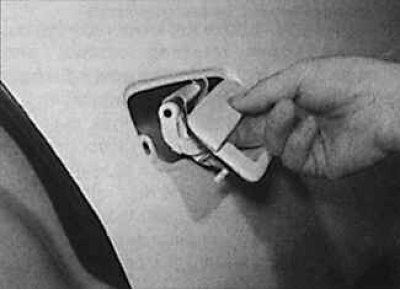
30. Pull the rear door opening handle outward.
31. Installation is carried out in the reverse order of removal.