



Table of contents: Door trim panels 🠇 Rear passenger compartment side trim…🠇 Rear parcel shelf support panel 🠇 Windscreen pillar trim panel 🠇 Centre pillar trim panel 🠇 Rear wheel arch trim panel - 5-door…🠇
Door trim panels
1. Refer to Section 12.
Rear passenger compartment side trim panel - 3-door models
Removal
2. Remove the rear parcel shelf support panel, as described later in this Section.
3. Remove the rear seat cushion, with reference to Section 24 and fold the seat back fully forwards.
4. Carefully pull the panel from the body to release the securing clips (see illustration). Where applicable, disconnect the wiring from the speaker.
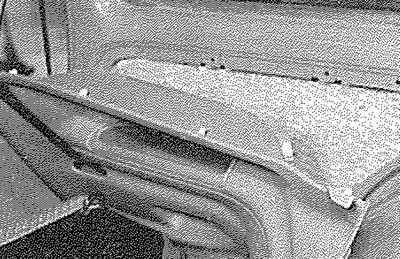
26.4. Pulling the rear passenger compartment side trim panel from the body - 3-door model
5. Unbolt the seat belt upper and lower anchor brackets, with reference to Section 25 and feed the seat belt and anchor brackets through the aperture in the trim panel. Withdraw the trim panel from the vehicle.
Refitting
6. Refitting is a reversal of removal, bearing in mind the following points:
- a) Tighten the seat belt mountings to the specified torque.
- b) Refit the rear parcel shelf support panel as described below.
Rear parcel shelf support panel
Removal
7. Open the tailgate, remove the rear parcel shelf and fold the rear seat back forwards.
8. Pull the knob from the seat back locking lever and pull the weatherstrip from the rear edge of the panel (see illustrations).
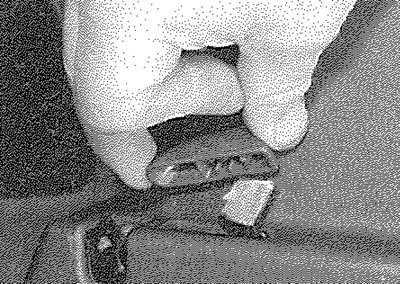
26.8a. Pull the knob from the seat back locking lever...
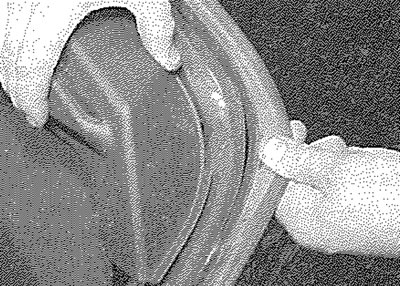
26.8b.... and pull the weatherstrip from the rear edge of the panel
9. Remove the two securing screws, then pull the panel away from the body to release the securing clips and withdraw the panel. Note that the rear clip should be released last (see illustration).
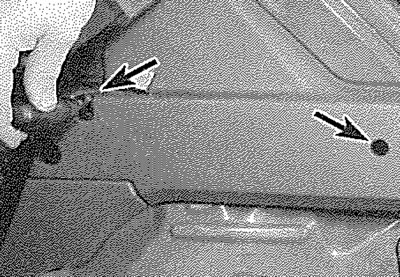
26.9a. Remove the two securing screws (arrowed)...
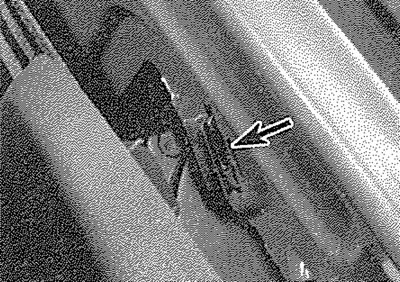
26.9b.... release the rear clip (arrowed) last...
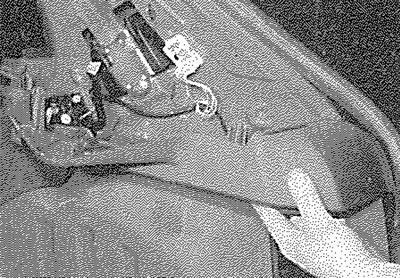
26.9c.... then pull the panel away from the body
10. Where applicable, disconnect the battery negative terminal (refer to "Disconnecting the battery") and prise the luggage compartment light and the switch from the trim panel.
Refitting
11. Refitting is a reversal of removal, but ensure that the seat belt webbing is routed over the top of the panel and is not trapped behind the panel.
Windscreen pillar trim panel
Removal
12. Carefully prise the weatherstrip from the edge of the trim panel.
13. Starting at the top, pull the panel away from the pillar to release the securing clips and withdraw the panel.
Refitting
14. Refitting is a reversal of removal.
Centre pillar trim panel
15. The panel is in two halves.
16. To remove the lower panel, remove the two securing screws, then unclip the panel.
17. To remove the upper panel, first remove the lower panel, then remove the securing screw from the bottom of the upper panel. Prise off the trim cap and unscrew the seat belt upper anchor bolt (recover the washer, where applicable), then withdraw the panel.
18. Refitting is a reversal of removal. Where applicable, tighten the seat belt anchor bolt to the specified torque.
Rear pillar trim panel
19. Remove the rear parcel shelf support panel as described previously in this Section.
20. Prise off the trim cap and unscrew the seat belt upper anchor bolt (recover the washer, where applicable), then unclip the panel from the body. It may be necessary to prise the weatherstrip from the edge of the panel, where applicable.
Rear wheel arch trim panel - 5-door models
21. Open the rear door and prise the weatherstrip from the edge of the panel.
22. Release the panel from the securing clips, then release the panel from the rear parcel shelf support panel and withdraw the wheel arch trim panel.
Carpets
23. The passenger compartment floor carpet is in one piece and is secured at its edges by screws or various types of clips.
24. Carpet removal and refitting is reasonably straightforward, but time-consuming, due to the fact that all adjoining trim panels must be removed first, as must components such as the seats and centre console.
Headlining
25. The headlining is clipped to the roof and can be withdrawn only once all fittings such as the grab handles, sun visors, sunroof (if fitted), windscreen, centre and rear pillar trim panels and associated panels have been removed. The door, tailgate and sunroof aperture weatherstrips will also have to be prised clear.
26. Note that headlining removal requires considerable skill and experience if it is to be carried out without damage and is therefore best entrusted to an expert.