



Table of contents: Front door - pre-July 1996 models 🠇 Front door - July 1996 models onward 🠇
Front door - pre-July 1996 models
Note: If the plastic sealing sheet is removed from the inside of the door, a new sealing sheet will be required on refitting.
Removal
1. Where applicable, pull the window regulator handle from its spindle (see illustration). Recover the trim disc.
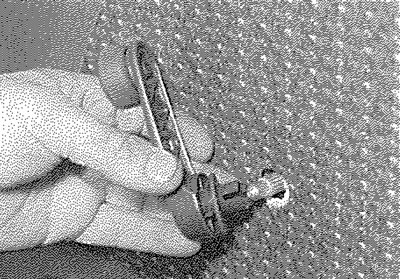
12.1. Pull off the window regulator handle...
2. Pull off the interior handle trim panel (see illustration).
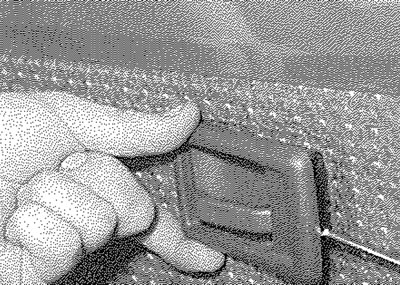
12.2. ... then pull off the interior handle trim panel...
3. Remove the two securing screws and withdraw the armrest (see illustration). Note the bushes, which may be loose in the armrest once the screws have been removed.
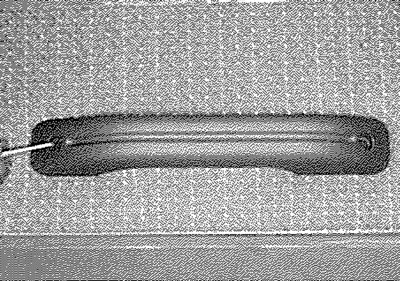
12.3. ... remove the two securing screws and withdraw the armrest...
4. Where applicable, remove the securing screws and remove the door pocket from the lower edge of the door.
5. Release the securing clips and pull the trim panel from the door (see illustration).
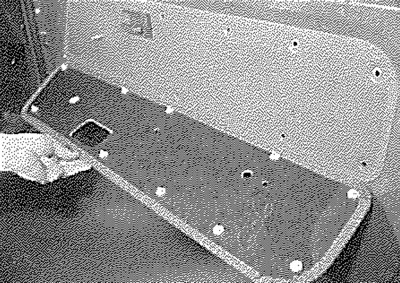
12.5. ... then pull the trim panel from the door
6. If desired (if the door internal components are to be worked on), pull the plastic sealing sheet from the door (see illustration). Note that the sheet will probably be destroyed during removal. Carefully scrape the remains of the sealing sheet from the inside of the door.
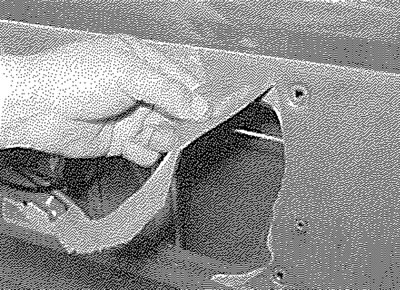
12.6. Pulling the plastic sealing sheet from the door
Refitting
7. Refitting is a reversal of removal. Where applicable, use a new plastic sealing sheet and ensure that the bushes are in position in the armrest (see illustration). Note that it may be necessary to cut suitable holes in the sealing sheet for the trim panel securing clips, etc.
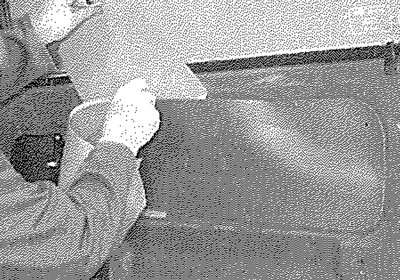
12.7. Fitting a new front door plastic sealing sheet
Front door - July 1996 models onward
Note: If the plastic sealing sheet is removed from the inside of the door, a new sealing sheet will be required on refitting.
Removal
8. Pull off the interior handle trim panel (see illustration).
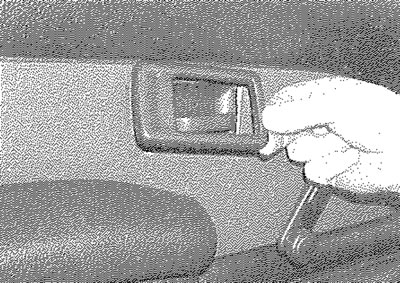
12.8. On later models pull off the interior handle trim panel...
9. Where applicable, pull the window regulator handle from its spindle (see illustration). Recover the trim disc.
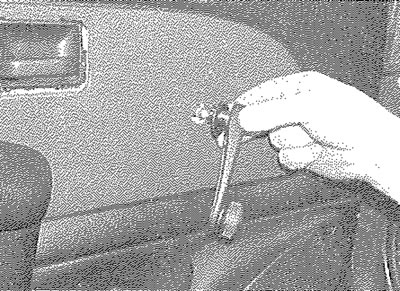
12.9. ... then remove the regulator handle and trim disc
10. Undo the screws along the lower edge and at the sides and remove the door pocket from the base of the door (see illustrations).
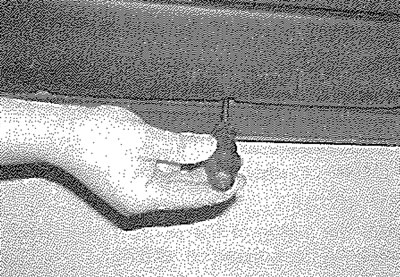
12.10a. Undo the screws along the door pocket lower edge...
(Article based on material from the website peugeotbook.ru)
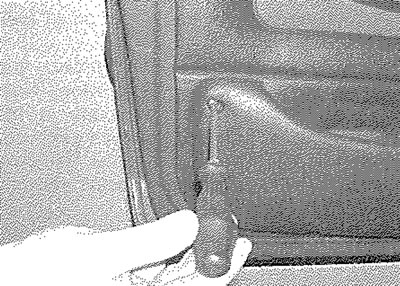
12.10b.... and at the sides, and remove the pocket
11. Unclip and remove the padded trim from below the armrest (see illustration).
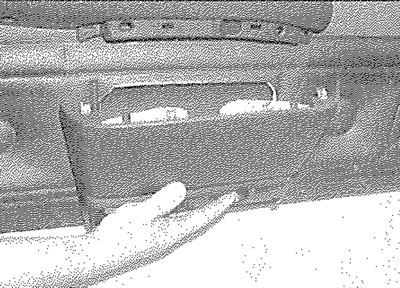
12.11. Unclip and remove the padded trim panel
12. Undo the screws and withdraw the armrest (see illustration).
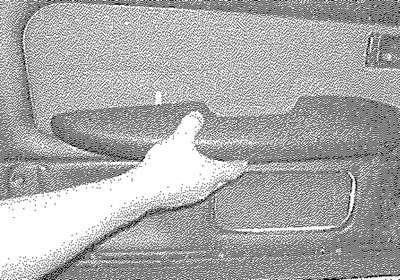
12.12. Undo the screws and remove the armrest
13. Undo the remaining trim panel screws located in the centre of the panel and around the speaker grille. Release the securing clips and pull the trim panel from the door (see illustrations).
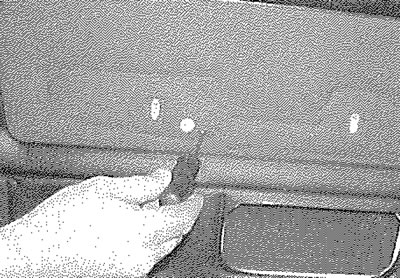
12.13a. Undo the remaining screws, located in the centre of the panel...
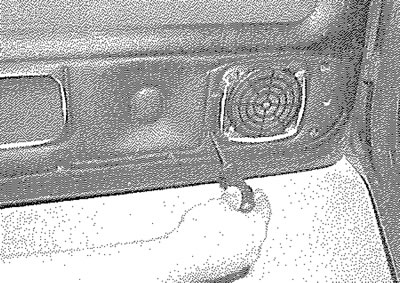
12.13b.... and around the speaker grille...
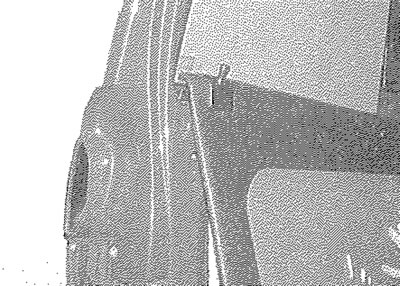
12.13c.... then release the clips and lift off the panel
14. If desired (if the door internal components are to be worked on), pull the plastic sealing sheet from the door. Note that the sheet will probably be destroyed during removal. Carefully scrape the remains of the sealing sheet from the inside of the door.
Refitting
15. Refitting is a reversal of removal. Where applicable, use a new plastic sealing sheet, noting that it may be necessary to cut suitable holes in the sealing sheet for the trim panel securing clips, etc.
Rear door - all models
16. The procedure is as described previously for the front door trim panel. Where applicable, the ashtray must be pulled from the door before the door pocket can be removed (see illustrations).
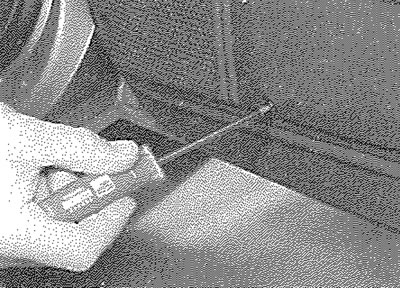
12.16a. Remove the securing screws...
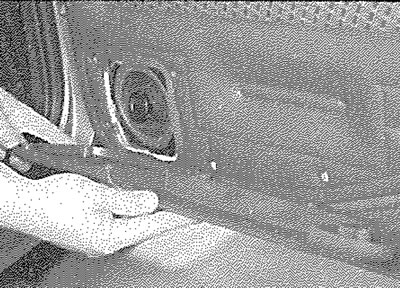
12.16b.... and withdraw the door pocket...
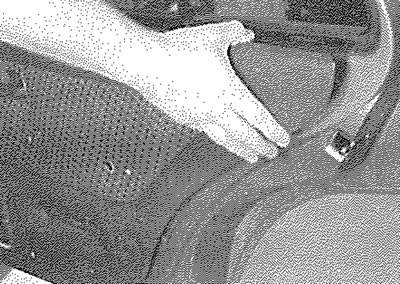
12.16c.... before removing the rear door inner trim panel...
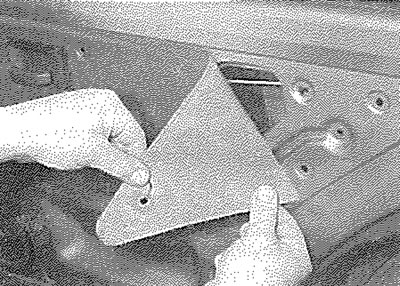
12.16d.... and the plastic sealing sheet