



Table of contents: Front door window glass 🠇 Front door regulator 🠇 Rear door sliding window glass 🠇 Rear door fixed window glass 🠇 Rear door regulator 🠇
Front door window glass
Removal
1. Remove the door inner trim panel and the plastic sealing sheet, as described in Section 12.
2. If not already done, remove the securing screws and remove the door pocket (where applicable, disconnect the speaker wiring).
3. Prise off the mirror trim panel, then carefully prise the weatherstrip from the inside lower edge of the window aperture (see illustration).
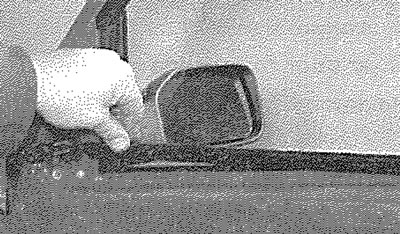
14.3. Removing the weatherstrip from the lower edge of the front door window aperture...
4. Similarly, prise the weatherstrip from the remainder of the window aperture (see illustration).
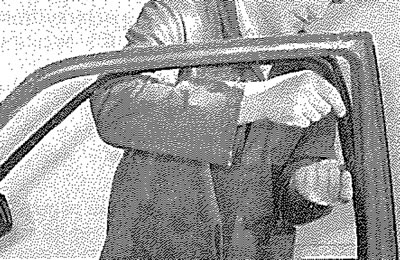
14.4. ... and from the remainder of the window aperture
5. Temporarily refit the window regulator handle, or reconnect the switch (and reconnect the battery), as applicable and lower the window to its mid-position.
6. Working at the back of the glass, twist and remove the clip securing the glass panel to the regulator mechanism (see illustration).
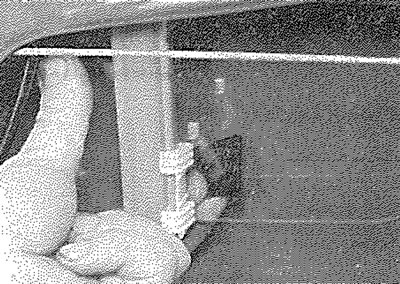
14.6. Remove the clip securing the glass panel to the regulator mechanism
7. Support the glass panel, then detach it from the regulator mechanism. Lift the panel and manipulate it out through the window aperture, taking care not to scratch the paint on the door edge (see illustrations).
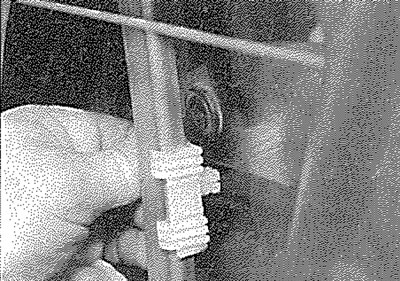
14.7a. Detach the glass...

14.7b.... and lift it through the window aperture
Refitting
8. Refitting is a reversal of removal, bearing in mind the following points:
- a) To ease refitting, coat the weatherstrips with soapy water (washing-up liquid is ideal).
- b) Before fitting the plastic sealing sheet, check the operation of the window regulator mechanism.
- c) Use a new plastic sealing sheet.
- d) Refit the door inner trim panel with reference to Section 12.
Front door regulator
Note: New rivets will be required when refitting the regulator mechanism.
Removal
9. Remove the window glass as described previously.
10. Using a 6.0 mm drill, drill out the rivets securing the regulator mechanism to the door (see illustration).
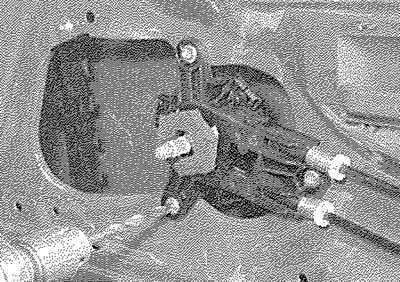
14.10. Drill out the rivets securing the front door window regulator mechanism
11. Where applicable, remove the two nuts securing the window lift rail (see illustration).
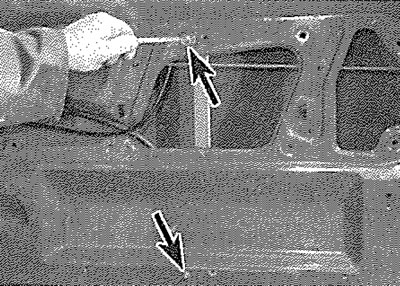
14.11. Remove the two window lift rail securing nuts (arrowed)
12. Where applicable, disconnect the wiring plug from the window lift motor.
13. Carefully tilt the assembly and lift it out through the aperture in the door (see illustration).
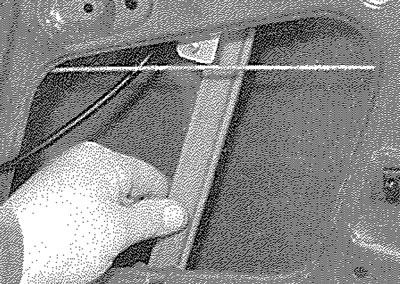
14.13. Removing the window regulator mechanism
Refitting
14. Refitting is a reversal of removal, but refit the regulator mechanism using new rivets and refit the window glass as described previously in this Section.
Rear door sliding window glass
Removal
15. Fully lower the sliding window glass.
16. Remove the door inner trim panel and the plastic sealing sheet, as described in Section 12.
17. Where applicable, pull the ashtray from the door panel, then remove the securing screws and withdraw the door pocket.
18. Carefully pull the weatherstrips from the lower edge of the sliding window aperture (see illustrations).
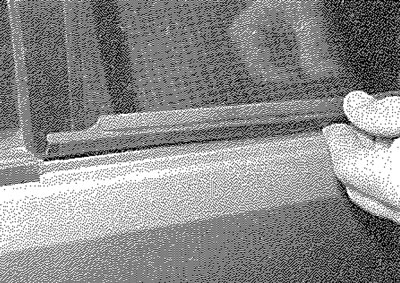
14.18a. Pull the outer...
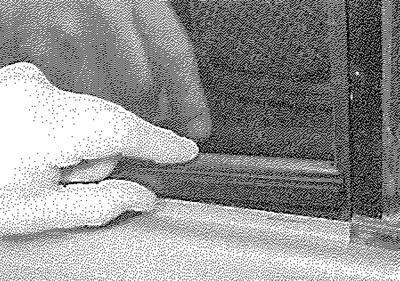
14.18b.... and inner weatherstrips from the door
19. Unclip the weatherstrip from the rear glass channel (see illustration).
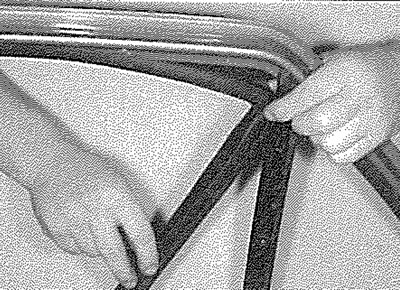
14.19. Unclip the weatherstrip from the rear glass channel
20. Temporarily refit the window regulator handle and raise the sliding glass to its mid-position.
21. Working at the back of the glass, twist and remove the clip securing the glass panel to the regulator mechanism (see illustration).
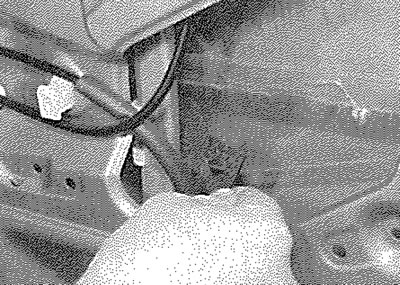
14.21. Remove the clip securing the glass panel to the regulator mechanism
22. Support the glass panel, then detach it from the regulator mechanism and lower the panel to the bottom of the door.
23. Remove the upper and lower screws securing the rear glass channel to the door and withdraw the channel.
24. Lift the glass panel and manipulate it out through the window aperture, taking care not to scratch the paint on the door edge.
Refitting
25. Refitting is a reversal of removal, bearing in mind the following points:
- a) To ease refitting, coat the weatherstrips with soapy water (washing-up liquid is ideal).
- b) Before fitting the plastic sealing sheet, check the operation of the window regulator mechanism.
- c) Use a new plastic sealing sheet.
- d) Refit the door inner trim panel with reference to Section 12.
Original publication on the website PeugeotBook.ru
Rear door fixed window glass
Removal
26. Proceed as described in paragraphs 15 to 23 inclusive.
27. Carefully pull the fixed glass panel towards the front of the door and withdraw it.
Refitting
28. Refer to paragraph 25.
Rear door regulator
29. The procedure is as described previously in this Section for the front door regulator. Note that there is no need to remove the fixed window glass (see illustration).
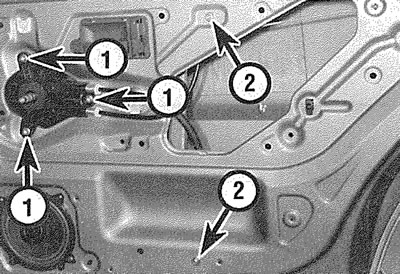
14.29. Rear door window regulator securing rivets (1) and nuts (2)