



Table of contents: Interior door handle 🠇 Exterior door handle - 3-door models 🠇 Exterior door handle - 5-door models 🠇 Front door lock cylinder 🠇 Front door lock 🠇 Rear door lock 🠇
Interior door handle
Removal
1. Remove the door inner trim panel, as described in Section 12.
2. Slide the handle assembly towards the rear of the door, then pull the assembly from the door aperture and disconnect the link rod (if necessary, release the link rod from the clips on the door) (see illustration).
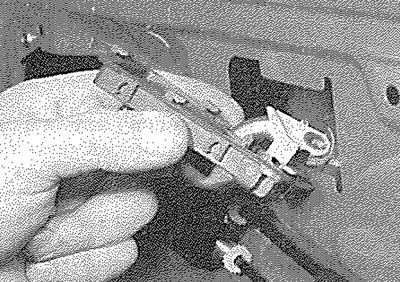
13.2. Removing a front door interior handle
Refitting
3. Refitting is a reversal of removal, but ensure that the link rod is correctly reconnected and refit the inner trim panel with reference to Section 12.
Exterior door handle - 3-door models
Removal
4. Open the door.
5. Remove the door inner trim panel and the plastic sealing sheet as described in Section 12.
6. Reach in through the aperture in the door and unclip the plastic shield from the rear of the door lock (see illustration).
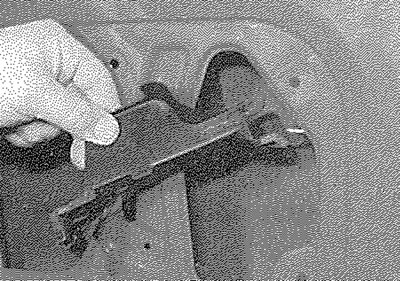
13.6. Unclip the plastic shield from the door lock
7. Using a large flat-bladed screwdriver, turn the handle to release it from the door (see iliustration).
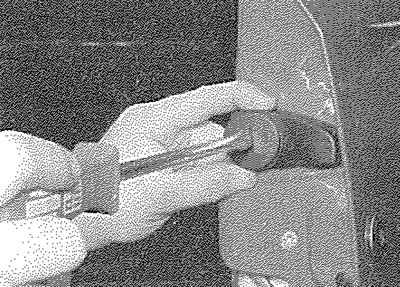
13.7. Release the handle...
8. Working through the door aperture, detach the link rod from the rear of the handle and withdraw the handle assembly. Recover the trim plate from the outer door edge (see illustration).
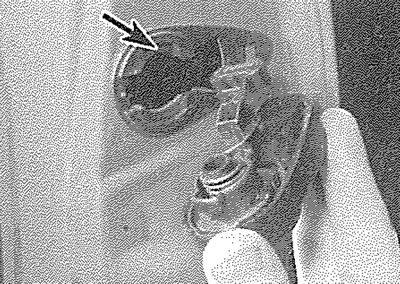
13.8. ... and release it from the door. Note trim plate (arrowed)
Refitting
9. Refitting is a reversal of removal, but use a new plastic sealing sheet and refit the inner trim panel with reference to Section 12.
Exterior door handle - 5-door models
Note: New rivets will be required when refitting the handle.
Removal
10. Working outside the door, stick masking tape around the area surrounding the handle, to protect the paintwork.
11. Lift the handle for access to the securing rivets (see illustration). Have an assistant hold the handle in the raised position, or wedge the handle in position.
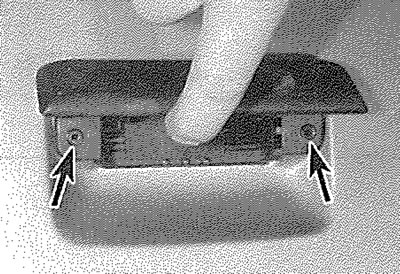
13.11. Door exterior handle securing rivets (arrowed) - 5-door model
12. Using a 4.0 mm drill bit, drill out the two securing rivets, then pull the handle assembly from the door and disconnect the link rods.
Refitting
13. Refitting is a reversal of removal, but make sure that the link rods are correctly reconnected to the handle and secure the assembly using new rivets.
Front door lock cylinder
14. The lock cylinder can be removed as follows, without the need to remove the door inner trim panel:
- a) Make up a suitable tool as shown in the accompanying illustration, using a medium-size self-tapping screw brazed to a length of rod, bent at a right-angle.
- b) Open the doorand prise the coverplate from the rear edge of the door (see illustration).
- c) Insert the tool through the aperture in the edge of the door (see illustration) and screw the seif-tapping screw into the lock securing clip to the end of the thread on the screw.
- d) Push the tool to release the securing clip and withdraw the lock cylinder from outside the door. Leave the tool engaged with the clip.
- e) Refit the lock and use the tool to pull the securing clip into position.
- f) Ensure that the clip is securely engaged with the lock cylinder, then unscrew the tool from the clip and refit the coverplate.
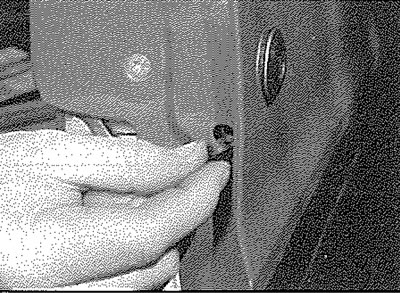
13.14a. Prise the cover plate from the edge of the door...
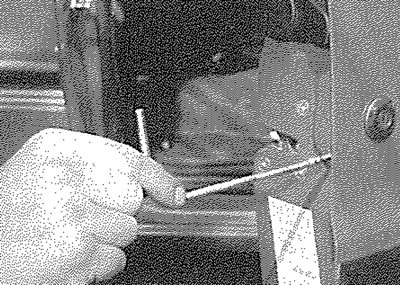
13.14b.... and screw the tool into the lock securing clip
Removal
15. Remove the door inner trim panel and the plastic sealing sheet, as described in Section 12.
16. Reach in through the aperture in the door and unclip the plastic shield from the rear of the door lock.
17. Working inside the door, pull the securing clip from the rear of the lock cylinder, then remove the lock cylinder from the outside of the door (see illustrations).
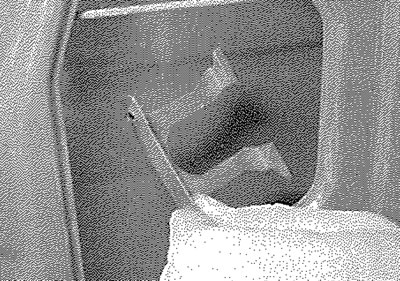
13.17a. Pull off the securing clip...
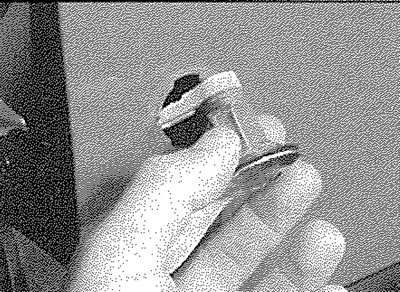
13.17b.... and remove the lock cylinder
Refitting
18. Refitting is a reversal of removal, but ensure that the lock cylinder securing clip is securely refitted and use a new plastic sealing sheet. Refit the door inner trim panel with reference to Section 12
Front door lock
Removal
19. Remove the door inner trim panel and the plastic sealing sheet, as described in Section 12.
20. Remove the interior handle by pulling it towards the front of the door to release it and unclip the link rod from the handle.
21. Unclip the link rod from the door panel (see illustration).
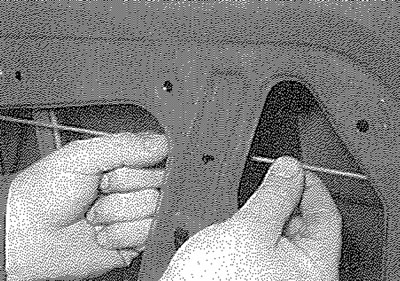
13.21. Unclip the link rod from the door panel
22. Reach in through the door aperture behind the lock and unclip the plastic shield from the rear of the lock (see illustration). Where applicable, also disconnect the wiring from the central locking motor. Disconnect the battery negative lead first; refer to "Disconnecting the battery".
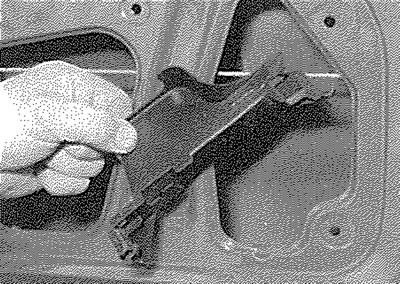
13.22. Unclip the plastic shield from the rear of the lock
23. Remove the three securing screws from the rear edge of the door, then withdraw the lock assembly, complete with the rods, through the aperture in the inner door skin (see illustrations). As the lock is withdrawn, feed the lock button operating rod down through the hole in the top of the door. Note the routing of the lock rods to ensure correct refitting. Where applicable, disconnect the wiring plug from the lock assembly as it is withdrawn.
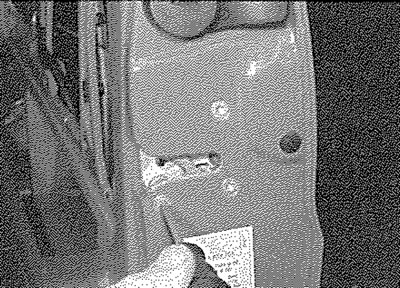
13.23a. Remove the securing screws...
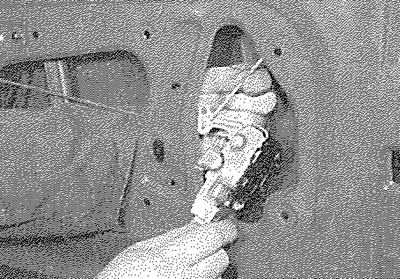
13.23b.... and withdraw the front door lock assembly
Refitting
24. Refitting is a reversal of removal, bearing in mind the following points:
- a) Ensure that the lock rods are correctly reconnected and routed. Note that the link rod must pass in front of the window regulator operating cable.
- b) Check the operation of the lock before fitting the plastic sealing sheet.
- c) Use a new plastic sealing sheet and refit the door inner trim panel with reference to Section 12.
Rear door lock
Removal
25. Remove the door inner trim panel and the plastic sealing sheet, as described in Section 12.
26. Remove the door exterior handle as described previously in this Section.
27. Slide the door interior handle assembly towards the rear of the door, then pull the assembly from the door aperture and disconnect the link rod (see illustration). Release the link rod from the clips on the door.
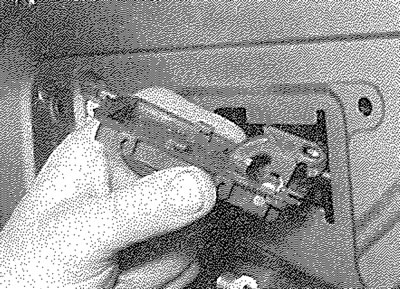
13.27. Removing the rear door interior handle
28. Reach in through the door aperture, then release the securing clip and disconnect the lock button operating rod from the rear of the lock. Where applicable, also disconnect the wiring plug from the central locking motor. Disconnect the battery negative lead first; refer to "Disconnecting the battery".
29. Unscrew the three lock securing screws (see illustration), then withdraw the lock, complete with the operating rod, through the aperture.
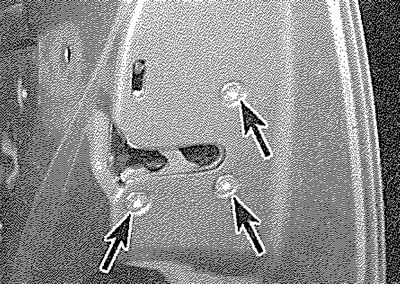
13.29. Rear door lock securing screws (arrowed)
Refitting
30. Refitting is a reversal of removal, bearing in mind the following points:
- a) Ensure that the lock rods are correctly reconnected and routed.
- b) Refit the door exterior handle, using new rivets.
- c) Check the operation of the lock before fitting the plastic sealing sheet.
- d) Use a new plastic sealing sheet and refit the door inner trim panel with reference to Section 12.