
Attention! Before carrying out work on the central locking system, remove the ground wire from the battery and connect the battery after work is completed.
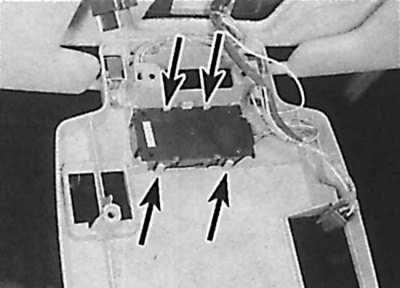
Electronic control device
Removing
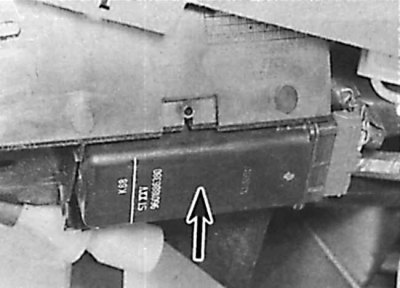
1. Remove the glove box to access the control unit (the arrow indicates the central block of the electronic blocking control device on models before 1992).

2. Unscrew the two fastening screws, remove the control unit and disconnect the electrical connector from the unit.
Installation
Installation is made in sequence, return to removal.
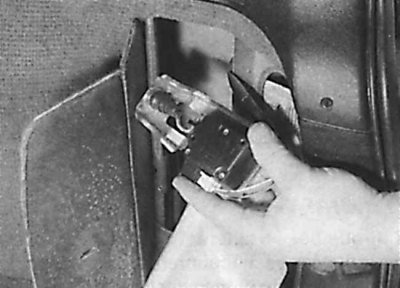
Door lock motor
The motors are mounted on the door lock.
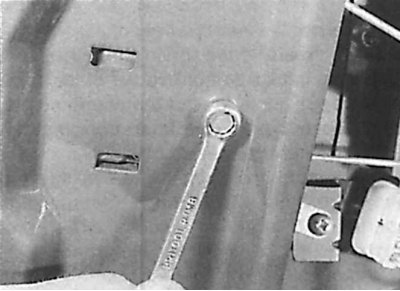
To remove the motor, you must remove the lock, then unscrew the screws holding the motor to the lock.
Rear door lock motor
Removing
1. Open back door.
2. Unscrew the mounting screws and remove the plastic trim from the inside of the tailgate.
3. Working around the edge of the carpet trim, release the fasteners and remove the carpet trim.
4. Remove the bolt securing the lock motor to the rear door.
5. Remove the lock motor from the hole in the rear door, then disconnect the lock rod and electrical connector.
Installation
Installation is made in sequence, return to removal.
Trunk lid lock motor
Removing
1. Open the trunk lid.
2. Remove the clips securing the trunk trim and unscrew the trunk trim from the upper edge of the luggage compartment.
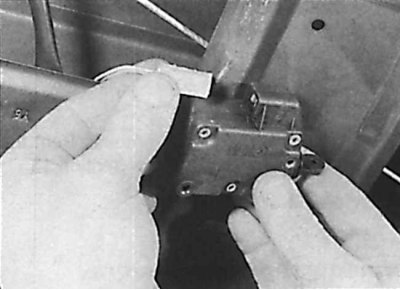
3. Unscrew the fastening screws, remove the lock motor and disconnect the rail.
4. Disconnect the electrical connector from the engine and remove the engine.
Installation
Installation is made in sequence, return to removal.
Fuel tank filler flap (sedan models)
On Sedan models, the fuel filler flap opening motor is located in the luggage compartment, behind the rear of the right side trim.
Removing
1. Use the lever to remove the right side carpet in the luggage compartment to access the lock motor.
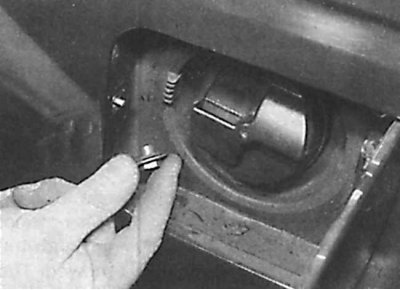
2. Open the fuel filler flap and unscrew the bolt securing the engine to the body.
3. Working inside the luggage compartment, unscrew the bolt, then remove the engine and disconnect the electrical connector.
Installation
Installation is made in sequence, return to removal.
Fuel tank filler flap (combi models)
On Combi models, the fuel filler flap opening motor is located in the luggage compartment behind the washer reservoir.
Removing
1. Working inside the luggage compartment, open the flap to access the rear washer reservoir.
2. Unscrew the two mounting screws, then lift the washer reservoir to access the lock motor.
3. Unscrew the bolt of the fuel tank filler flap drive motor.
4. Remove the fuel filler flap drive motor on Combi models and disconnect the electrical connector.
Installation
Installation is made in sequence, return to removal.
Remote control receiver
The remote control receiver is located in the ceiling console.
Removing
1. Remove the cover from the ceiling console.
2. Remove the backlight switch from the console to access the two screws. Disconnect the connector and remove the backlight switch.
3. Remove the backlight cover from the console to access the screw. Disconnect the connector and remove the backlight.
4. Using the lever, remove the locking plate from the console, and also remove the sunroof switch from the console.
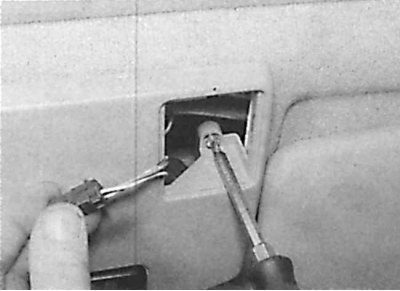
5. Unscrew the two screws securing the remote control, then lower the remote control from the ceiling.
6. Release staples (indicated by arrows) and remove the receiver from the remote control.
Installation
Installation is made in sequence, return to removal.
Replacing the battery of the remote control transmitter
Early models
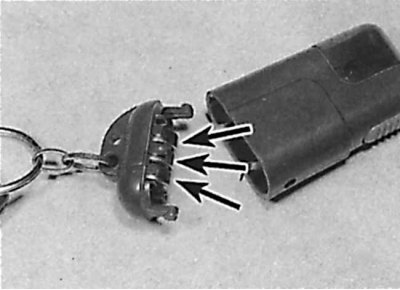
1. Using a small screwdriver, remove the back cover from the transmitter housing and remove the three batteries (indicated by arrows), marking the position in which they were installed.
2. Install new batteries, observing the battery polarity.
3. Install the back cover with batteries on the transmitter.
Later models
1. Unscrew the screws securing the two halves of the transmitter housing.
2. Remove the two batteries, marking the position in which they were installed.
3. Install new batteries, observing the battery polarity.
4. Connect the two halves of the transmitter housing and tighten the fastening screws.