
Attention! Before replacing exterior light bulbs, check the appropriate electrical circuit and fuse.
Attention! Do not touch the glass bulb of the lamp with your hands. The fingerprint evaporates and is deposited on the reflector, resulting in poor lighting. Be sure to replace failed lamps with lamps of the same type. Wipe off inadvertent contact stains with a clean, lint-free cloth or alcohol.
Farah
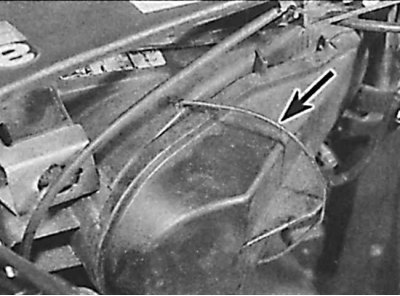
1. Release staples (indicated by an arrow) fasteners and remove the cover from the back of the headlight.
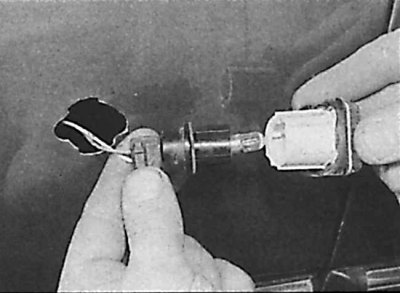
2. Remove the electrical connector from the back of the headlight bulb.
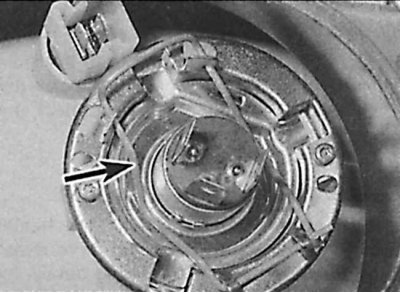
3. Compress the spring clips (indicated by an arrow) fasteners of the light bulb and fold them to the side.
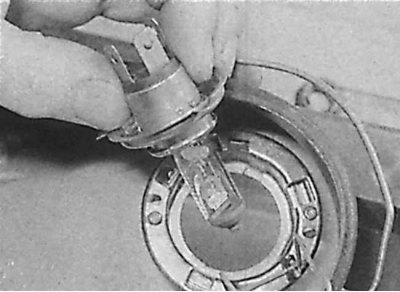
4. Remove bulb from headlight.
5. Install the new bulb so that the protrusions on the bulb holder are aligned with the grooves of the headlight, and secure the bulb with spring clips.
6. Connect the electrical connector and install the rear headlight cover.
Front position lamp
The marker light bulb is located at the rear of the headlight.
1. Release the mounting bracket and remove the rear cover from the headlight.
2. On models prior to 1992, remove the bulb holder from the back of the headlight. On models since 1993, turn the bulb holder a quarter of a turn and remove the bulb holder from the back of the headlamp.

3. Remove the bulb from the socket by simply pulling it towards you.
4. Installation is made in sequence, return to removal.
Front turn signal
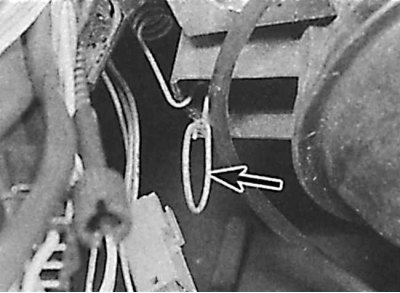
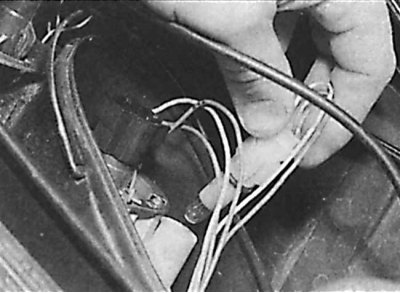
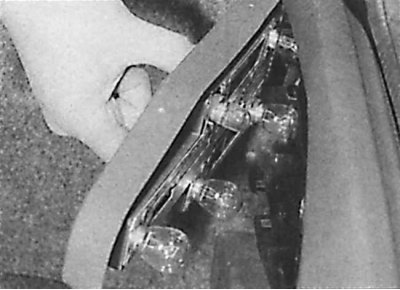
1. Working in the engine compartment, disconnect the retaining spring (arrow) front turn signal bulbs from the ledge.
2. Remove the front turn signal from the fender.

3. Rotate the cartridge counterclockwise to remove it from the front direction indicator.
4. Remove the bulb from the socket by simply pulling it towards you.
5. Installation is carried out in the reverse order of removal, while checking that the fixing spring is correctly installed.
Front side turn signal
1. Rotate the front side turn signal counterclockwise and remove it from the fender of the vehicle.
2. Turn the bulb holder counterclockwise and remove it from the front side repeater.
3. Remove the bulb from the socket by simply pulling it towards you.
4. Installation is made in sequence, return to removal.
Additional front light
On some models, an additional front light is installed in the headlight. The auxiliary front light turns on when the high beam is switched on.
Replacing a light bulb is done in the same way as headlight bulbs (see higher).
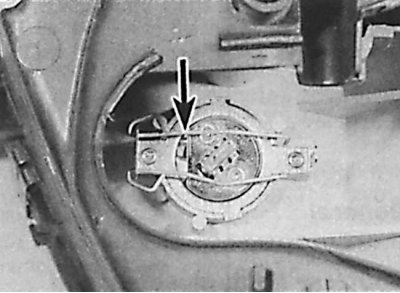
1. Release spring clips (indicated by an arrow) fastenings of a bulb of additional forward light.
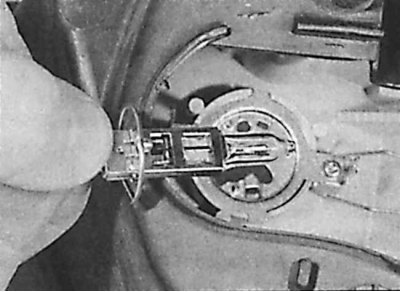
2. Remove the auxiliary headlight bulb from the headlight.
Front fog lights
Attention! Some models are equipped with front fog lights that do not have mounting screws visible from the side of the headlight glass.
Two types of headlights can be installed. On some models, access to the bulb may be possible from the rear of the spoiler. On other models, the headlight must be removed to access the bulb.
1. On models where the bulb can be accessed from the rear of the spoiler, disconnect the electrical connector from the bulb.
2. Remove the rubber cover from the headlight, then compress the spring clips and remove the bulb.
3. On models where the rear of the fog lamp is covered by a spoiler, unscrew the two mounting screws from the front of the headlight and remove the headlight from the spoiler.
4. Disconnect the electrical connector from the bulb, then compress the spring clips and remove the bulb.
Back light (sedan models)
1. Open the trunk lid.
2. Compress the two mounting brackets and remove the bulb holder from the rear light.
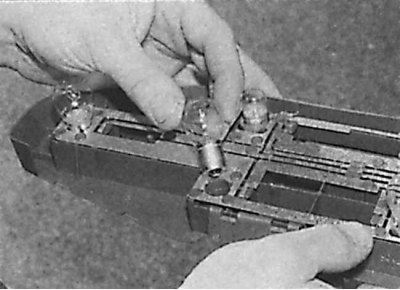
3. To remove the light bulb, press it, in this position, turn in any direction and remove from the holder.
4. Installation is made in sequence, return to removal.
Back light (combi models)
The brake and turn signal lights are located in the rear fender. The rest of the taillight bulbs are located in the tailgate.
1. Open back door.
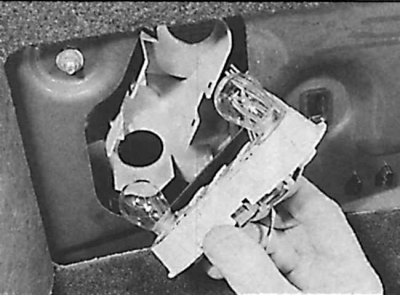
2. Rotate the mounting bracket and open the flap of the luggage compartment cover.

3. Compress the two mounting brackets and remove the bulb holder from the rear light.
4. To remove the light bulb, press it, in this position, turn in any direction and remove from the holder.
5. Installation is made in sequence, return to removal.
License plate light (sedan models)
1. Using a thin screwdriver, remove the cover from the back of the bumper to access the incandescent bulb.
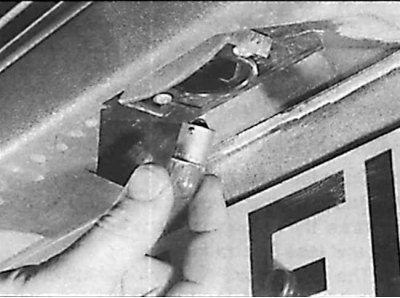
2. To remove the light bulb, press it, in this position, turn in any direction and remove from the holder.
3. Installation is made in sequence, return to removal.
License plate light (combi models)
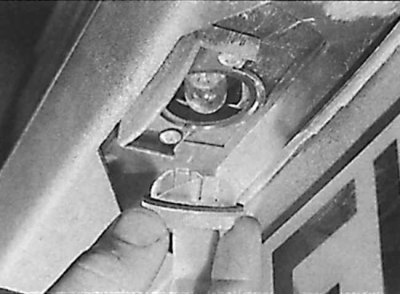
1. Using a thin screwdriver, remove the license plate light from the tailgate.
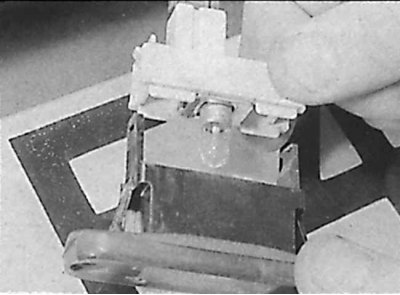
2. Remove the bulb holder from the lamp.
3. To remove the light bulb, press it, in this position, turn in any direction and remove from the holder.
4. Installation is made in sequence, return to removal.