
Models up to 1992
Removing
1. Disconnect the negative cable from the battery.
2. Remove the three locking plates located under the ventilation nozzles and covering the screws securing the instrument cluster shield.
3. Unscrew the screws and lift up the instrument cluster panel.
4. At the back of the clock, release the fastening brackets and remove the clock from the instrument panel.
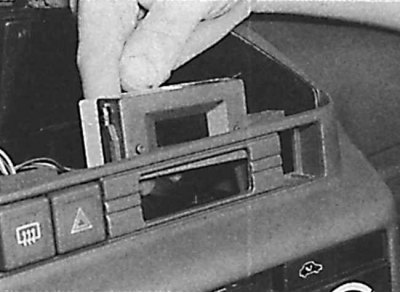
5. Disconnect the electrical connector and remove the clock.
Installation
Installation is made in sequence, return to removal.
Models since 1993
Removing
1. Disconnect the negative cable from the battery.
2. Remove center console.
3. Unscrew the two screws located at the bottom of the ashtray socket.
4. Remove radio.
5. Unscrew the two fixing screws from the top of the radio bezel.
6. Using a thin screwdriver, remove the decorative plate from the upper corner of the frame of the central ventilation nozzles and unscrew the exposed screw.
7. Unscrew the four screws securing the trim located under the heating and ventilation control panel. Two screws are accessible from the front and two from the bottom.
8. To access the instrument panel mounting screw, use a thin screwdriver to remove the switches located under the central nozzles of the ventilation and heating system.
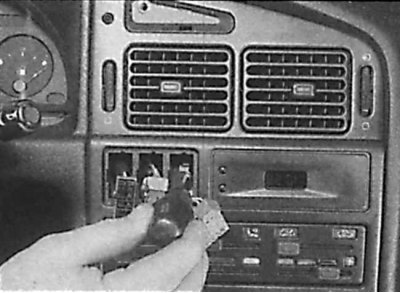
9. Unscrew the screw located under the switch.
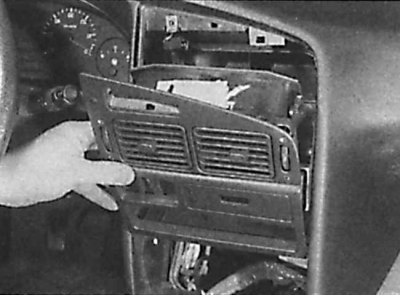
10. Pull the panel with ventilation nozzles forward, disconnect the electrical wiring from the clock and remove the panel with ventilation nozzles.
11. Unscrew the two fastening screws and remove the clock from the panel.
Installation
Installation is made in sequence, return to removal.