



Table of contents: Interior, glove compartment and…🠇 Ceiling lamp 🠇 Heater control unit illumination…🠇 Heater control unit illumination…🠇 Clock Lighting Lamp 🠇 Panel switch illumination lamps 🠇 Instrument cluster lighting 🠇
Caution: Before replacing interior light bulbs, check the corresponding electrical circuit and fuse.
Interior, glove compartment and trunk lighting lamps
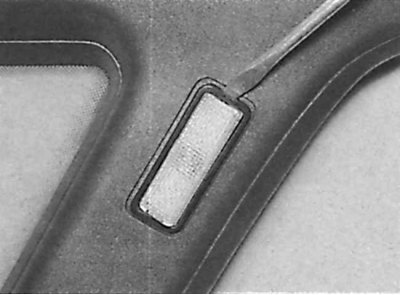
1. Using a thin screwdriver, remove the lampshade from the backlight.
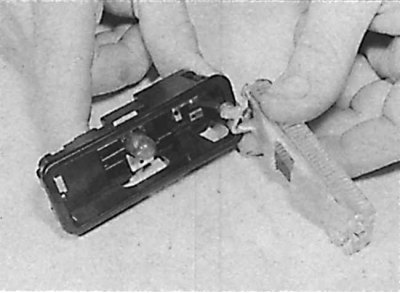
2. In some cases, to remove the lampshade, it is necessary to remove the backlight.
3. To remove the bulb, press on it, turn it in any direction in this position and remove it from the holder.
4. Installation is carried out in the reverse order of removal.
Ceiling lamp
1. Using a thin screwdriver, remove the light fixture from the overhead console.
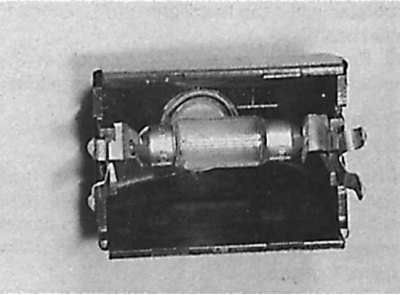
2. Remove the incandescent lamp secured between the spring contacts.
3. Installation is carried out in the reverse order of removal.
Heater control unit illumination (models before 1992)
To access the incandescent lamps, remove the heater control unit without disconnecting the control cables.
Heater control unit illumination (models since 1993)
1. Remove the negative cable from the battery.
2. Remove the center console.
3. Unscrew the two screws located at the bottom of the ashtray casing.
4. Remove the radio.
5. Unscrew the two mounting screws from the top of the radio frame.
6. Using a thin screwdriver, remove the decorative plate from the upper corner of the frame of the central nozzles of the ventilation system and unscrew the exposed screw.
7. Remove the four screws securing the trim panel located underneath the HVAC control panel. Two screws are accessible from the front and two from the bottom.
8. To access the instrument panel mounting screw, use a thin screwdriver to remove the switches located under the central ventilation and heating system nozzles. Unscrew the screw.
9. Pull the panel with the ventilation nozzles forward, disconnect the electrical wiring from the clock and remove the panel with the ventilation nozzles.
10. Remove the heater control knobs.
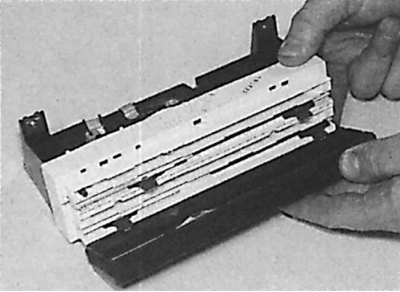
11. Remove the front panel from the heater control unit to access the bulbs.
12. To remove the bulb, press on it, turn it in any direction in this position and remove it from the holder.
13. Installation is carried out in the reverse order of removal.
Clock Lighting Lamp
1. To access the clock's incandescent lamp, remove the clock.
(Source of the article is website: Peugeotbook.ru)
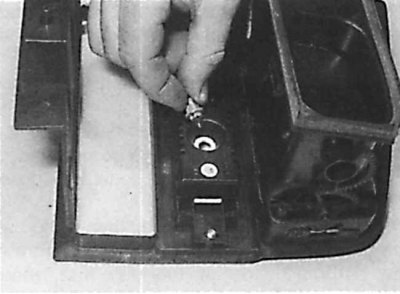
2. To remove the incandescent lamp, turn the socket with the bulb counterclockwise and remove the bulb from the watch.
3. Installation is carried out in the reverse order of removal.
Panel switch illumination lamps
Incandescent lamps are integral with switches and cannot be replaced separately.
Instrument cluster lighting
1. Remove the instrument cluster.
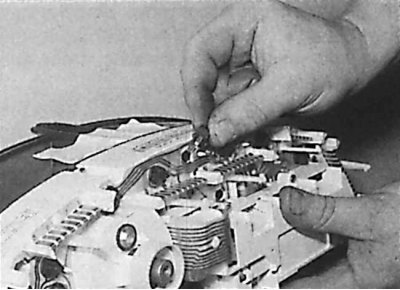
2. To remove the bulb, turn the socket with the bulb counterclockwise and remove the bulb from the instrument cluster by simply pulling it towards you.
3. Installation is carried out in the reverse order of removal.