
Removing
1. Disconnect the negative cable from the battery.
2. If equipped, disconnect the connector from the coolant level sensor located on the right side of the radiator.
3. If equipped, disconnect the connector from the radiator fan switch located on the left side of the radiator.
4. Drain the coolant from the cooling system.
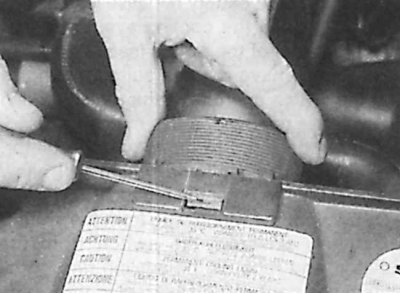 | 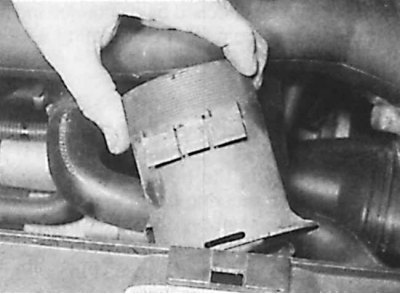 |
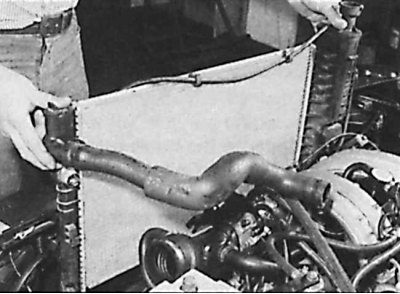
5. Disconnect the clamp (drawing on the left) air supply pipe and remove the air supply pipe located above the radiator (drawing on the right).
6. If available, disconnect the connector and vacuum hose from the MAP sensor located in the upper part of the radiator, then unscrew the two bolts securing the sensor mounting bracket and remove the sensor.
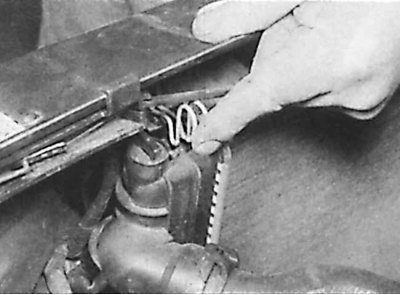
7. Disconnect the upper radiator hose from the left front end of the radiator.
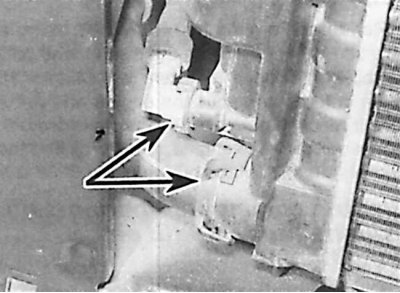
8. Disconnect the lower radiator hose from the right side of the radiator. On some models to access the lower radiator hoses (indicated by arrows) you need to remove the grille.
9. Remove the two brackets securing the top of the radiator and tilt the radiator back.
10. Remove the heatsink carefully so as not to damage the heatsink fins. Be careful not to lose the bottom rubber radiator support.
Examination
1. If the radiator was removed due to a decrease in throughput, rinse it with a jet of water in two directions. Blow out the radiator with compressed air.
2. If the radiator is leaking, do not attempt to weld or solder the leak, as the plastic parts of the radiator will be damaged.
3. Minor radiator leaks can be repaired with radiator sealant.
4. Check the condition of the lower rubber radiator mounts and replace if necessary.
Installation
Installation is carried out in the reverse order of removal, taking into account the following points:
- check that the lower tabs on the radiator are properly seated in the front cross member;
- when connecting hoses to the radiator, use new O-rings in the connectors;
- finally fill the cooling system.