



Table of contents: Removal 🠇 Installation 🠇
Removal
1. Raise the front of the vehicle and secure it on stands. Remove the relevant front wheel.
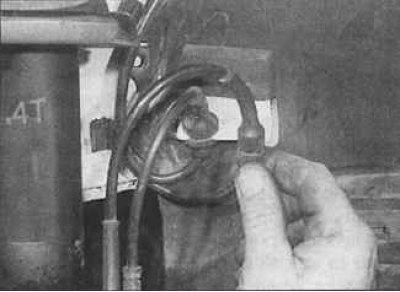
2. Disconnect the electrical wires and hoses from the rack.
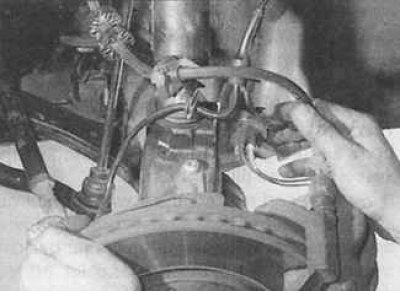
3. Unscrew the mounting bolts and release the installation suspension from the steering knuckle.
4. Unscrew the lower ball joint mounting nut and remove the ball joint from the lower arm.
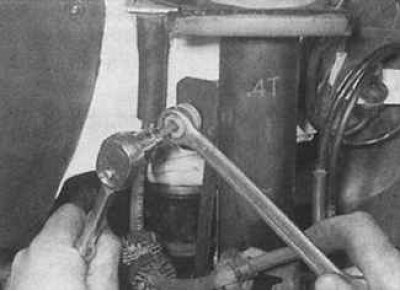
5. Unscrew the nut securing the anti-roll bar linkage to the strut and separate the linkage from the strut.
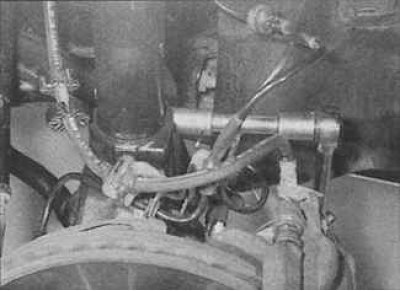
6. Loosen the steering knuckle clamp bolt nut.
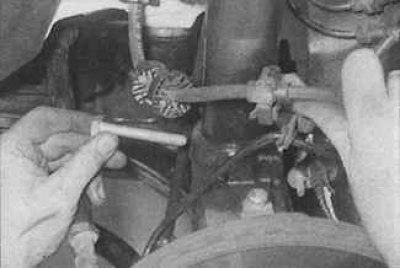
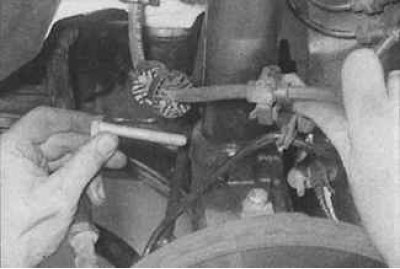
7. Remove the clamp bolt securing the strut to the steering knuckle. To prevent the steering knuckle and hub from dropping when removing the strut, tie the lower arm or hub to the lower frame with wire.
8. Remove the strut from the steering knuckle. If the strut is tight in the steering knuckle, use a large screwdriver to pry the knuckle clamp loose.
9. In the engine compartment, remove the protective plastic cap from the top of the front pillar.
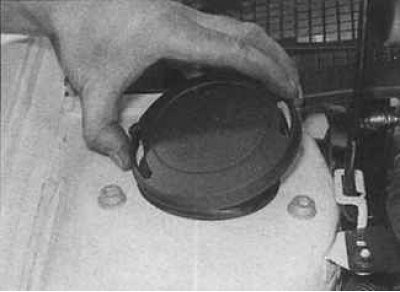
10. Unscrew the 3 bolts of the upper front strut mount.
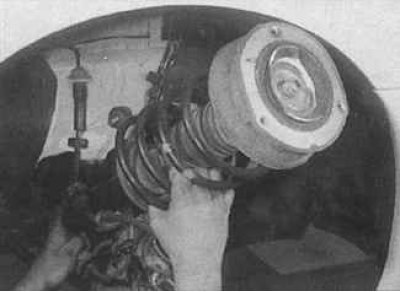
11. Remove the strut from under the wheel arch. Temporarily position the lower ball joint of the steering knuckle in the lower arm.
Installation
1. Install the front strut so that the upper mount plate locating pin is correctly positioned in the corresponding hole. Align the lower end of the strut with the steering knuckle. In doing so, it is necessary to align the slot in the knuckle clamp with the protrusion on the end of the strut.
2. Install the upper strut mounting bolts and tighten them to the specified torque.
3. Make sure the bottom of the strut is aligned with the steering knuckle. Insert the clamp bolt from the rear of the car and secure it with a new nut.
4. Bolt the lower ball joint of the steering knuckle to the lower control arm.
5. Connect the anti-roll bar link to the strut.
6. Secure the electrical wires and hoses to the rack bracket.
7. Install the wheel and lower the vehicle.