



Table of contents: Rear door lock cylinder 🠇 Rear door lock 🠇
Rear door lock cylinder
Removal
1. Open the back door.
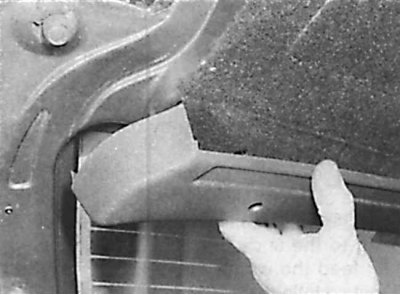
2. Unscrew the mounting screws and remove the plastic trim from the inside of the rear door.
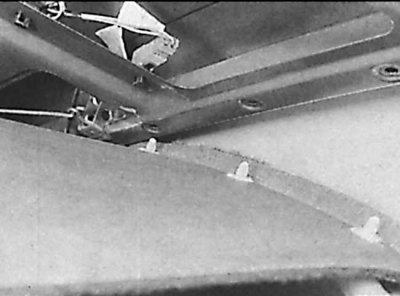
3. Working around the edge of the carpet trim, release the fastening clips and remove the carpet trim.
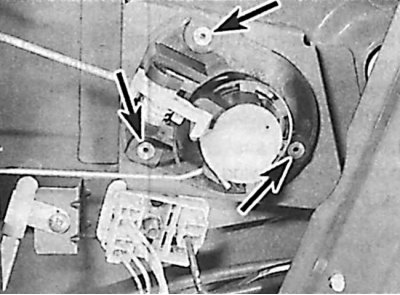
4. Drill out the rivets (indicated by arrows) fastening the lock cylinder to the rear door.
5. Disconnect the rod and remove the lock cylinder assembly from the rear door.
Installation
Installation is performed in the reverse order of removal. In this case, it is necessary to use new rivets for fastening the lock cylinder.
Rear door lock
Removal
1. Open the back door.
2. Unscrew the mounting screws and remove the plastic trim from the inside of the rear door.
3. Working around the edge of the carpet trim, release the fastening clips and remove the carpet trim.
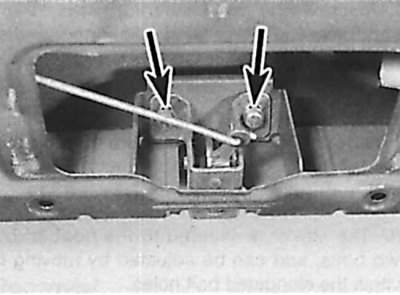
4. Unscrew two bolts (indicated by arrows), securing the lock to the bracket.
5. Disconnect the rod and remove the lock from the rear door.
Installation
Installation is performed in the reverse order of removal. Before installing the rear door trim, check the operation of the lock and, if necessary, adjust it by moving the lock within the elongated holes for the mounting bolts.