
Compressing a spring with a spring compressor
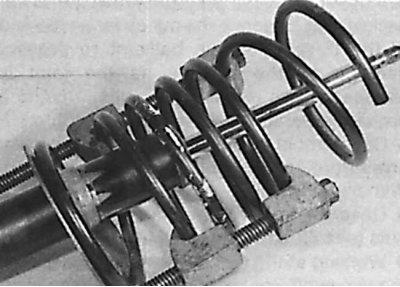
1. Remove the front strut from the car and clean from dirt. Using a special tool, compress the spring so that its upper cup is unloaded.
Attention! When using a special device for compressing springs, make sure that the coils of the spring are securely gripped and that the spring is compressed from opposite sides. The spring has a very high compression force, so use only a very reliable tool. Never tie the spring with wire.
Attention! The central fastening nut can only be unscrewed when the spring is compressed.
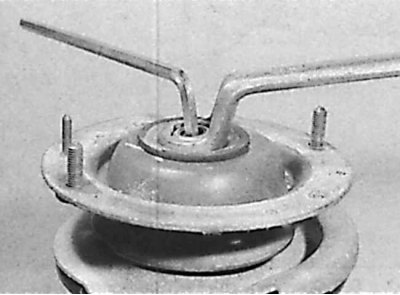
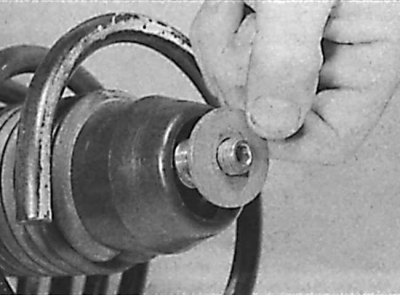
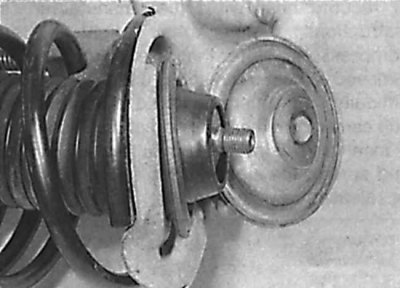
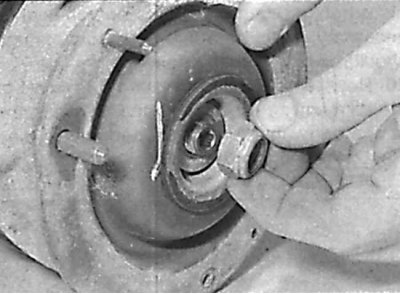
2. Secure the shock absorber rod against turning with a 7 mm wrench and, using the second ring wrench, unscrew the central nut of the shock absorber rod.
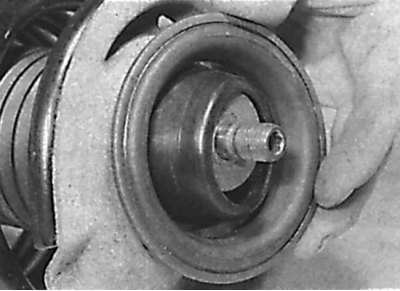
3. Remove the nut, washer, cup gasket, mounting plate, rubber pad, and two spacer plates.
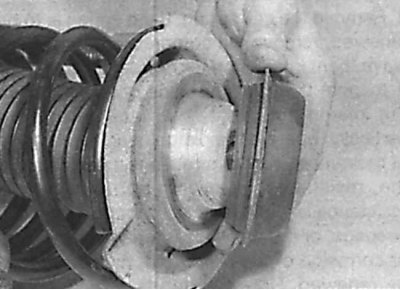
4. Remove the upper spring seat.
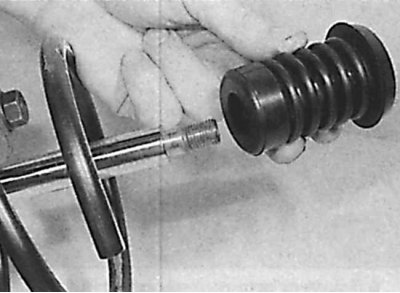
5. Remove the washer and rubber protective boot.
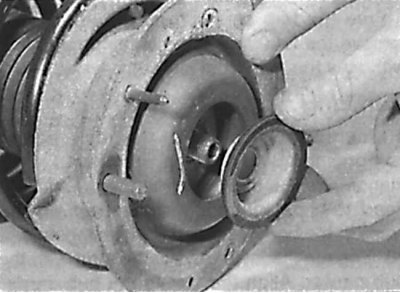
6. Remove impact stop.
7. Remove coil spring.
8. Check all parts of the suspension strut for wear, damage or deformation. Check the smoothness of the shock absorber rod. Check the shock absorber for tightness, as well as its rod for pitting along the entire length.
9. Assemble the rack in the reverse disassembly sequence, as well as being guided by the drawings in p.p. 10–19.
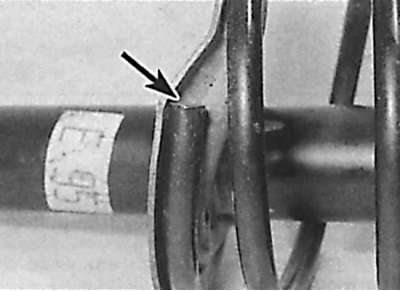
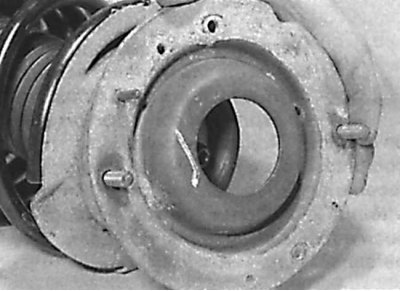
10. When installing, the lower end of the spring must be located in the recess (arrow) spring sockets.
11. Install the impact stop.
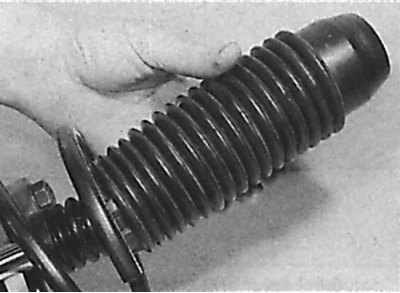
12. Install the rubber protective boot.
13. Place the washers on the protective cover.
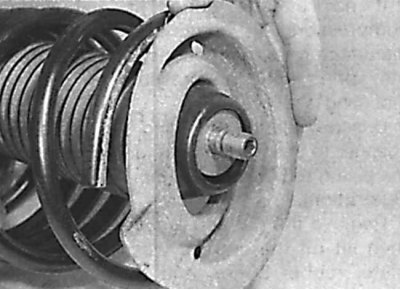
14. Install the upper spring seat.
 |  |
15. Install the bottom (drawing on the left) and top (drawing on the right) spacer plates.
16. Install the rubber pad.
17. Install the base plate.
18. Install the cup gasket.
19. Install washers and nuts.