



Removal
1. Remove the gearbox.
Shaft type
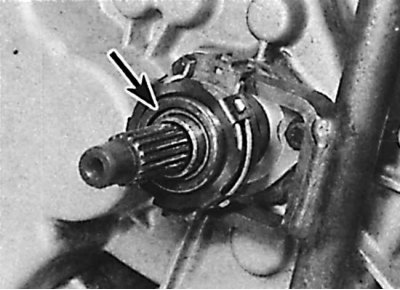
2. Disconnect the bearing (indicated by the arrow) from the clutch release fork and remove the bearing from the input shaft.
3. Remove the cylindrical pin from the drive lever, at the top of the shaft and remove the clutch release lever from the top of the clutch release shaft. A new cylindrical pin must be used when installing.
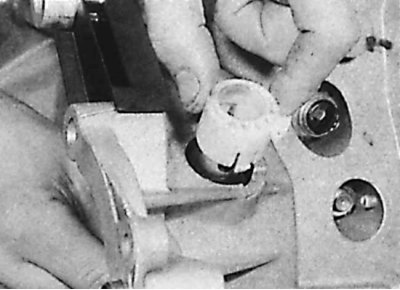
4. Press the retaining ring and remove the upper sleeve from the clutch fork shaft.
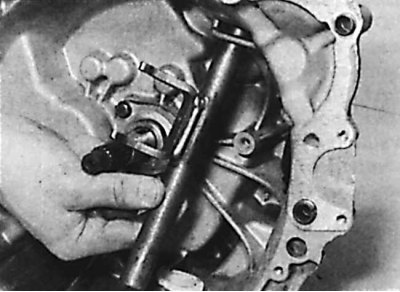
5. Remove the shaft from the lower bushing and take it out of the clutch housing.
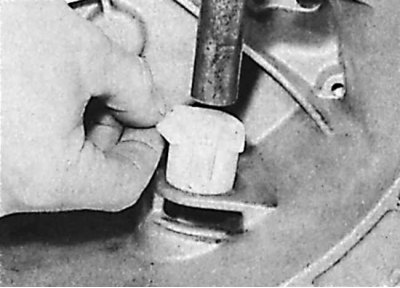
6. Press the retaining ring and remove the lower sleeve from the clutch housing.
Ball type
7. Release the latches and slide the release bearing off the guide sleeve.
8. Remove the clutch release fork.
Examination
1. Check the clutch release mechanism and replace worn parts if necessary.
2. Check the release bearing, which should rotate easily, evenly and quietly. The working surface of the bearing, acting on the pressure spring, should be smooth, without cracks, local corrosion or wear. If these defects are present, the release bearing must be replaced. On leading clutch assemblies of the second type, the entire assembly must be replaced.
Installation
Shaft type
1. Lubricate the pivot points and contact surfaces of the fork with molybdenum disulfide.
2. Install the lower sleeve of the clutch housing. Insert the clutch release shaft and the upper sleeve and secure them with retaining rings.
3. Install the clutch release lever on the shaft, align the holes on the shaft and lever and insert a new cylindrical pin. Install the release bearing on the gearbox input shaft and connect it to the clutch release fork.
4. Install the gearbox.
Ball type
5. Lubricate the bushing with molybdenum disulfide and install the clutch release fork.
6. Press the ball stud until it snaps into place.
7. Install the bearing on the guide sleeve and secure with latches.
8. Install the gearbox.