
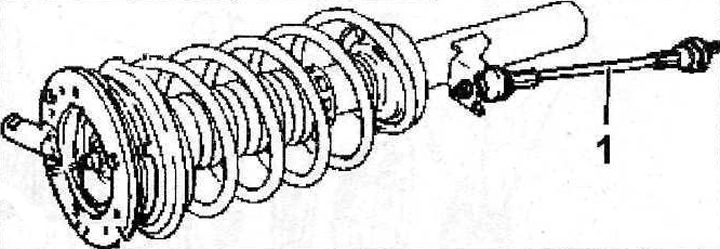
2.11 Disconnect the rack 1 of the anti-roll bar from the bracket on the suspension strut
12. Fix the spring strut in a vise by compressing the strut spring with the corresponding handles 3 (see illustration).
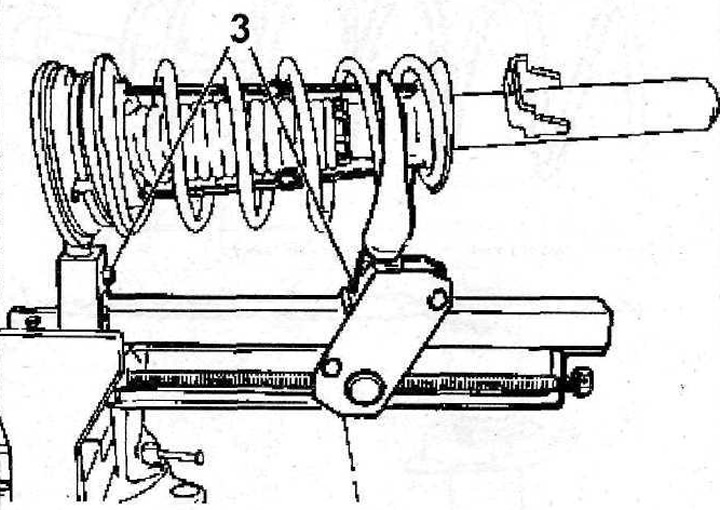
2.12 Fix the spring strut in a vise by compressing the strut spring with the corresponding handles 3
13. Unscrew the damper rod nut while holding the rod with a suitable wrench.
14. Cars with a suspension control unit. While holding the shock absorber rod with a suitable wrench, unscrew the nut on the shock absorber rod. Check the condition of wires 4 control unit (see illustration).
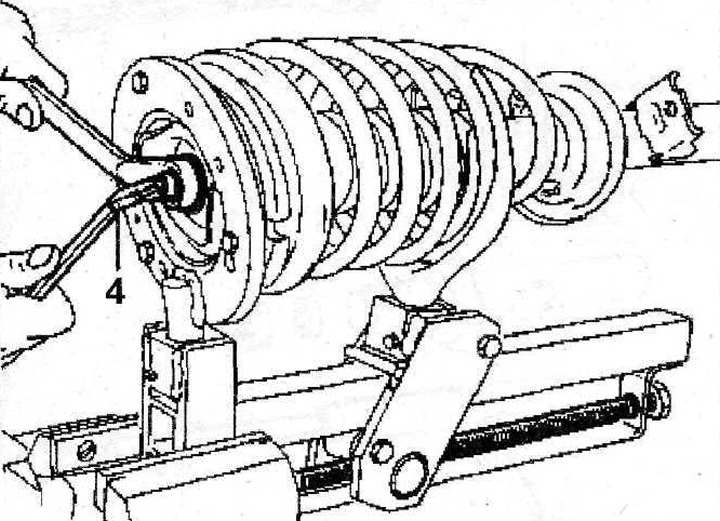
2.14 While holding the shock absorber rod with a suitable wrench, unscrew the nut on the shock absorber rod. Check the condition of wires 4 of the control unit. Vehicles with suspension control unit
15. Disassemble the spring strut, to do this, unscrew the nut 5, remove the washer 6, then remove the spring 8. the upper cup 9 of the spring, the sleeve 10 of the upper support, the protective cover 11, the washer 12 and the buffer 13 of the compression stroke (see illustration).

2.15 Disassemble the suspension strut by unscrewing the nut 5
16. Vehicles with suspension control unit. Clamp the post in a vise, unscrew the nut 14 using a suitable wrench «A», remove the centering ring and insert 15 (see illustration). The tightening torque of the nut is 145 Nm.
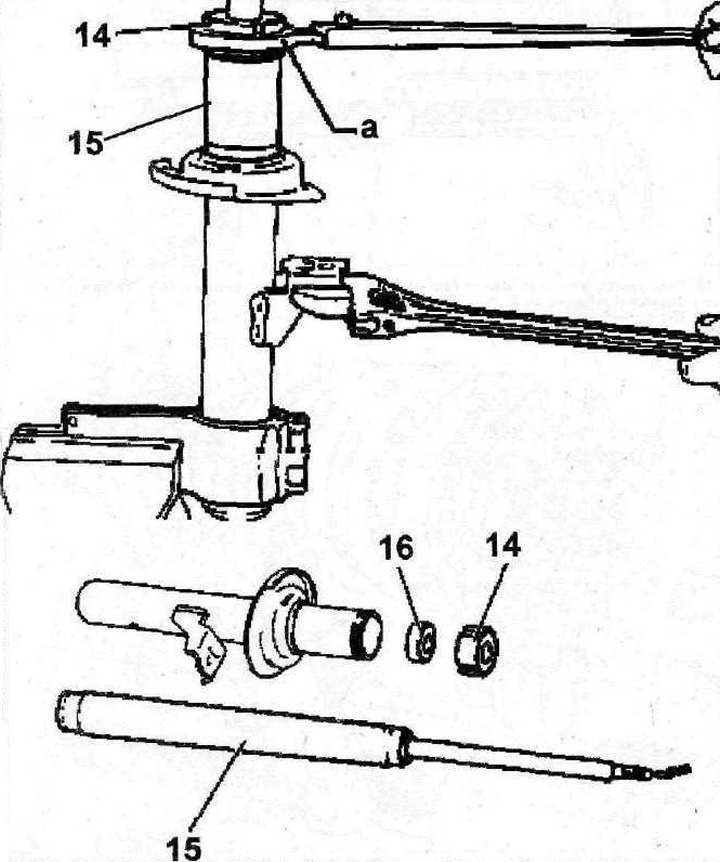
2.16 Unscrew the nut 14. using a suitable wrench «A», remove centering ring 16 and insert 15. Vehicles with suspension control unit
The suspension strut is assembled in the reverse order of its disassembly.
Attention! Make sure the upper suspension strut is installed correctly. Labels 14 and 15 must match (see illustration 2.17).
17. Assemble the shock strut and screw in a new shock absorber rod nut. The tightening torque of the rod nut is 50 Nm, and the pillars of cars with a suspension control unit are 45 Nm (see illustration).
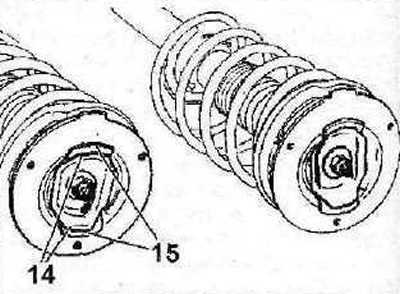
2.17 Assemble the suspension strut and make sure that marks 14 and 15 match
18. Fasten the anti-roll bar to the body of the suspension strut by tightening the nut 16 of its fastening with a force of 40 Nm. When installing the rack, make sure that the label 17 is facing forward (see illustration).
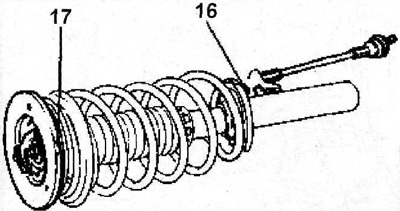
2.18 Fasten the anti-roll bar to the body of the suspension strut