
Initial throttle setting
Starting throttle position
1. Remove the accelerator cable and throttle position switch.
2. Loosen the throttle actuator lever bolts, turn the actuator fully counterclockwise, then tighten the bolts.
Primary chamber
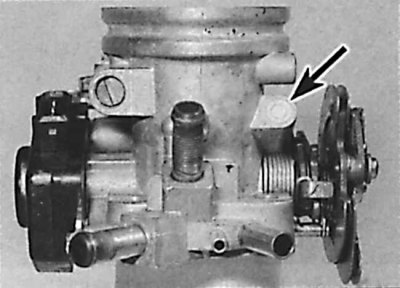
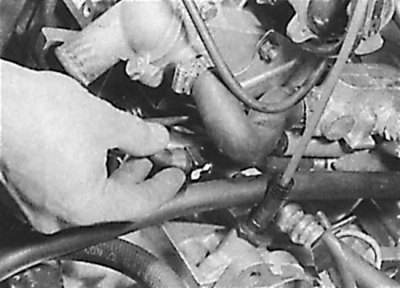
3. Remove plug (arrow), covering the idle adjustment screw.
4. Place a 0.05 mm feeler gauge between the lever and the screw and tighten the screw until it contacts the feeler blade. In this case, the throttle lever must not be moved.
5. Remove the feeler blade and tighten the screw a further quarter turn. Install a new plug.
Secondary chamber
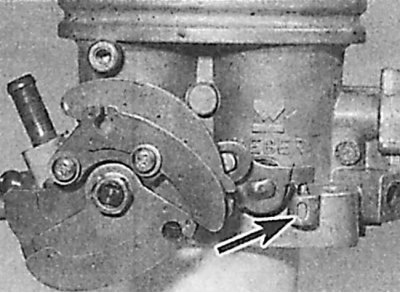
6. Perform the adjustment as for the primary chamber, but using the secondary throttle adjustment screw (indicated by an arrow).
7. After completing the adjustment, tighten the secondary adjustment screw (indicated by an arrow).
Throttle switch
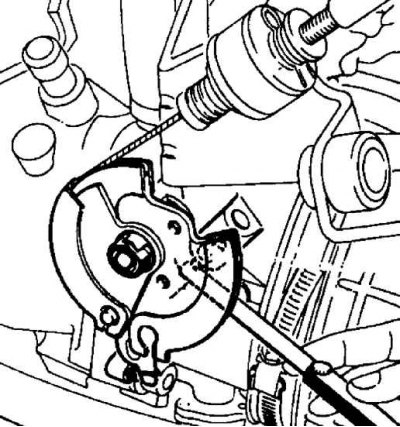
1. Disconnect the accelerator cable from the throttle lever.
2. Loosen the screws securing the throttle switch, turn the switch counterclockwise and tighten the screws.
Throttle position sensor
Throttle position sensor fastening screws and pin numbers

A - fastening screws,
2, 3, 18 - pin numbers
1. Unscrew the sensor fastening screws and turn the sensor to the right as far as it will go and slowly return it back (to the left) before it's triggered (clicks), then tighten the fixing screws.
2. Check the correct adjustment of the idle mode, for which remove the connector from the sensor and measure the resistance between pins 2 and 18. When the throttle is closed, the resistance should be 0 Ohm, and when the damper is opened, it should be infinity.
3. Check the correct adjustment of the full load mode, for which measure the resistance between pins 3 and 18. When the throttle is fully opened, the resistance should be 0 Ohm, and when the damper returns to its original position, it should be infinity.
4. If it is impossible to adjust both functions of the sensor, replace the sensor.
5. Connect the connector to the sensor.
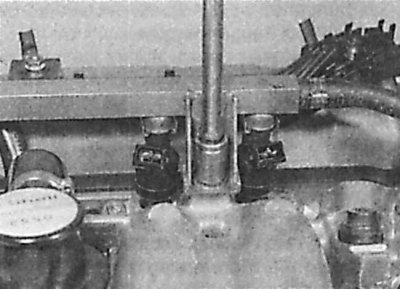
Fuel line and injectors
1. Relieve pressure in the fuel system.
2. Remove the sensor tube on the pressure regulator and unscrew the regulator mounting bolt.
3. Remove the electrical connectors from the injectors.
4. Unscrew the fuel supply hoses.
5. Unscrew the four bolts from the fuel line.

6. Lifting up, remove the highway.
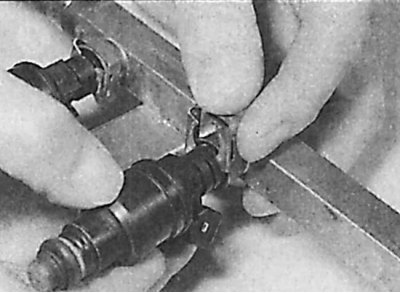
7. Remove the brackets securing the injectors to the line and remove them.
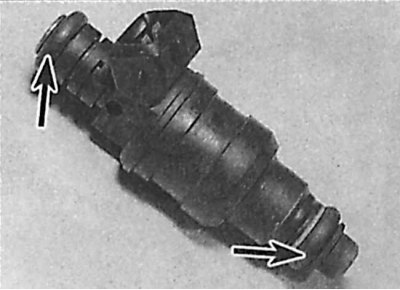
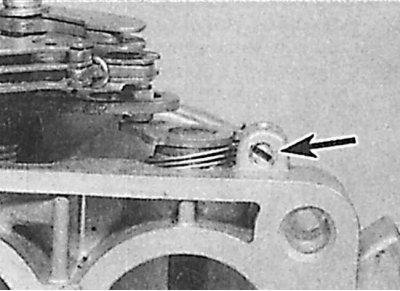
8. Check the condition of the O-rings (indicated by arrows) and replace them if necessary.
9. Clean the nozzle tips using cleaning fluid.
10. Injector tip contamination is characterized by the following symptoms:
- difficult starting of a hot engine;
- permanent engine stop;
- difficult start of a cold engine;
- misfire between 1000 and 2000 rpm;
- power loss.
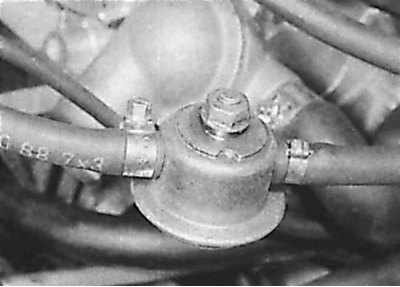
Fuel pressure regulator
1. Relieve pressure in the fuel system.
2. Remove the tube from the regulator.
3. Remove the fuel supply hose.

4. Unscrew the regulator mounting bolts on the exhaust manifold and remove the regulator from the fuel line (indicated by arrows).
Fuel pump pulse damper
1. Relieve pressure in the fuel system.
2. Remove the fuel supply hose from the fuel pump pulse damper.
3. Unscrew the nut securing the pulse damper and remove it.
Additional air device
1. Disconnect and remove the battery from the stand.
2. Unscrew the nuts securing the water casing to the cylinder head.
3. Remove wiring and hoses from air unit.
4. To access the air unit mounting bolts, tilt the water jacket, unscrew the bolts and remove the air accessory.
Fuel filter
The fuel filter is located under the bottom of the car, on the right side of the fuel tank.
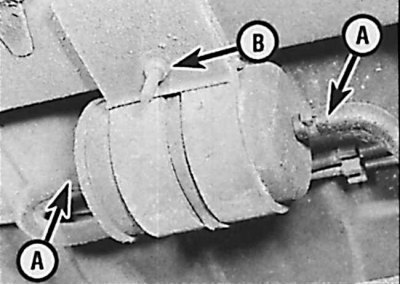
1. Clamp the fuel supply hose from the side of the filter, remove the clamps from the hoses, and then remove the hoses from the filter. Loosen the nut securing the filter bracket and pull the filter out of the bracket (arrows show fuel supply hoses (A) and fastening bracket (B)).
2. When installing the filter, pay attention to the direction of the arrow on the filter housing, which shows the direction of the fuel flow passing through the filter.
3. Install a new filter in the bracket and secure with a nut, then install the clamps and remove the clamp from the fuel hose.
4. Start the engine and check the hose connections to the filter for leaks.