
Removing
Release models prior to September 2002
1. Disconnect the wire «masses» from battery (see «Disconnecting the battery»).
2. Remove the lower and upper steering column covers as described in chapter 11.
3. Remove the three screws and remove the center air vent from the front panel (pic. 9.3, a, b).
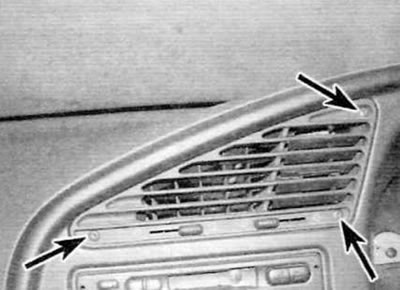
Pic. 9.3, a. Remove three screws (marked with arrows)...
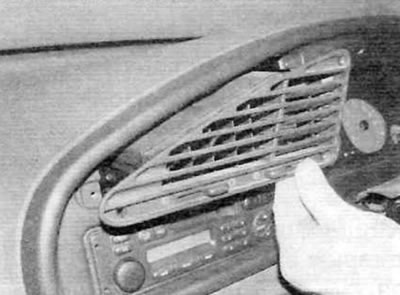
Pic. 9.3b....and remove the center vent from the front panel (early models)
4. Remove the audio unit and base frame as described in paragraph 17.
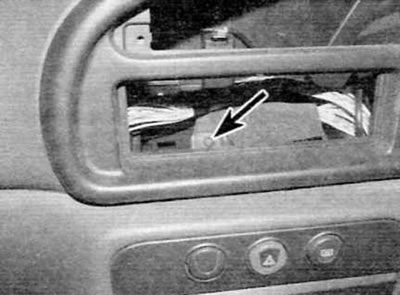
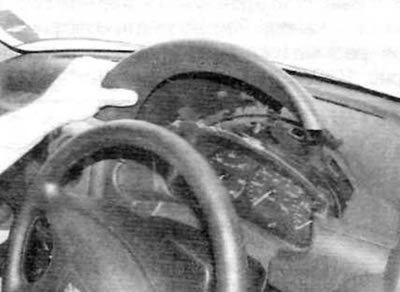
5. Remove the two screws securing the upper section of the front panel, located above the instrument panel (pic. 9.5).
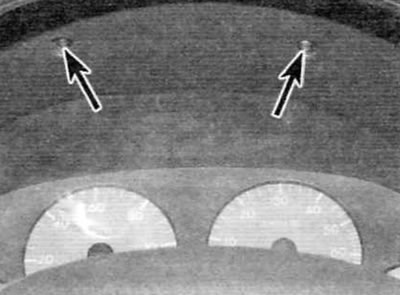
Pic. 9.5. Remove the two screws securing the upper section of the front panel above the instrument panel (marked with an arrow) (early models)
6. Similarly, unscrew the top screws located under the instrument panel and in the opening for the audio unit (pic. 9.6, a, b).
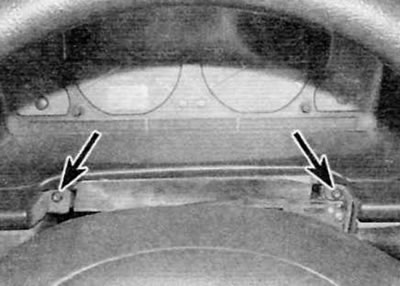
Pic. 9.6, a. Turn out screws of fastening of the top section under a panel of devices (marked with arrows)...
Pic. 9.6b....and in the opening for the audio unit (marked with an arrow) (early models)
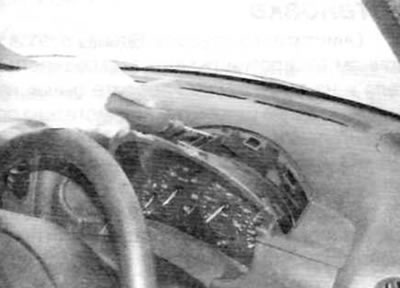
7. Pull the top section of the bezel toward you to release the latches and remove it (pic. 9.7).
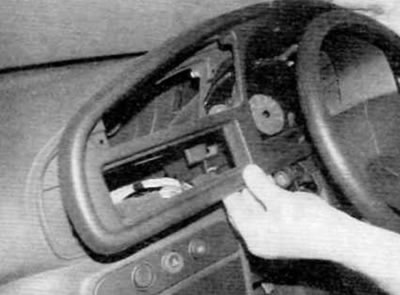
Pic. 9.7. Pull the top panel towards you to release the latches (early models)
8. Remove two screws securing the instrument panel on each side and remove the instrument panel from the front panel (pic. 9.8, a, b).
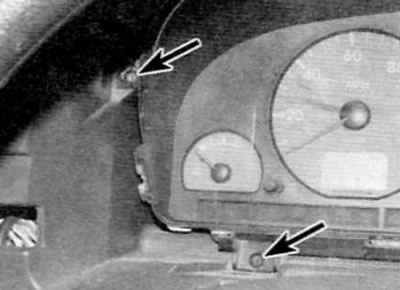
Pic. 9.8, a. Remove the two fixing screws on the edges of the instrument panel (marked with arrows)...

Pic. 9.8b.... and remove the instrument panel from the front panel (early models)
9. Turn the shield over and disconnect the electrical connectors on the back side (pic. 9.9).
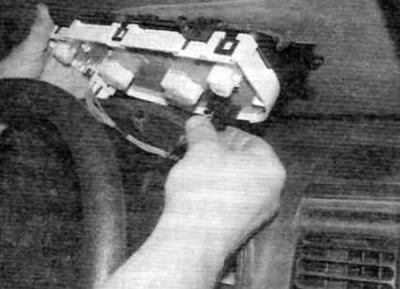
Pic. 9.9. Turn the instrument panel over and disconnect the electrical connectors (early models)
Release models after September 2002
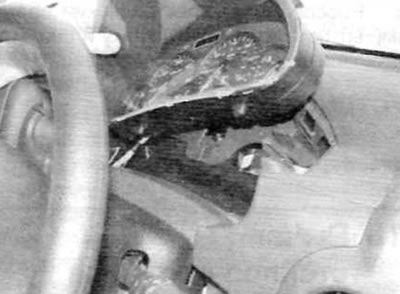
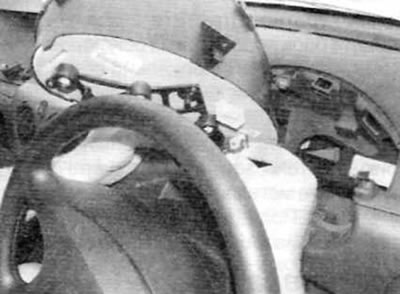
10. Pull the top of the upper instrument panel trim up and towards the steering wheel to release the clips. Release the front mounting tabs from the bezel and lift the bezel (pic. 9.10, a, b).

Pic. 9.10, a. Pull the upper trim section of the fascia up and towards the steering wheel to release the latches (later models)
Pic. 9.10, b. Unhook the top mounting tabs from the front panel and remove the panel (later models)
11. Turn out the fastening screw in the top part of a board of devices. Lift the shield up and remove it from the corresponding opening (pic. 9.11, a, b).
Pic. 9.11, a. Remove the fixing screw in the top section of the bezel...
Pic. 9.11, b....then lift up the shield and remove it (later models)
12. Turn the panel over and disconnect the electrical connectors on the back side (pic. 9.12).
Pic. 9.12. Turn the instrument panel over and disconnect the electrical connectors (later models)
Installation
13. Installation is carried out in the reverse order of removal.