
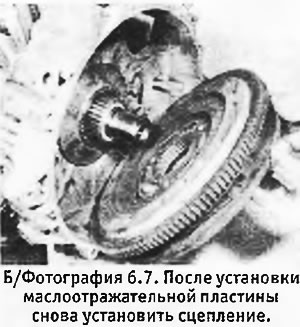
2. Before centering the driven disk, remove the oil slinger plate of the drive gear. Unclip the circlip on the gear using circlip pliers and remove the circlip and oil slinger plate. Remove the old O-ring behind the plate.
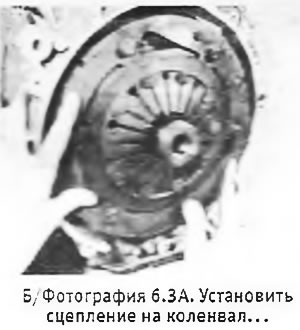
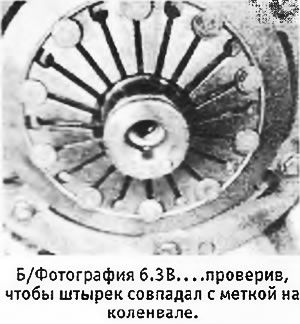
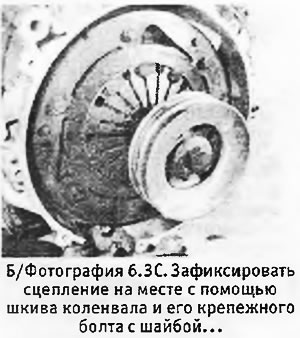
3. Check that the 6 clutch mounting bolts are not tightened and install the flywheel with the clutch onto the crankshaft, checking that the pin on the end of the clutch centering shoulder is aligned with the mark on the end of the crankshaft. Push the clutch in and see if it clicks into place. If it is not "goes", then the driven disk needs 8 centering. Remove the flywheel from the clutch, move the driven disc slightly and try again to install the clutch. When it finally snaps into place, check that the pin is still aligned with the mark on the crankshaft. Temporarily replace the crankshaft pulley and insert the bolt, but do not tighten it yet, but only lightly grab it, because. the pulley will have to be removed again (see pictures).
 |  |
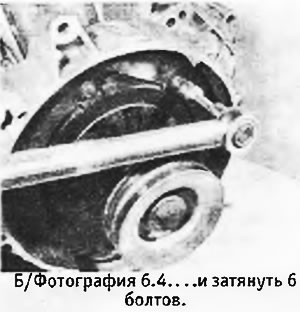
4. Gradually and evenly tighten the 6 clutch mounting bolts to the correct torque (see photo).
5. Remove the clutch using a puller if necessary (see section 4). Install a new O-ring on the drive gear. Install the oil slinger plate so that its outer edge is located with the concave side towards the engine. Install the retaining ring and press the oil deflector against the sealing ring.
6. Thoroughly clean the triangular cone at the end of the crankshaft and lightly spray the cone and drive gear splines with Molykote 321 grease (or similar). Check that grease does not get on the seals or their contact surfaces.
7. Replace the clutch by aligning the pin with the mark on the crankshaft. At this stage, it is enough to simply push the clutch in as far as it goes to the crankshaft.
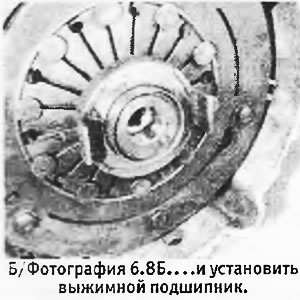
8. Fill the groove on the mounting shoulder of the clutch with universal grease (making sure that there is not too much lubrication) and install the clutch release bearing (see pictures).
 |  |
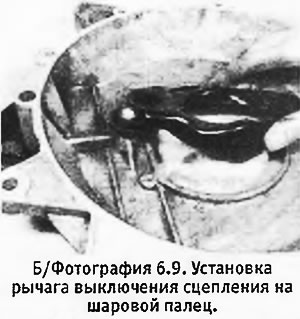
9. Lightly spray the working surfaces of the clutch release lever with Molykote 321 R grease (or similar) and apply some graphite grease to the ball stud in the outer half of the clutch housing. Install the lever into the crankcase, making sure that the spring clips fit under the rubber cup (see pictures).
10. Reinstall the clutch housing and tighten the 6 mounting bolts to the correct torque.
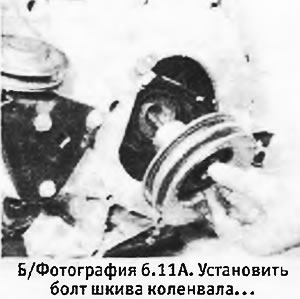
11. Clean and oil the threads of the crankshaft pulley bolt. Install the pulley, making sure that the pin on the clutch centering shoulder fits into the hole on the back of the pulley. Tighten the pulley bolt to the correct torque, if necessary using special tool 8.0206 to block the crankshaft from rotating (see pictures).
 |  |
12. Install clutch cable (see section 3) and adjust it (see section 2).
13. Install the sensor w.m.t. into the clutch housing. If you have not changed the clutch, the sensor does not need to be adjusted. If any parts have been replaced in the clutch (except for the driven disk and release bearing), it is necessary to adjust the air gap of the sensor (see chapter 4, section 13).
14. Install the starter and fix it with bolts with new wave washers, tightening them to the desired torque.
15. Install the left upper motor support bracket and tighten the 4 mounting nuts to the correct torque. Install the voltage regulator (under the left front wheel arch).
16. Install the generator and its drive belt (see chapter 10) and adjust the tension of the latter. Tighten the alternator mounting bolt to the correct torque and connect the wiring to it.
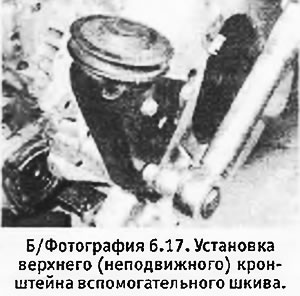
17. Install the fixed and adjustable water pump/fan belt auxiliary pulleys and tighten their mounting bolts to the correct torque (see photo). The procedure for installing and tensioning the drive belt is given in chapter 2. Tighten the lower pulley pivot bolt to the correct torque.
18. The remaining parts are installed in the reverse order of their removal. Upon completion, start the engine and after it has heated up to the temperature at which the fan turns on, for a very short time, increase the engine speed several times to maximum.
19. Turn off the engine, loosen the crankshaft pulley bolt and tighten it again to the desired torque (re-tightening of the crankshaft pulley bolt is mandatory).