
Removing
1. Raise the vehicle and remove the wheel on the relevant side.
2. Remove the brake drum or brake disc.
3. If equipped, remove the ABS sensor.
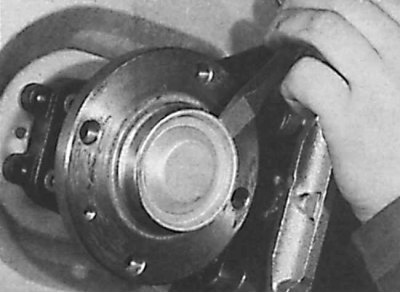
4. Using a lever, remove the protective cap from the center of the rear wheel hub.

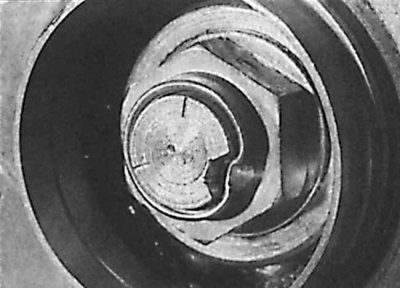
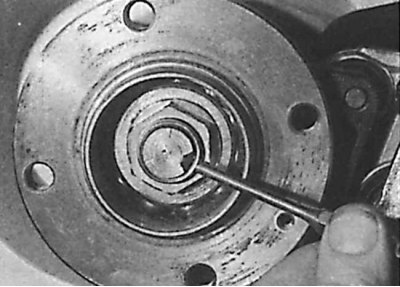
5. Using a hammer and punch, bend the locking collar on the rear wheel hub nut.
6. Unscrew the hub nut and remove the axle ring.
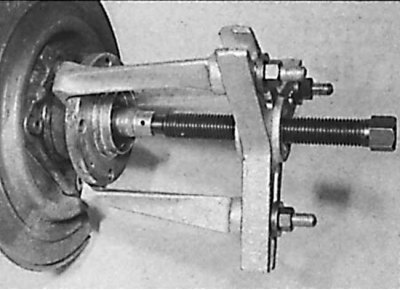
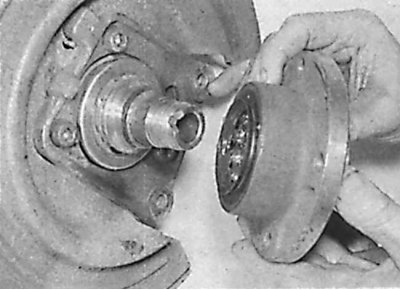
7. Using a puller, remove the hub, inner bearing and o-ring from the trunnion.
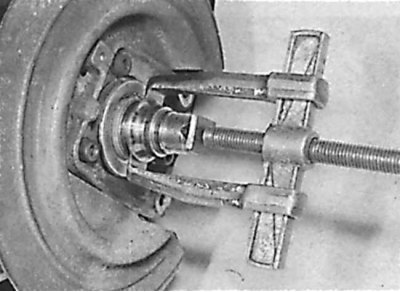 | 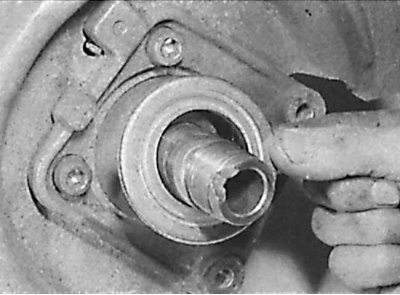 |
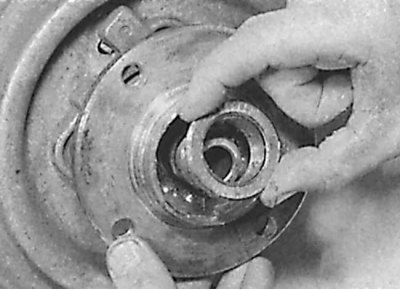
8. Remove inner bearing (drawing on the left) and sealing ring (drawing on the right).
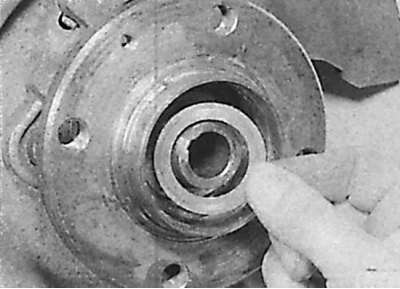
9. Remove base cup.
10. The hub is not repairable.
Collar of the nut pressed into the groove of the trunnion
Installation
1. Lubricate the trunnion with a product that facilitates the installation of elements.
2. Using special tool 8.0530 D, fit a new O-ring support cup.
3. Position the inner hub housing on the trunnion. Push it in with a nut (new).
4. Install one and then two spacers (0530 E) behind the nut to push the body onto the trunnion.
 |  |
5. Place the hub on the trunnion (drawing on the left) and press it in with a suitable mandrel (drawing on the right).
6. When possible, install the axle ring and screw on the hub nut.
7. Tighten the nut to the required torque and secure it against unscrewing.
8. Install hub cap, brake drum and wheel.
9. Lower the car.