
2. To remove the rear hub, loosen the wheel nuts on the desired rear wheel. Engage 1st gear and block the front wheels. Jack up and support the rear of the vehicle so that the rear wheels are off the ground. Remove the wheel nuts and the wheel on the desired side. Remove hub cap. Unscrew the 2 countersunk head screws securing the brake drum and remove the drum (see chapter 8, section 7). Be careful not to inhale the dust rising from the brakes. If the brake pads are oily or have traces of brake fluid, they should be replaced (see chapter 8).
3. Unscrew the hub nut (when assembling you will need a new). Remove the thrust washer from the pivot pin. Remove the hub. Pull out the oil seal located at the rear of the hub and remove the o-ring from the mounting shoulder on which the bearing cover is placed.
4. Pull out the outer and inner bearings from the hub (if it hasn't already been done) and mark them so that they can be installed exactly in their original position (if you are not going to replace them). Thoroughly clean the bearings and their rings and inspect them for wear, signs of overheating (discolored spots) and other defects. If any are found, the bearings must be replaced.
5. Bearing rings are removed only if they need to be replaced. Carefully knock them out with with suitable beards. Before installing new rings, it is necessary to clean their sockets in the hub. Each bearing forms a carefully matched set with its outer ring, and they should only be replaced together. Do not remove grease from new bearings before installing them. Bearings can be pressed into place using a long bolt with 2 thrust washers or a suitable socket wrench. Check that the bearing rings are fully inserted into place.
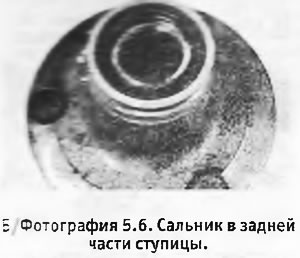
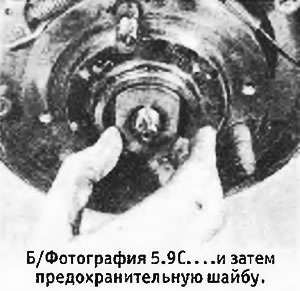
6. After installing the bearing outer races, thoroughly lubricate the inner bearing with multipurpose grease and install it in the hub. Install the new oil seal with the sponge inward so that the outer surface is flush with the hub rim. Wipe off excess grease from the hub (see photo).
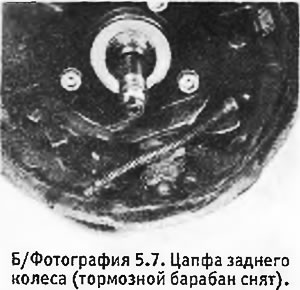
7. Before installing the hub, install the outer bearing on the cleaned trunnion and check that it slides easily on it. If this is not the case, carefully abrade the surface of the trunnion with sandpaper so as to achieve a sliding fit of the bearing. Carefully wipe off all traces of abrasive material from the trunnion (see photo).
8. Thread a new hub nut onto the stub axle threads to check that it runs without much resistance. If the nut is stuck, re-thread the trunnion if necessary.
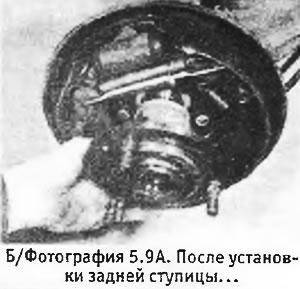
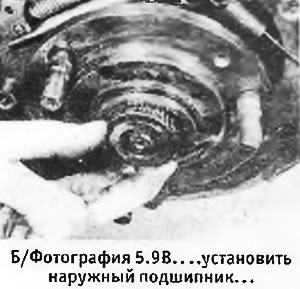
9. After making sure that everything is in order, install the hub and put it in place. Place at least 80 g of universal grease into the bore in the hub. Install the lubricated outer bearing inner race and flat washer. Install new nut (see pictures).
 |  |
10. In workshops "Peugeot" a special tool is used to tighten the nut. You can do without it by doing the following.
11. Install the brake drum with two machine screws with countersunk head. Turning the drum, tighten the hub nut to the initial torque (see specs). Loosen the nut and, turning the drum again, tighten the nut to the final torque. Stop turning the drum without touching the nuts. Press the brake pedal two or three times to adjust the rear brakes (before doing this, you should check that the brake drum on the second wheel is in place). After that, apply the handbrake in order to block the brake drum for the next operation. Carefully mark the position of the nut in relation to the stud and then loosen it by 30° (is equivalent to turning the nut halfway through one of its faces), while holding the nut in this position, using a suitable punch and hammer, drive its collar into the groove on the trunnion in order to lock the nut (see pictures).
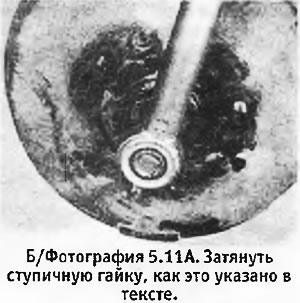 | 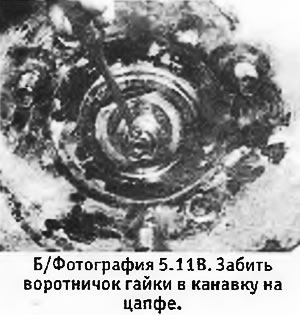 |
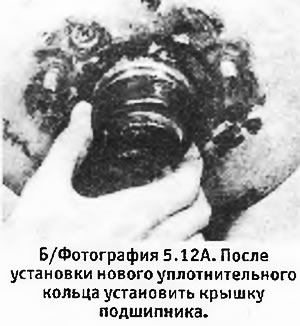
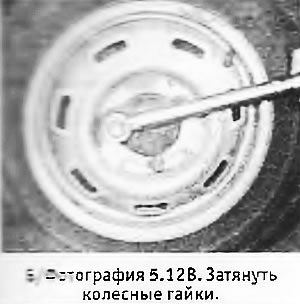
12. If not already done, install a new O-ring on the bearing cap mounting collar on the hub and install the cap. Install the wheel without tightening its nuts yet. After the machine is lowered to the ground, tighten the wheel nuts to the correct torque (see pictures).
 |  |