



Table of contents: Removal 🠇 Refitting 🠇
Removal
1. Disconnect the battery negative terminal (refer to "Disconnecting the battery").
2. On left-hand drive models, operate the wipers and switch off the ignition when the wiper arms are near the top of their arc of movement. This is necessary to position the wiper linkage to enable the motor/linkage assembly to pass out of the scuttle.
3. Remove the windscreen wiper arms as described in Section 15.
4. Open the bonnet.
5. Remove the securing screw and the two nuts and withdraw the windscreen cowl panel from the scuttle. Note that the panel is clipped around the edge of the windscreen and the front wings (see illustrations).
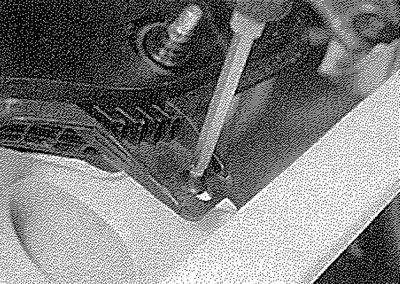
16.5a. Removing the windscreen cowi panel securing screw - left-hand drive model shown
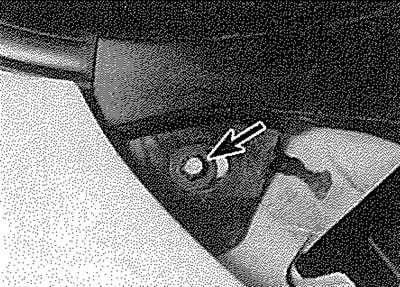
16.5b. Windscreen cowl panel securing nut (arrowed)
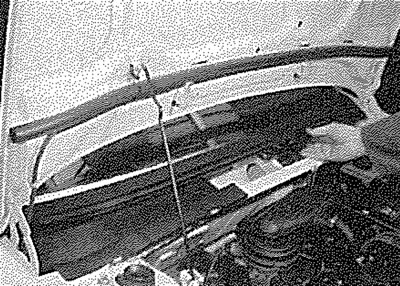
16.5c. Withdrawing the windscreen cowl panel - left-hand drive model shown
6. On right-hand drive models, remove the securing nuts (where applicable) and unclip the plastic cover panel from the scuttle to expose the wiper motor assembly (see illustrations).
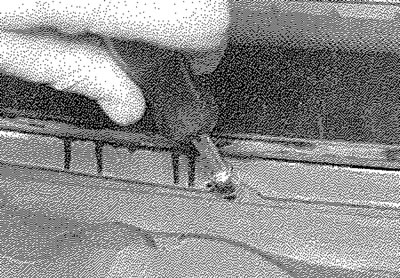
16.6a. Remove the securing nuts...
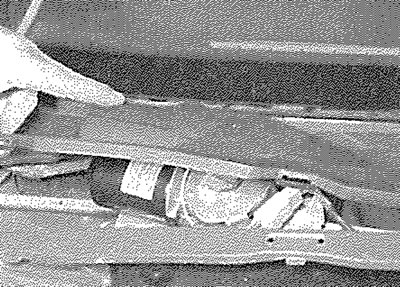
16.6b.... and unclip the plastic cover panel to expose the wiper motor - right-hand drive model
7. Where applicable, pull the plastic cover from the wiper motor assembly (see illustration).
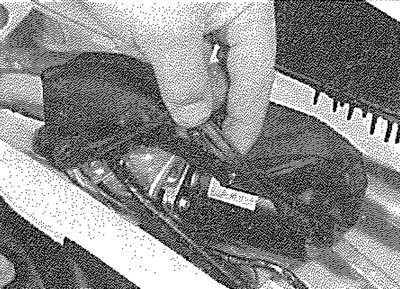
16.7. Removing the plastic cover from the wiper motor - left-hand drive mode! shown
8. Disconnect the wiring plug from the motor (see illustration).
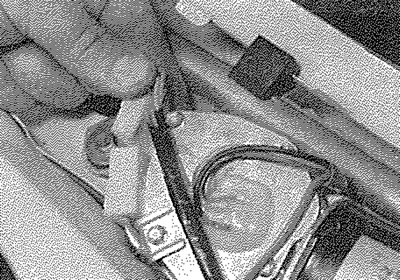
16.8. Disconnecting the wiper motor wiring plug - left-hand drive model shown
9. Where applicable, pull out the rubber spacer block which fits between the scuttle and the wiper linkage (see illustration). Note the location of the block, to ensure correct refitting.
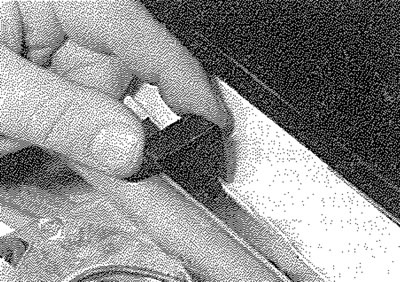
16.9. Pull the rubber block from the scuttle - left-hand drive model shown
10. Unscrew the six mounting bolts (recover the washers, where applicable) and withdraw the wiper motor and linkage assembly from the scuttle (see illustrations).
Source of the article is posted at (peugeotbook)
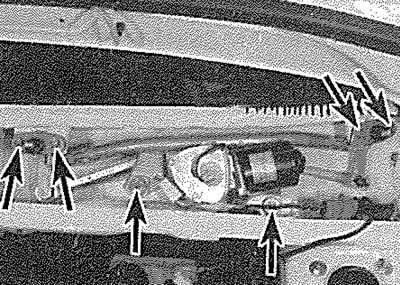
16.10a. Unscrew the wiper motor and linkage assembly securing bolts (arrowed)...
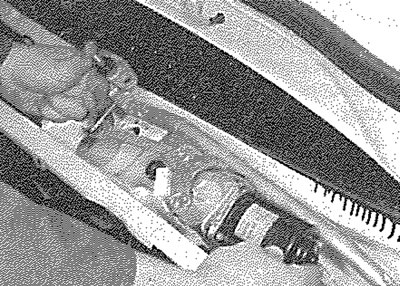
16.10b.... and lift the assembly from the scuttle - left-hand drive model
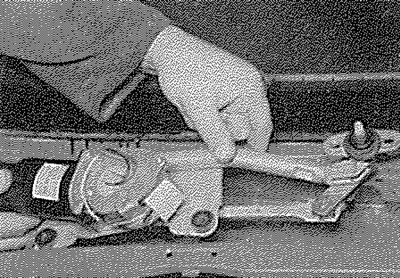
16.10c. Lifting the wiper motor and linkage assembly from the scuttle -right-hand drive model
11. To separate the motor from the linkage, unscrew the nut securing the crank arm to the motor shaft, then unscrew the three motor securing bolts and withdraw the motor from the linkage (see illustration).
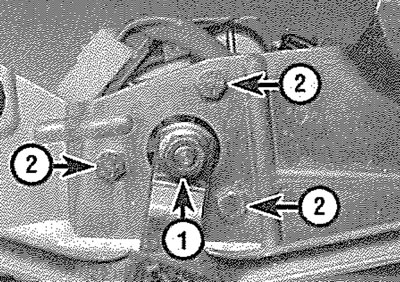
16.11. Crank arm-to-motor shaft securing nut (1) and motor securing bolts (2)
12. If desired, the assembly mounting rubbers can be renewed. To renew a mounting rubber, pull the mounting sleeve (and the washer, where applicable) from the rubber, then prise the rubber from the mounting bracket (see illustration). Fit the new rubber using a reversal of removal procedure.
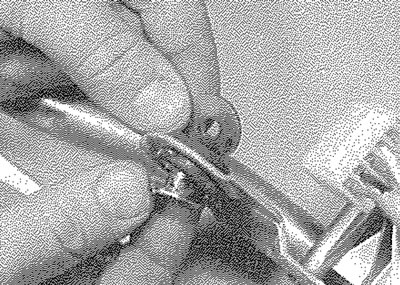
16.12. Remove the mounting sleeve and washer to enable renewal of the mounting rubber
Refitting
13. Refitting is a reversal of removal, bearing in mind the following points:
- a) On left-hand drive models, ensure that the wiper linkage is positioned as during removal - see paragraph 2.
- b) Ensure that the spacer block is correctly positioned between the scuttle and wiper linkage, as noted before removal.
- c) On right-hand drive models, ensure that the plastic cover panel is correctly positioned on the scuttle.
- d) Ensure that the windscreen cowl panel is correctly engaged with the windscreen and the wing panels. Where applicable, ensure that the wiper spindle grommet is correctly located in the panel.
- e) Refit the windscreen wiper arms as described in Section 15.