



Table of contents: Valeo starter motor 🠇 Bosch starter motor 🠇
Note: Consult your Peugeot dealer on the cost and availability of spare parts before stripping the starter motor, as spare parts for certain starter motors may not be available.
1. Note that no minimum brush length is specified by the manufacturers, but it should be self-evident if the brushes are worn to the extent where renewal is required. With the motor removed as described in Section 10, proceed as described under the relevant subheading.
Valeo starter motor
Diesel models
2. Carefully prise the plastic cap from the end of the armature shaft, using a screwdriver or similar tool.
3. Prise the C-clip from the end of the armature shaft and recover the shim.
4. Unscrew the two through-bolts, then withdraw the end cover from the motor casing and recover the shim from the armature shaft. Do not mix up the shim with the one removed in the previous paragraph.
5. Carefully pull the brush plate from the end of the armature.
6. Using a suitable screwdriver, release the brush retainers and withdraw the brushes from the brush holders.
7. Unsolder the brush leads or release them from the clips on the brush plate, as applicable.
8. Fit the new brushes. Solder the leads into position, or secure them to the brush plate by bending the securing clips into position, as applicable. Where the brush plate is supplied as a complete assembly, undo the terminal nut and remove the old brush plate, then install the new assembly and securely tighten the terminal nut.
9. Fit the brush plate over the end of the armature shaft, leaving enough clearance to fit the brushes Note that when finally fitted, the lug on the brush plate must locate in the corresponding hole in the motor casing.
10. Push the brushes into their holders, so that they rest against the commutator on the armature shaft.
11. Carefully fit the brush retainers, complete with springs and secure them to retain the brushes.
12. Check that the brushes are seated on the commutator, then slide the brush plate down the armature shaft until the lug on the brush plate engages with the hole in the motor casing.
13. Further refitting is a reversal of removal, ensuring that the shims are fitted to the armature shaft, as noted before removal.
Petrol models
14. Undo the retaining nuts, then withdraw the end cover from the armature. Recover any shims which may be fitted to the armature end, noting their correct fitted positions.
15. Carefully pull the brush plate from the end of the armature.
16. Using a suitable screwdriver, lift the brush springs and withdraw the brushes from the brush holders. Unsolder the brush leads, or release them from the clips on the brush plate, as applicable.
17. Fit the new brushes. Solder the leads into position, or secure them to the brush plate by bending the securing clips into position, as applicable. Lift the springs and slide the brushes into position. Position the springs on the side of each brush, so that the brushes are jammed in the holders. Where the brush plate is supplied as a complete assembly, undo the terminal nut and remove the old brush plate, then install the new assembly and securely tighten the terminal nut (see illustration).
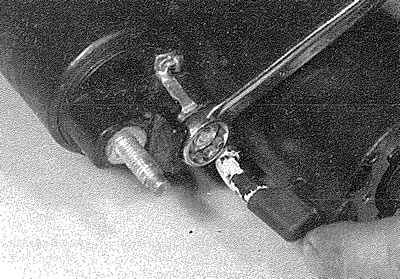
11.17. Where the brush plate assembly is supplied complete, undo the nut and disconnect its supply wire from the solenoid
18. Locate the brush plate over the end of the armature shaft, then push the brushes fully into their holders. Ensure that the springs are correctly located against the end of each brush. Check that each brush is seated against the commutator and is free to move easily in its holder.
19. Refit the shim to the end of the armature shaft.
20. Slide the rear cover fully into position and securely tighten its retaining nuts.
Bosch starter motor
21. Undo the two retaining screws and remove the centre cap from the starter motor rear cover (see illustrations).
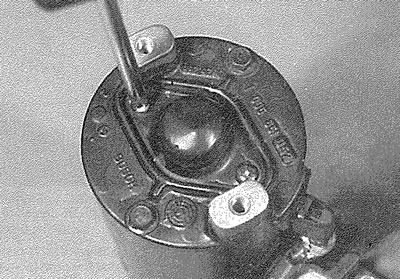
11.21a. On the Bosch starter motor, undo the two screws...
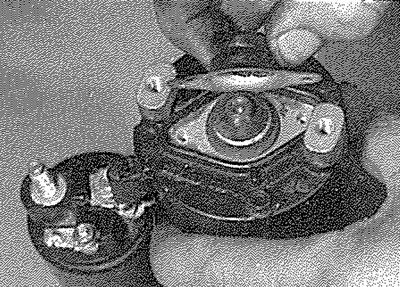
11.21b.... and remove the centre cap from the end cover
22. Prise the C-clip from the end of the armature shaft and recover the shims, noting their correct fitted positions (see illustrations).
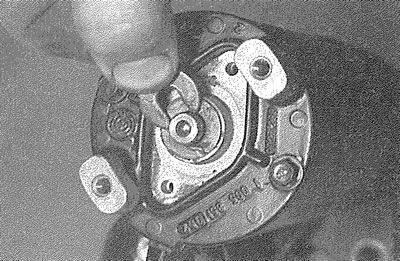
11.22a. Slide out the C-clip...
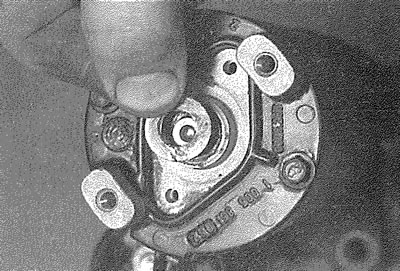
11.22b.... and recover the shim from the armature
23. Unscrew the two through-bolts, then withdraw the end cover from the motor casing and recover any relevant shims from the armature shaft (see illustrations). Do not mix up the shim with the ones removed in the previous paragraph.
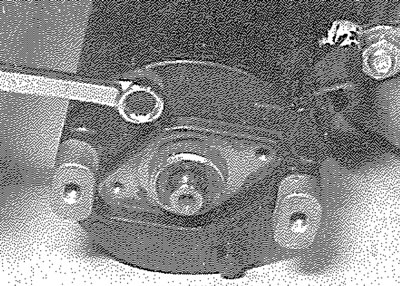
11.23a. Undo the two through-bolts...
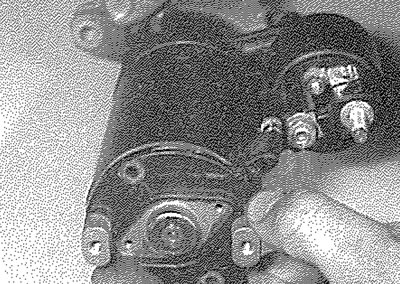
11.23b.... and remove the end cover from the motor
24. Carefully pull the brush plate from the end of the armature.
25. Fit the new brushes as described above in paragraphs 16 to 18.
26. Refit any relevant shims to the armature end, then install the rear cover and secure it in position with the through-bolts.
27. Refit the outer shims in their correct order and secure them in position with the C-clip. Install the centre cap and securely tighten its screws.