



Table of contents: Crankcase emission control 🠇 Evaporative emission control -…🠇 Testing 🠇 Charcoal canister - renewal 🠇 Purge valve - renewal 🠇 Exhaust emission control 🠇 Exhaust gas recirculation system -…🠇 Secondary air injection - petrol…🠇
Crankcase emission control
1. The components of this system require no attention, other than to check that the hose are clear and undamaged at regular intervals.
Evaporative emission control - petrol models
Testing
2. If the system is thought to be faulty, disconnect the hoses from the charcoal canister and purge control valve and check that they are clear by blowing through them. If the purge control valve or charcoal canister are thought to be faulty, they must be renewed.
Charcoal canister - renewal
3. The charcoal canister is located behind the right-hand front wing. To gain access to the canister, undo the retaining screw from the base of the wheel arch liner, then prise out the retaining clips and remove the liner from underneath the wing (see illustrations).
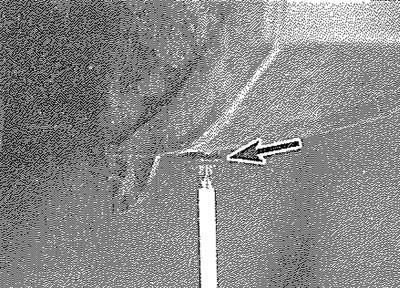
2.3a. Undo the retaining screw (arrowed)...
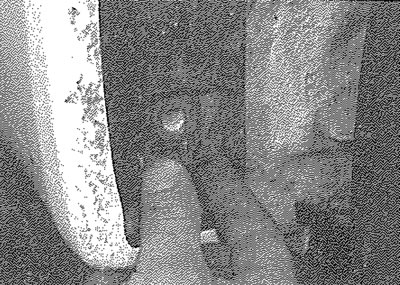
2.3b — then prise out the retaining clips...
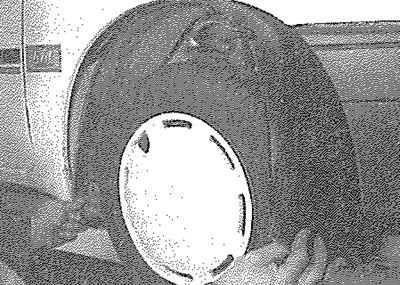
2.3c — and remove the right-hand front wheel arch liner to gain access to the charcoal canister
4. Slacken and remove the clamp bolt (see illustration), then free the canister from its mounting clamp and lower it out from underneath the wing. Mark the hoses for identification purposes.
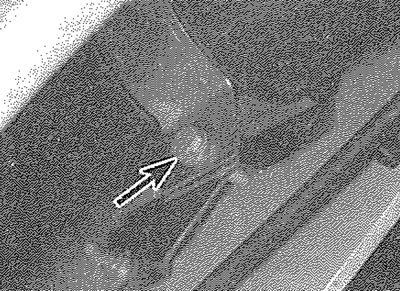
2.4. Unscrew the mounting clamp bolt (arrowed)...
5. Slacken the retaining clips, then disconnect both hoses and remove the canister from the vehicle (see illustration). Where crimped type hose clips are fitted, cut the clips and discard them; replace them with standard worm-drive hose clips when refitting.
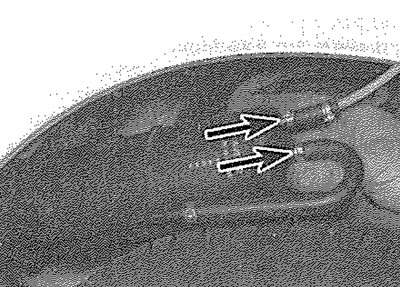
2.5. ... then lower the canister out of position and disconnect its hoses (arrowed)
6. Refitting is a reverse of the removal procedure, ensuring that the hoses are correctly reconnected.
Purge valve - renewal
7. Either a single purge valve is used, or a twin purge valve arrangement is fitted, depending on model The purge valve is/are located in the right-hand rear corner of the engine compartment (see illustration).
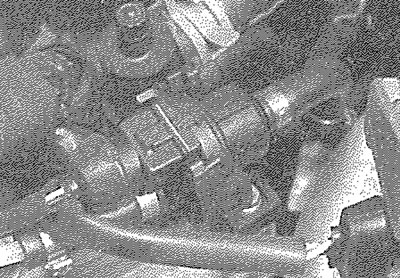
2.7. The purge valve can be found in the right-hand rear corner of the engine compartment
8. To renew a purge valve, first disconnect the battery negative terminal (refer to "Disconnecting the battery"). Depress the retaining clip and disconnect the wiring connector from the valve.
9. Disconnect the hoses from either end of the valve, then release the valve from its retaining clip and remove it from the engine compartment, noting which way around it is fitted.
10. Refitting is a reversal of the removal procedure, ensuring that the valve is fitted the correct way around and the hoses are securely connected.
Exhaust emission control
Testing
11. The performance of the catalytic converter can be checked only by measuring the exhaust gases using a good-quality, carefully-calibrated exhaust gas analyser as described in Chapter 1A, Section 14.
12. On petrol models, if the CO level at the tailpipe is too high, the vehicle should be taken to a Peugeot dealer. Once there, the fuel injection and ignition systems, including the lambda sensor, can be thoroughly checked using the special diagnostic equipment. Once these have been checked and are known to be free from faults, the fault must be in the catalytic converter, which must be renewed as described in Part B or C of this Chapter (as applicable).
13. On diesel models, if the catalytic converter is thought to be faulty, before assuming the catalytic converter is faulty, it is worth checking the problem is not due to a faulty injectors. Refer to your Peugeot dealer for further information.
Catalytic converter - renewal
14. Refer to Part B, C or D of this Chapter (as applicable).
Lambda sensor (petrol models only) - renewal
Caution: The lambda sensor is delicate and will not work if it is dropped or knocked, if its power supply is disrupted, or if any cleaning materials are used on it.
15. Trace the wiring back from the lambda sensor, which is screwed into the top of the exhaust front pipe or exhaust manifold, to the top of the transmission. Disconnect both wiring connectors and free the wiring from any relevant retaining clips or ties (see illustration).
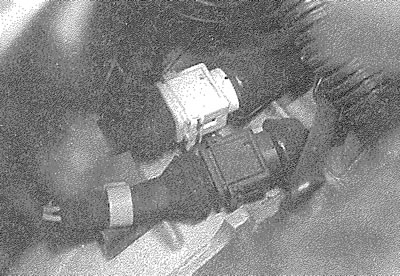
2.15. Trace the lambda sensor wiring back to the top of the transmission, then disconnect the connectors...
16. Unscrew the sensor from the exhaust system front pipe or manifold and remove it along with its sealing washer (see illustration).
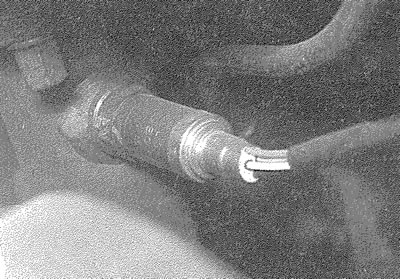
2.16. ... and unscrew the sensor from the exhaust front pipe or manifold
17. Refitting is a reverse of the removal procedure, using a new sealing washer. Prior to installing the sensor, apply a smear of high-temperature grease to the sensor threads. Ensure that the sensor is securely tightened. Make certain that the wiring is correctly routed and in no danger of contacting either the exhaust system or the engine.
Exhaust gas recirculation system - diesel models
18. The EGR system consists of a plunger type recirculation valve, mounted on the inlet manifold, a vacuum solenoid valve, mounted on the rear of the engine compartment bulkhead, a throttle position switch mounted on the fuel injection pump, and a number of interconnecting vacuum hoses.
19. The throttle position switch switches the solenoid valve on and off according to the position of the throttle lever (and hence the load being placed on the engine). The solenoid valve allows vacuum (supplied by the braking system vacuum pump) to be applied to the recirculation valve. The recirculation valve then opens and allows a small percentage of the exhaust gases to flow into the inlet manifold.
EGR valve - removal
20. Ensure that the engine has cooled completely before starting work. Jack up the front of the car and rest it securely on axle stands (see "Jacking and vehicle support").
21. Disconnect the vacuum hose from the port on the top of the EGR valve.
22. Slacken the ciamp ring screw and release the recirculation pipe from the base of the EGR valve.
23. Slacken and remove the nuts or screws and lift the EGR valve from the inlet manifold.
EGR valve - refitting
24. Refitting is a reversal of removal. Use a new gasket and ensure that the securing nuts or screws are tightened securely.
Vacuum solenoid valve - removal
25. The solenoid valve is mounted on the rear of the engine compartment bulkhead.
26. Disconnect the hoses from the valve, noting their order of connection to aid refitting.
27. Release the valve from its rubber mounting block and remove it from the engine bay.
Vacuum solenoid valve - refitting
28. Refitting is a reversal of removal.
Secondary air injection - petrol models
Testing
29. The components of this system require no attention other than to check that the hose are clear and undamaged at regular intervals.
30. Accurate testing of the system operation entails the use of diagnostic test equipment and should be entrusted to a Peugeot dealer.
Component renewal
31. At the time of writing, no specific information was available regarding removal and refitting of the system components.