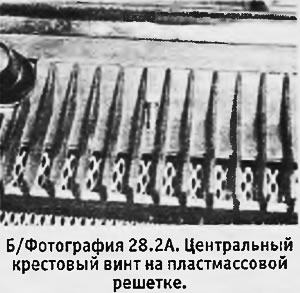
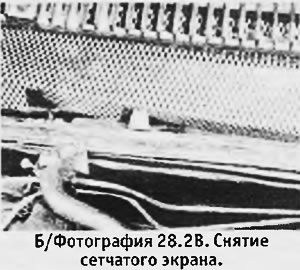
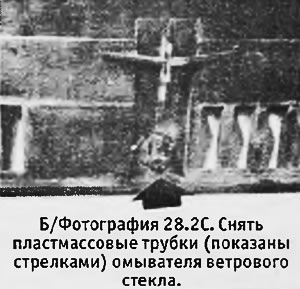
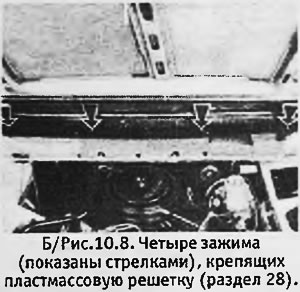
2. Remove the 4 clips and the central Phillips screw that secure the black plastic air intake grille in front of the windshield. Remove the insect screen and pull out the 2 plastic windshield washer tubes. Remove plastic grill (see pictures).
 |  |
 |  |
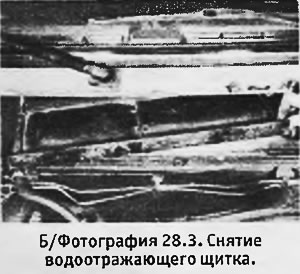
3. Unscrew the 2 bolts securing the central water deflector above the heater fan and remove the shield. Cover the fan with a clean rag to avoid accidentally dropping parts to be removed into it (see photo).
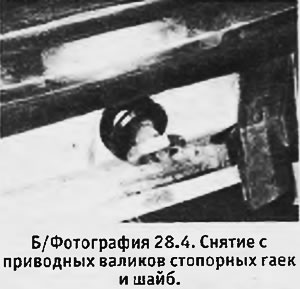
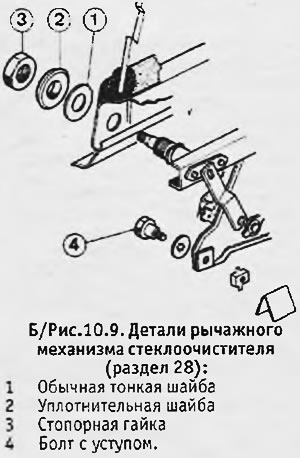
4. Remove the water deflectors from the drive rollers. Loosen and remove 2 lock nuts. Remove sealing and plain washers from both rollers (see photo).
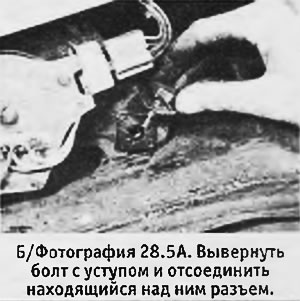
5. Unscrew and remove the bolt with a lock washer that secures the wiper mechanism to the body, disconnect the electrical connector and pull the wire out of the clamps. Carefully remove the wiper mechanism from the machine (see pictures).
 |  |
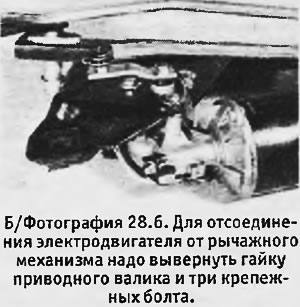
6. If it is necessary to disconnect the motor from the linkage, the relative position of the motor shaft and the control arm must first be noted so that they can then be set exactly in their original position. Unscrew and remove the roller nut, and then 3 bolts securing the assembly to the base plate (see photo).
7. Connecting the motor to the linkage and reinstalling the wiper mechanism are done in reverse order. Pay attention to the following points:
- A. Lubricate all moving parts before installation.
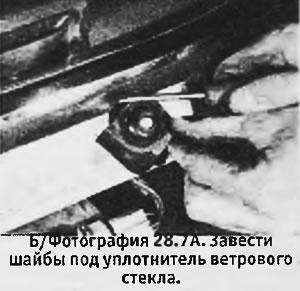
- b. Install the thin washer, then the thick washer, and then the lock nut onto the drive shafts. Insert washers under lower edge of windshield rubber seal and tighten nuts (see photo).
- V. Insert the wire into the clamps so that it does not get caught between moving parts when the wiper is turned on. Don't forget to connect the electrical connector.
- d. Remove the temporary cover from the heater fan and replace the water deflector with the sponge side down.
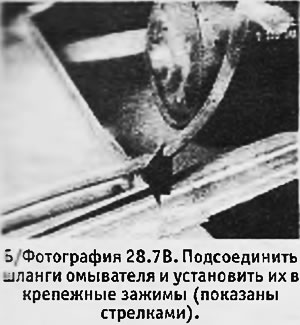
- e. Before replacing the black plastic grille, connect the washer hoses and install them in the mounting clips (see photo).
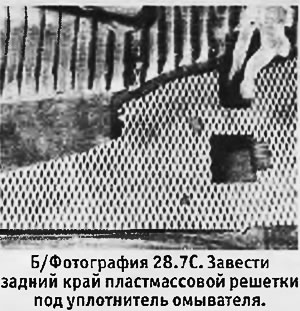
- e. When installing the grille, slide its rear edge under the rubber seal of the windshield and secure the grille with one screw and A clips (see photo).
- and. Upon completion, check the operation of the windshield wiper.
 |  |