



10.6.1. Removing and installing the steering control
- Unscrew and remove the crosspiece cover in the car interior under the pedals.
- Loosen the tie bolt and nut of the lower crosspiece of the control shaft, as shown in Figure 131, knock out the bolt and pull the steering shaft upward until the steering gear disengages. Tie the shaft in this position so that it does not interfere.
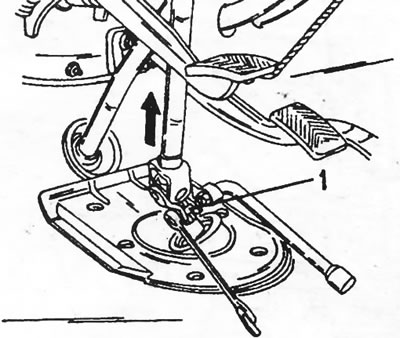
Figure 131. After loosening the crosspiece tie bolt (1), pull the steering shaft upward in the direction of the arrow to disengage the steering gear.
- Loosen the union nut located behind the steering gear. This nut secures the return oil pipe to the steering column.
- Place the car on stands or drive it onto an overpass.
- Under the vehicle, disconnect the filler pipe from the fuel tank and from the cross member and then pull it out as shown in Figure 132.
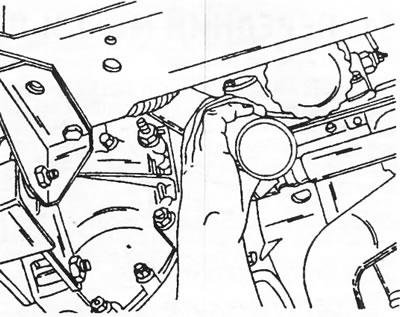
Figure 132. Removing the fuel tank filler pipe.
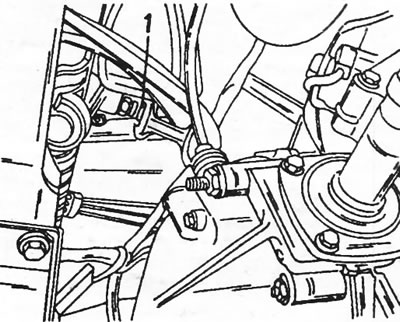
Figure 133. The union nut of the steering valve tube is located in the indicated location.
- Loosen the nuts of the ball joints of the steering tips and use a suitable puller to disconnect both ball joints (see also Figure 121).
- Loosen the union nut (1) of the steering rotary valve tube and pull out the tube.
- Loosen the rear engine mount mounting bolts.
- Loosen the steering column mounting bolts on the left and right.
- Push the right front wheel to the side and pull out the steering wheel.
The steering control is installed in reverse order. After filling the hydraulic system (capacity 1.1 l) with the engine off, turn the steering wheel from lock to lock several times to release air from the hydraulic steering system. Finally, bring the fluid level in the tank to normal. Dextron-II fluid is used for filling, the same as for automatic transmissions.