



Note: The following procedures are only applicable to early models with an adjuster nut located on the transmission end of the cable. On later models (without an adjuster nut) the cable is self-adjusting.
1. The clutch adjustment is checked by measuring the clutch pedal travel.
2. Ensuring that there are no obstructions beneath the clutch pedal, depress the clutch pedal fully to the floor, measuring the distance that the centre of the clutch pedal pad travels through from the at-rest position to the floor (see illustration). Using a ruler for this check might prove awkward - as an alternative, mark the at-rest and fully-depressed positions on a strip of wood and measure the distance (the pedal travel) between them. If this is less than the specified distance given in the Specifications at the start of this Chapter, adjust the clutch as follows.
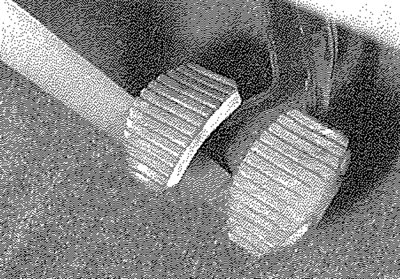
2.2. To check clutch cable adjustment, measure the clutch pedal travel as described in text
3. The clutch cable is adjusted by means of the adjuster nut on the transmission end of the cable. Access to the locknut is limited and, if required, the battery can be removed to improve access. Refer to Chapter 5A for further information. Alternatively, easy access to the adjuster nut can be gained from underneath. Chock the rear wheels then jack up the front of the vehicle and support it on axle stands (see "Jacking and vehicle support").
4. Slacken the locknut from the end of the clutch cable. Adjust the position of the adjuster nut (see illustration), then re-measure the clutch pedal travel. Repeat this procedure until the clutch pedal travel is as specified.
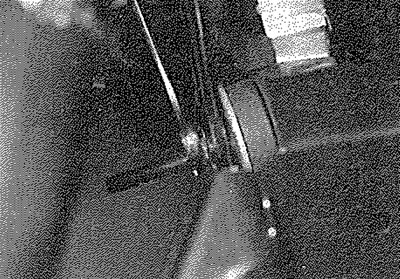
2.4. Adjusting the clutch cable - viewed from above with battery removed
5. Once the adjuster nut is correctly positioned and the pedal travel is correctly set, securely tighten the cable locknut. Where applicable, refit the battery as described in Chapter 5A and lower the vehicle to the ground.