
2. Check that the contact surfaces of the engine and gearbox are clean and undamaged and lubricate them with a sealing compound. Lower the engine onto the crankcase, guiding the dowel pins into the holes provided for them (see photo).

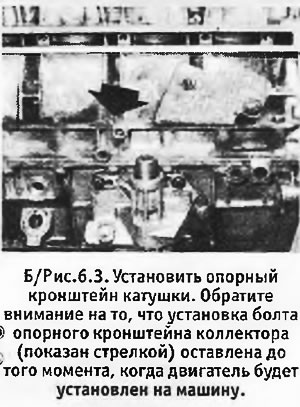
3. Install the spring support bracket on the second and third bolts (on the rear flange, counting from right to left) (see photo). The manifold support bracket mounts to the center bolt on the rear flange, however this work can be left until the manifold is installed (or after installing the power unit on the machine, whichever is more convenient.
4. Insert the fixing bolts and evenly and gradually tighten them to the correct torque.
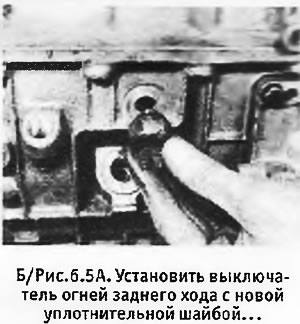
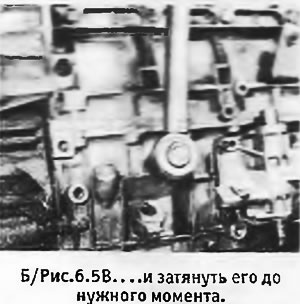
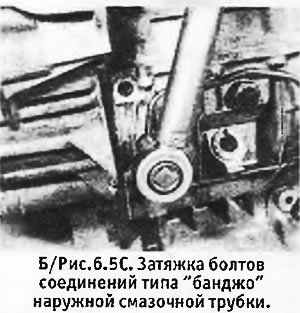
5. If the gearbox has been moved, at this stage, you can install and tighten the reverse light switch to the desired torque (see pictures). Install the outer lubrication tube by replacing the washer on each of the connection surfaces of type "banjo" (only 4 pucks). Check once again that all parts are clean and tighten the 2 bolts of the type "banjo" until the right moment (see photo).
 |  |
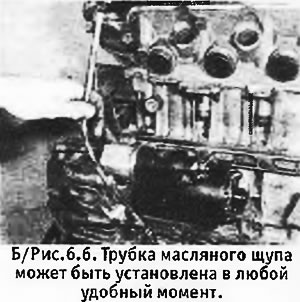
6. Apply thread locking compound to the threads of the dipstick tube and install the tube in its place on the gearbox housing. Tighten the tube to the required torque. If you still have to install a starter, etc., you can postpone the installation of the tube until all parts of the power unit are installed (see photo).
7. If it is necessary to complete the assembly of the power unit in the reverse order of its disassembly.