
Removing
1. Raise the front of the car and secure it on stands. Remove the corresponding front wheel.
2. Using a scriber, mark the position of the ball joint on the tie rod.
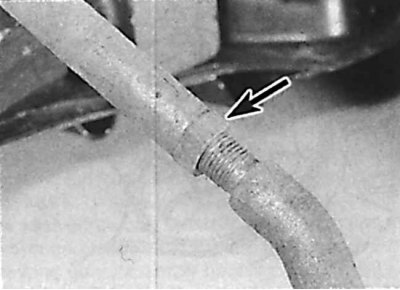
3. Fix the tie rod and unscrew the lock nut of the ball joint (arrow) a quarter turn. Do not move the locknut from this position as it will serve as a guide when installing the new ball joint.
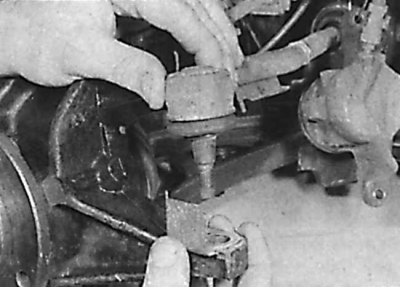
4. Unscrew the nut securing the ball joint to the steering knuckle and remove the ball joint from it.
5. Unscrew the ball joint from the tie rod, counting the exact number of revolutions of the ball joint.
6. Count the number of full threads between the end of the ball joint and the locknut. If it is necessary to install a new ball joint, unscrew the lock nut from the old joint.
7. Thoroughly clean the ball joint and its threads. If the hinge has play or its protective cover is damaged, it must be replaced.
Installation
1. If a new tie rod ball joint is being installed, screw the locknut onto it by the same number of turns as the old ball joint was when it was removed.
2. Screw the ball joint into the tie rod with the same number of turns as when removing. In this case, the lock nut on the hinge should be installed a quarter of a turn from the steering rod.
3. Install the ball joint trunnion in the steering knuckle, secure with a new nut and tighten it to the required torque.
4. Install the wheel and lower the car.
5. Check and, if necessary, adjust the alignment of the front wheels. Then tighten the tie rod ball joint locknut.