



Removal
Engines 1.9 liters
1. Remove the cylinder head cover.
2. Remove the pulley from the camshaft.
3. Remove the brake vacuum pump.
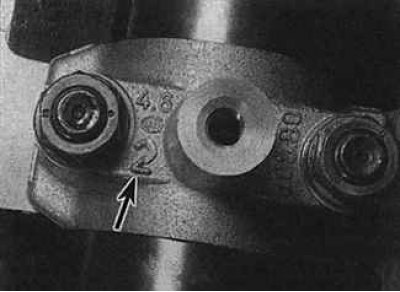
4. The camshaft bearing caps are numbered on the flywheel side (arrow). If the caps are not numbered, mark them on the flywheel side.
5. Gradually unscrew the nuts and remove the camshaft bearing caps.
6. Remove the camshaft from the cylinder head. Remove the sealing ring from the camshaft on the timing belt side. Use a new sealing ring when installing.
7. Using a rubber suction cup, remove the tappets and place them in a suitable container so that they will fit into place when installed. If necessary, remove the adjusting shim from the top of the valve stem and store it with the appropriate tappet.
2.1 liter engines
8. Remove the cylinder head cover.
9. Remove the camshaft pulley.
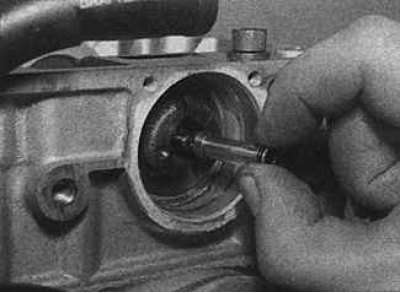
10. Remove the brake system vacuum pump. Remove the oil supply pipe to the pump from the end of the camshaft.
11. Remove the fuel supply and return lines from the fuel injectors.
12. Remove the oil return hose from the front of the camshaft bearing housing.
13. Gradually and consistently loosen and unscrew the 16 camshaft bearing housing mounting bolts.
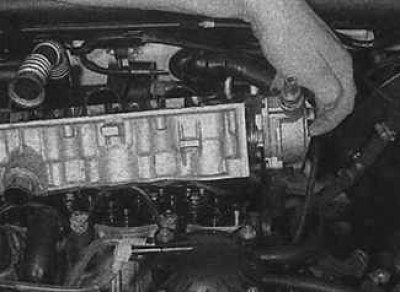
14. Remove the camshaft bearing housing upwards together with the camshaft.
15. Remove the sealing ring from the end of the camshaft bearing housing.
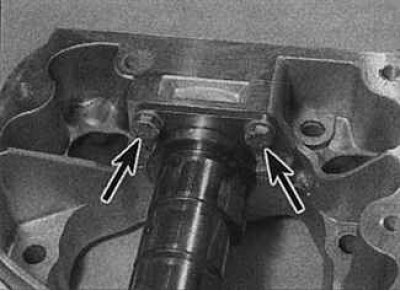
16. Unscrew the two mounting bolts (indicated by arrows) camshaft thrust plate, remove the plate and remove the camshaft from the camshaft bearing housing.
17. Prepare 12 plastic containers and number them 1-8 for inlet valves and 1-4 for outlet valves.
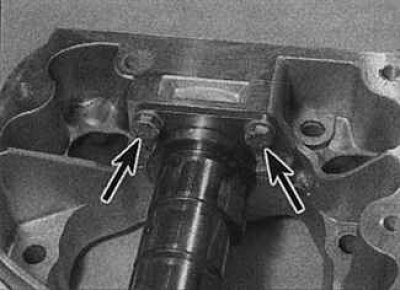
18. Unscrew the two mounting bolts (indicated by arrows) camshaft thrust plate, remove the plate and remove the camshaft from the camshaft bearing housing.
 |
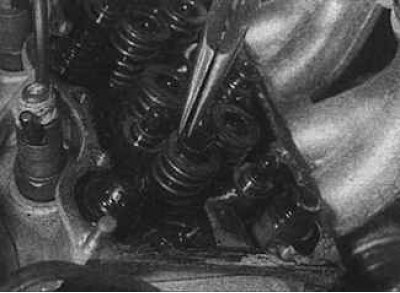 |
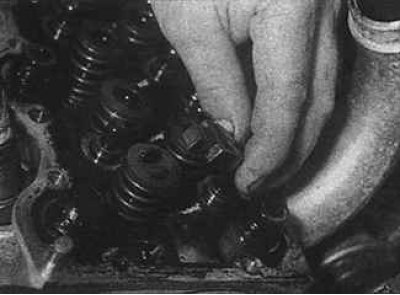
19. Remove the valve levers (photo on the left), gaskets (photo on the right) and hydraulic tappets and place them in appropriate containers.
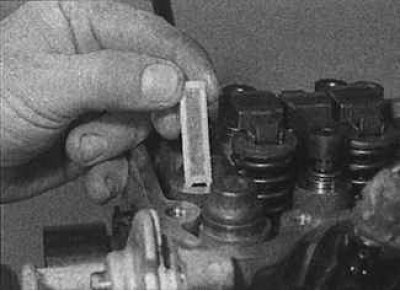
20. Remove the oil filter from the cylinder head.
Examination
Check the camshaft bearing surfaces and cam contours for signs of wear. If any wear is present, the camshaft must be replaced. Check the condition of the bearing surfaces in the camshaft bearing housing and the camshaft journals. If the bearing surfaces are worn, the camshaft bearing housing must be replaced.
Installation
Engines 1.9 liters
1. If it was removed, install the adjusting shim on the valve stem. Do not swap the shims under any circumstances, as this will affect the valve clearances.
2. Apply a thin layer of oil and install the tappets.
3. Lubricate the camshaft lobes and bearing journals with clean engine oil.
4. Temporarily install the crankshaft pulley and align the mounting holes in the pulley and cylinder head, with the protrusions of cylinder #4 facing up. Remove the pulley and install the camshaft in the cylinder head, with the protrusions of cylinder #4 facing up. Check that the crankshaft is secured with the mounting rod.
5. Install the central bearing cover according to the previously made markings and screw on the nuts two or three turns.
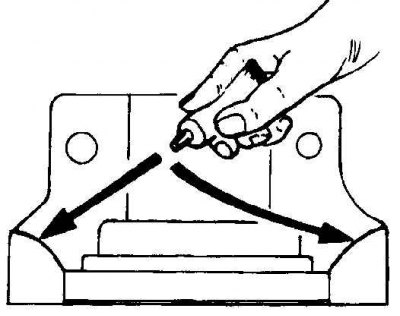
6. Apply sealant to the camshaft bearing cap (the areas where the sealant is applied are shown by arrows), set them in the required position and tighten the nuts two or three turns.
7. Tighten all nuts gradually and sequentially to the specified torque.
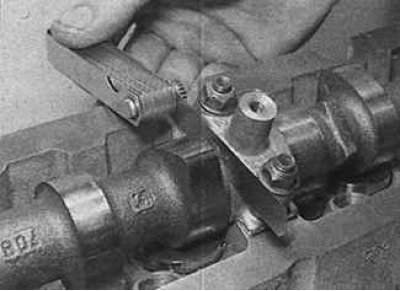
8. Using a feeler gauge, check the camshaft end play. To check the end play, move the camshaft to one end of the cylinder head and insert the blade of the feeler gauge between the thrust surfaces of one of the camshaft lobes and the bearing cap.
9. If a previously removed camshaft is being installed, valve clearances do not need to be adjusted. Otherwise, check and adjust valve clearances. Since the timing belt has not yet been installed, it is necessary to rotate the crankshaft a quarter turn in either direction so that the pistons are in the cylinders at half the piston stroke, i.e. none of the pistons are at top dead center. This will prevent the pistons and valves from colliding when the camshaft rotates.
10. Lubricate the lips of the new seal with clean engine oil and install it on the camshaft with the lips facing inward. Press it into the seat flush with the camshaft bearing cap.
11. If the crankshaft has been turned, it must be turned back the same amount so that the pistons of the first and fourth cylinders are at the top dead center. Do not turn the crankshaft by a greater amount under any circumstances, since the pistons of the second and third cylinders may move to the top dead center position and collide with the valves.
[You can find the original on the page: peugeotbook.ru]
12. Insert the setting rod to secure the flywheel.
13. Install the camshaft pulley.
14. Install the cylinder head cover.
2.1 liter engines
15. Apply a thin layer of oil to the camshaft and bearing journals in the camshaft bearing housing and insert the bearing housing into the camshaft. Install the thrust plate and secure with two bolts.
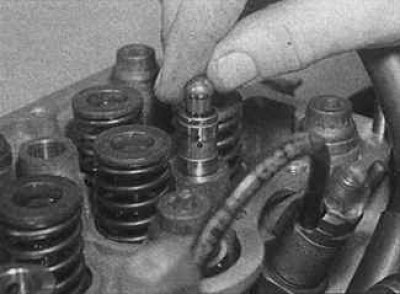
16. Lubricate the hydraulic lifters and place them in the appropriate holes.
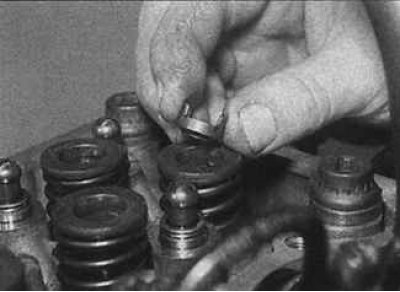 |
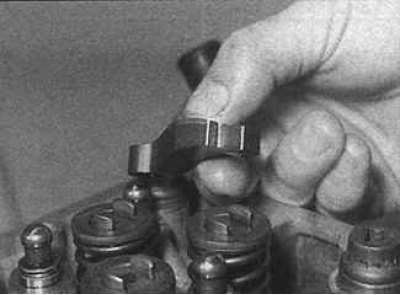 |
17. Lubricate the shims and levers and place them over the corresponding valves (shim installation is shown in the photo on the left, valve lever installation is shown in the photo on the right).
18. Insert the new oil filter into the hole in the cylinder head.
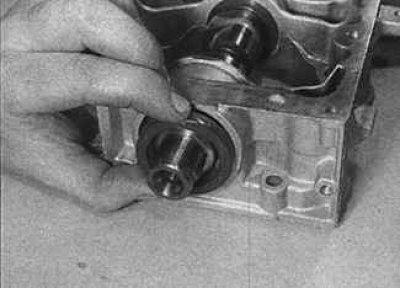
19. Lubricate the working lips of the new camshaft seal ring and install it on the camshaft.
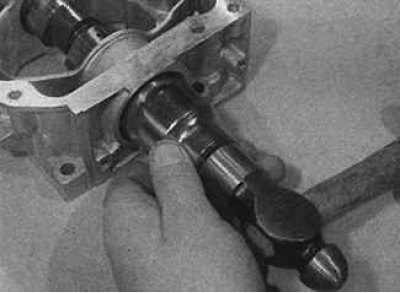
20. Press the sealing ring into the seat using a hammer and drift.
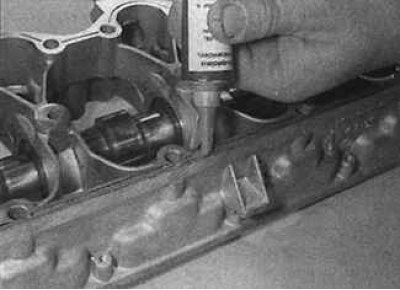
21. Apply sealant between the groove and the outer edge of the camshaft bearing housing plane.
22. Install the camshaft bearing housing with the camshaft onto the cylinder head. Do not move the valve levers.
23. Install the mounting bolts and tighten them in a spiral pattern, from the center outward, gradually tightening the bolts to the required torque.
24. Reconnect the oil return hose to the front of the camshaft bearing housing.
25. Connect the fuel supply and return lines to the fuel injectors.
26. Make sure the oil feed pipe is in place and install the brake vacuum pump.
27. Install the camshaft pulley.
28. Install the cylinder head cover.