
Note. When installing the main body, use a new gasket.
Removing
1. Disconnect the ground wire from the battery (see «Disconnecting the battery»).
2. Drain the coolant from the cooling system (see chapter 1A or 1B).
3. To prevent damage to the transmission due to spilled fuel on the front section of the transaxle case, place a suitable plastic sheet over this section when performing the following procedure.
4. Remove the fuel filter as described in chapter 1B.
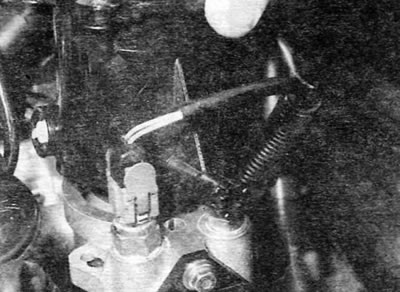
5. Disconnect the electrical connectors of the coolant sensors mounted on the top section of the housing.
6. Disconnect the coolant hoses from the plastic thermostat housing.
7. Disconnect a hose of a cooling liquid from a branch pipe on the back party of the case.
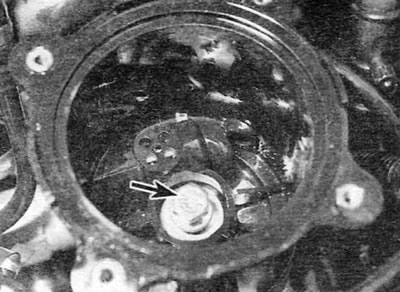
8. Remove the bolt securing the fuel filter plastic housing to the main housing, and then remove the plastic housing and move it away from the main housing. Remove the O-ring from the base of the plastic housing (pic. 8.8, a-c).
Pic. 8.8, a. Remove the bolt (marked with an arrow)...
Pic. 8.8b....remove the plastic housing...
Pic. 8.8, c....and remove the o-ring
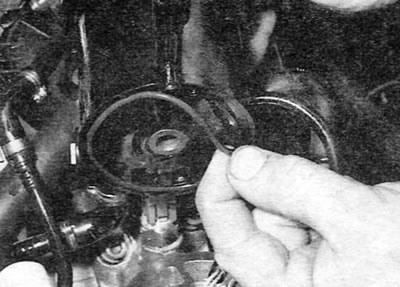
9. Turn out three bolts and remove the main case from a head of cylinders (pic. 8.9, a, b). Remove the gasket.
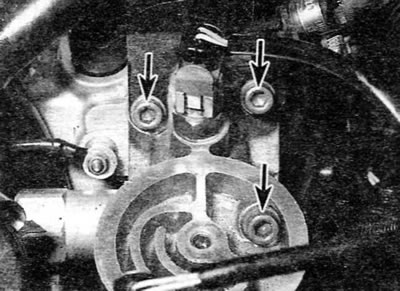
Pic. 8.9, a. Remove three screws (marked with arrows)...
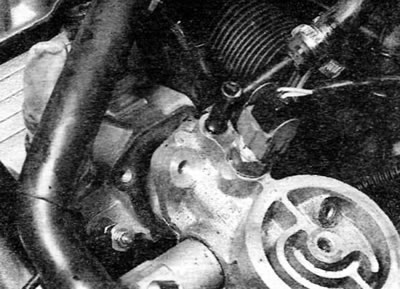
Pic. 8.9, b....and remove the main thermostat housing
10. Disconnect the coolant hose from the housing base and remove the housing.
Installation
11. Installation is carried out in the reverse order of removal, taking into account the following points:
- A) Evaluate the condition of the O-ring on the base of the plastic housing and replace if necessary.
- b) When installing the main body, use a new gasket.
- V) Properly connect all hoses, pipes and electrical wiring.
- G) Charge the cooling system as described in chapter 1B.
- e) Finally, fill the fuel system and bleed it as described in chapter 4B or 4B.