



Advice: This is a rather dirty procedure. Wear disposable elastic gloves and have plenty of rags or newspapers available to absorb any spilled fuel and condensation. Use extreme caution to avoid spilling fuel on coolant hoses, electrical harnesses, engine mounts, or accessory drive belts; cover these elements with suitable plastic sheets. Fuel drained from the filter should be collected in a clean container so that it can be checked for the presence of various impurities or foreign particles.
1.8L and 1.9L XUD series engines
1. The base of the fuel filter housing is equipped with a condensate drain plug and a tube.
2. Place a suitable container under the drain pipe and cover the clutch housing properly.
3. Open the drain plug by turning it counterclockwise and allow the fuel and condensate to drain until condensate-free fuel comes out of the end of the tube (figure 4.3). Close the drain plug and tighten it securely.
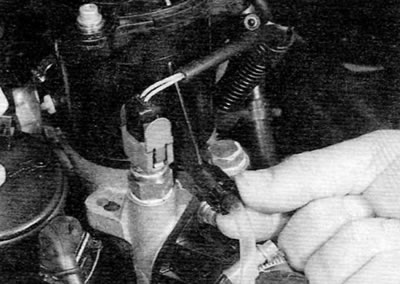
Figure 4.3. Opening the fuel filter drain plug (xUD series engines)
4. Dispose of drained fuel properly.
5. Start the engine. If difficulties arise, fill the fuel system (see chapter 4B).
Engines 1.9 l DW series
6. Release the clips on the right side and on the top plane of the engine cover, and then remove the cover, being careful not to let the corresponding rubber supports fall out (figure 4.6, a-c).
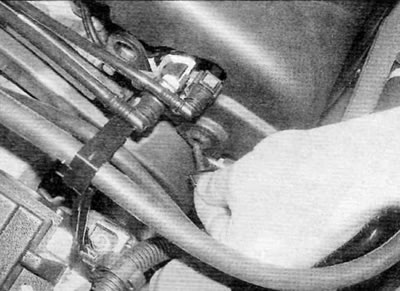
Figure 4.6, a. On 1.9L DW series engines, remove the fasteners on the right side...
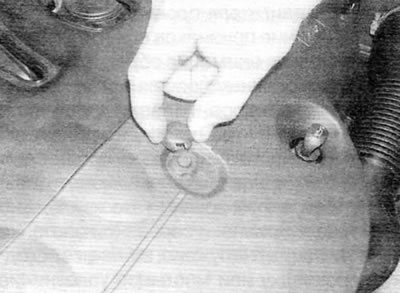
Figure 4.6, b....and on the upper plane of the engine cover...
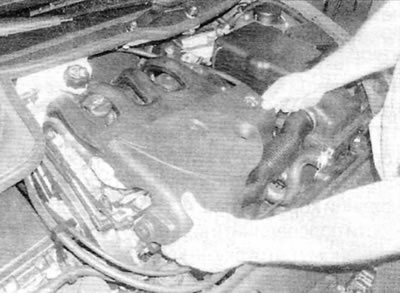
Figure 4.6, c....and then remove the cover
7. Wipe the outside of the fuel filter housing clean, then place a suitable container under the drain plug at the base of the housing (figure 4.7). If necessary, connect a short piece of hose to the drain connection on the housing so that you can direct the fuel flow into a container (on some models the hose may be installed during manufacturing).
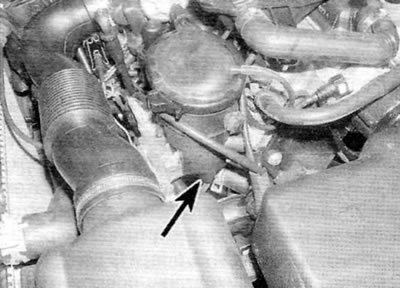
Figure 4.7. Location of the fuel filter drain plug (1.9 l engines DW series)
8. Open the drain plug by turning it counterclockwise. Operate the priming pump on the side of the filter housing to initiate the draining of fuel and condensate. Continue until clean fuel comes out of the hose. Close the drain plug and tighten it securely.
9. Dispose of drained fuel properly.
10. Install the engine cover and start the engine. If difficulties arise, fill the fuel system (see chapter 4B).
(Material copied from the resource Peugeotbook.ru)
2.0L engines
Warning. Be sure to follow the prescribed intervals for draining condensate from the fuel filter. The high pressure fuel injection system is particularly susceptible to the presence of water in the fuel, as this can cause sticking of the injectors and/or the high pressure fuel pump. As a result, the engine is destroyed either due to the "blowtorch effect" when the injectors stick in the open position, or due to a ruptured timing belt caused by a jammed pump.
Note: After each draining procedure, be sure to replace the drain plug and the corresponding sealing ring. Finally, fill the fuel system (see chapter 4B) and check for signs of leaks in the drain plug after starting the engine.
11. Release the fasteners by turning them a quarter of a turn and remove the engine cover (figure 4.11, a, b).
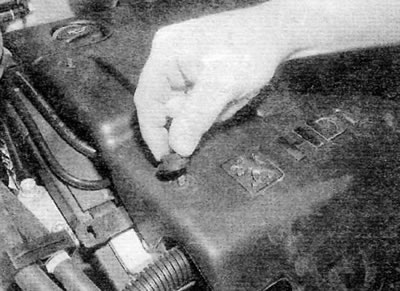
Figure 4.11, a. Release the clamps by turning them a quarter turn...
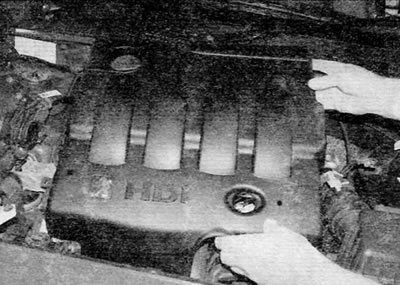
Figure 4.11, b....and remove the engine cover
12. Cover the clutch housing with a rag to protect it from leaking fuel.
13. Wipe the outside of the filter housing clean, then place a suitable container under the drain plug at the base of the housing (figure 4.13). If necessary, connect a short piece of hose to the drain connection on the housing so that you can direct the fuel flow into a container (on some models the hose may be installed during manufacturing).
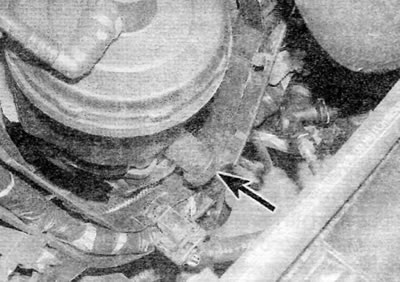
Figure 4.13. Location of the fuel filter drain plug (2.0 L engines)
14. Unscrew the drain plug and allow the contents of the filter housing to drain into a container. Please note that you may need to loosen one of the fuel hose fittings on the filter housing cover to allow fuel to drain. Discard the drain plug and its corresponding sealing ring.
15. After draining the housing, screw in a new drain plug and install the sealing ring. Tighten the drain plug and, if necessary, connect the hose fitting to the housing cover, making sure it is properly connected.
16. Move the container aside and remove the hose (if applicable). Wipe up all traces of spilled fuel and remove with a rag.
17. Dispose of drained fuel properly.
18. Fill the fuel system (see chapter 4B) and install the engine cover.