
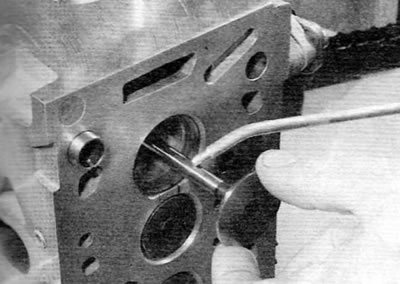
Pic. 9.1. Lubricate valve stems before installing them
2. Working with the first valve, install the lower spring plate. Then dip the new valve stem seal into fresh engine oil and then, using a suitable socket, carefully fit it onto the valve stem and guide sleeve. Be careful not to damage the cap when fitting it over the valve stem. Use a suitable socket or a piece of pipe with machined ends to fit the flinger cap onto the guide bushing (pic. 9.2).
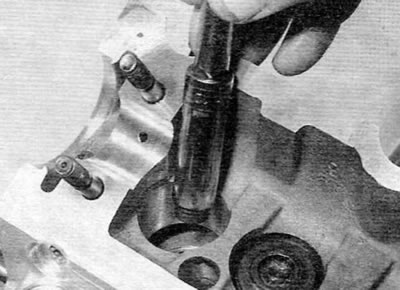
Pic. 9.2. Installing the valve stem seal using a socket
3. Install the valve spring on the lower poppet, and then install the upper spring poppet.
4. Compress the valve spring and insert the cotters into the groove on the valve stem. Remove the spring compressor and repeat the procedure for the rest of the valves.
Advice. Use grease to keep cotters on the valve stem when removing the spring compressor.
5. After installing all the valves, lay the cylinder head sideways on a workbench, take a hammer and, through an intermediate block of wood, lightly tap on the end of the rod of each valve. This will allow the elements to take a stable position.
6. Install the camshaft (s), valve levers and shims or hydraulic tappets (whichever is applicable), as described in chapter 2B or 2B.
7. You can then install the cylinder head as described in chapter 2B or 2B or in paragraph 5 this chapter (whichever is applicable).