



Table of contents: Removal 🠇 Installation 🠇
Note: The layout of the battery shelf and support plate varies significantly depending on the model and year. Below are procedures for typical configurations that may be encountered.
Removal
1. Remove the battery as described in paragraph 4.
2. If necessary, remove the air filter and air intake duct components to gain access to the battery tray (see the relevant part of Chapter 4).
3. On models with the electronic engine control unit located at the end of the battery tray, remove the cover and disconnect the electrical connector from the electronic engine control unit. Alternatively, remove the electronic engine control unit support plate bolts and separate the support plate from the battery tray.
(Information copied from the resource: www.PEUGEOTBOOK.ru)
4. Release all associated wiring harness clips from the battery tray and remove the battery tray from the engine compartment.
5. To remove the support plate, unscrew the bolts securing the support plate to the top of the left engine/gearbox mount (figure 5.5).
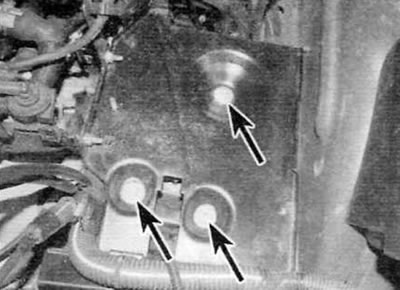
Figure 5.5. Remove the bolts (marked with arrows) fastening the backing plate to the top of the engine/gearbox mount
6. On diesel models, remove the nuts and bolts and remove the vacuum reservoir and solenoids from the side of the support plate (figure 5.6).
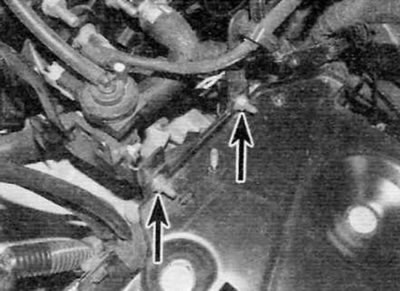
Figure 5.6. On diesel models, loosen the nuts and remove the bolts (marked with arrows) and remove the vacuum reservoir and solenoid valves from the backing plate
7. On later models with the 2.0L diesel engine, release the relay box from the front of the backing plate (figure 5.7).
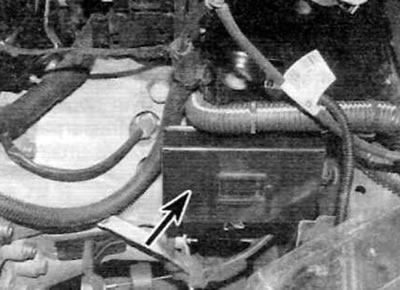
Figure 5.7. On later models with a 2.0L diesel engine, release the relay box (marked with an arrow) from the front of the support plate
8. Release all additional clamps and remove the backing plate from the engine compartment.
Installation
9. Installation is carried out in the reverse order of removal. Tighten the backing plate mounting bolts securely.