



Table of contents: Steering mechanism 🠇 Front and rear suspension and wheel…🠇 Springs and shock absorbers 🠇 Driveshafts (fwd vehicles only) 🠇 Braking system 🠇 Fuel and exhaust systems 🠇 Wheels and tyres 🠇 Body corrosion 🠇
Jack up the front and rear of the vehicle, and securely support it on axle stands. Position the stands clear of the suspension assemblies. Ensure that the wheels are clear of the ground and that the steering can be turned from lock to lock.
Steering mechanism
- Have your assistant turn the steering from lock to lock. Check that the steering turns smoothly, and that no part of the steering mechanism, including a wheel or tyre, fouls any brake hose or pipe or any part of the body structure.
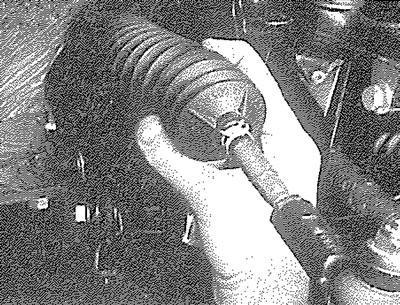
- Examine the steering rack rubber gaiters for damage or insecurity of the retaining clips. If power steering is fitted, check for signs of damage or leakage of the fluid hoses, pipes or connections. Also check for excessive stiffness or binding of the steering, a missing split pin or locking device, or severe corrosion of the body structure within 30 cm of any steering component attachment point.
Front and rear suspension and wheel bearings
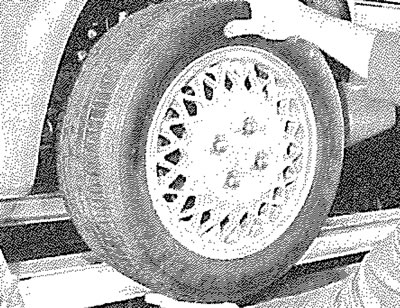
- Starting at the front right-hand side, grasp the roadwheel at the 3 o'clock and 9 o'clock positions and rock gently but firmly. Check for free play or insecurity at the wheel bearings, suspension balljoints, or suspension mountings, pivots and attachments.
- Now grasp the wheel at the 12 o'clock and 6 o'clock positions and repeat the previous inspection. Spin the wheel, and check for roughness or tightness of the front wheel bearing.
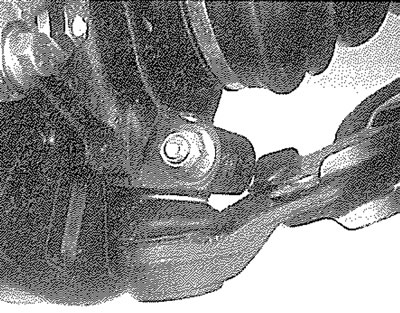
- If excess free play is suspected at a component pivot point, this can be confirmed by using a large screwdriver or similar tool and levering between the mounting and the component attachment. This will confirm whether the wear is in the pivot bush, its retaining bolt, or in the mounting itself (the bolt holes can often become elongated).
- Carry out all the above checks at the other front wheel, and then at both rear wheels.
Springs and shock absorbers
- Examine the suspension struts (when applicable) for serious fluid leakage, corrosion, or damage to the casing. Also check the security of the mounting points.
- If coil springs are fitted, check that the spring ends locate in their seats, and that the spring is not corroded, cracked or broken.
- If leaf springs are fitted, check that all leaves are intact, that the axle is securely attached to each spring, and that there is no deterioration of the spring eye mountings, bushes, and shackles.
- The same general checks apply to vehicles fitted with other suspension types, such as torsion bars, hydraulic displacer units, etc. Ensure that all mountings and attachments are secure, that there are no signs of excessive wear, corrosion or damage, and (on hydraulic types) that there are no fluid leaks or damaged pipes.
- Inspect the shock absorbers for signs of serious fluid leakage. Check for wear of the mounting bushes or attachments, or damage to the body of the unit.
Driveshafts (fwd vehicles only)
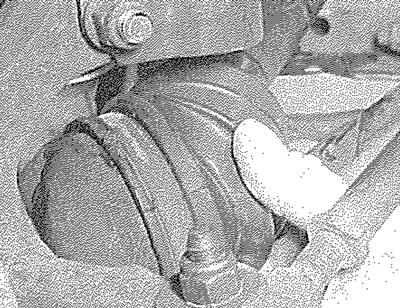
- Rotate each front wheel in turn and inspect the constant velocity joint gaiters for splits or damage. Also check that each driveshaft is straight and undamaged.
Braking system
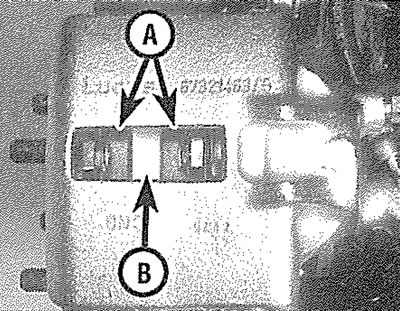
- If possible without dismantling, check brake pad wear and disc condition. Ensure that the friction lining material has not worn excessively, (A) and that the discs are not fractured, pitted, scored or badly worn (B).
- Examine all the rigid brake pipes underneath the vehicle, and the flexible hose at the rear. Look for corrosion, chafing or insecurity of the pipes, and for signs of bulging under pressure, chafing, splits or deterioration of the flexible hoses.
- Look for signs of fluid leaks at the brake calipers or on the brake backplates. Repair or renew leaking components.
- Slowly spin each wheel, while your assistant depresses and releases the footbrake. Ensure that each brake is operating and does not bind when the pedal is released.
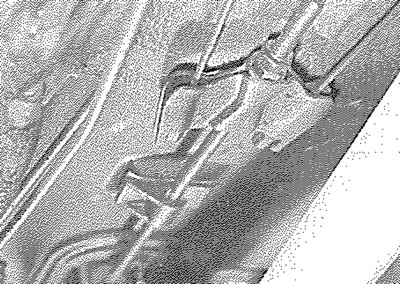
- Examine the handbrake mechanism, checking for frayed or broken cables, excessive corrosion, or wear or insecurity of the linkage. Check that the mechanism works on each relevant wheel, and releases fully, without binding.
- It is not possible to test brake efficiency without special equipment, but a road test can be carried out later to check that the vehicle pulls up in a straight line.
Fuel and exhaust systems
- Inspect the fuel tank (including the filler cap), fuel pipes, hoses and unions. All components must be secure and free from leaks.
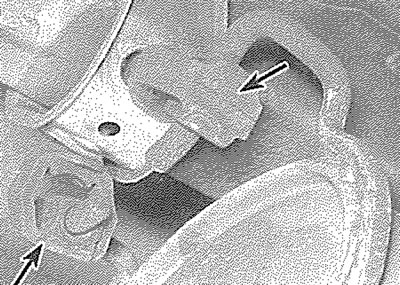
- Examine the exhaust system over its entire length, checking for any damaged, broken or missing mountings, security of the retaining clamps and rust or corrosion.
Wheels and tyres
- Examine the sidewalls and tread area of each tyre in turn. Check for cuts, tears, lumps, bulges, separation of the tread, and exposure of the ply or cord due to wear or damage. Check that the tyre bead is correctly seated on the wheel rim, that the valve is sound and properly seated, and that the wheel is not distorted or damaged.
- Check that the tyres are of the correct size for the vehicle, that they are of the same size and type on each axle, and that the pressures are correct.
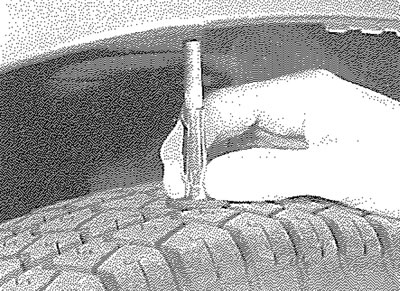
- Check the tyre tread depth. The legal minimum at the time of writing is 1.6 mm over at least three-quarters of the tread width. Abnormal tread wear may indicate incorrect front wheel alignment.
Body corrosion
- Check the condition of the entire vehicle structure for signs of corrosion in load-bearing areas. (These include chassis box sections, side sills, cross-members, pillars, and all suspension, steering, braking system and seat belt mountings and anchorages.) Any corrosion which has seriously reduced the thickness of a load-bearing area is likely to cause the vehicle to fail. In this case professional repairs are likely to be needed.
- Damage or corrosion which causes sharp or otherwise dangerous edges to be exposed will also cause the vehicle to fail.