



Table of contents: Ignition systems incorporating a…🠇 Static (distributoriess) ignition…🠇
Warning: Voltages produced by an electronic ignition system are considerably higher than those produced by conventional ignition systems. Extreme care must be taken when working on the system with the ignition switched on. Persons with surgically-implanted cardiac pacemaker devices should keep well clear of the ignition circuits, components and test equipment.
1. The ignition system components should be checked for damage or deterioration as described under the relevant sub-heading.
Ignition systems incorporating a distributor
General component check
2. The spark plug (HI) leads should be checked whenever new spark plugs are fitted.
3. Ensure that the leads are numbered before removing them, to avoid confusion when refitting. Pull the leads from the plugs by gripping the end fitting, not the lead, otherwise the lead connection may be fractured.
4. Check inside the end fitting for signs of corrosion, which will look like a white crusty powder. Push the end fitting back onto the spark plug, ensuring that it is a tight fit on the plug. If not, remove the lead again and use pliers to carefully crimp the metal connector inside the end fitting until it fits securely on the end of the spark plug.
5. Using a clean rag, wipe the entire length of the lead to remove any built-up dirt and grease. Once the lead is clean, check for burns, cracks and other damage. Do not bend the lead excessively, nor pull the lead lengthwise - the conductor inside might break.
6. Disconnect the other end of the lead from the distributor cap. Again, pull only on the end fitting. Check for corrosion and a tight fit in the same manner as the spark plug end. If an ohmmeter is available, check the resistance of the lead by connecting the meter between the spark plug end of the lead and the segment inside the distributor cap. Refit the lead securely on completion.
7. Check the remaining leads one at a time, in the same way.
8. If new spark plug (HT) leads are required, purchase a set for your specific car and engine.
9. Unscrew its retaining screws and remove the distributor cap. Wipe it clean, and carefully inspect it inside and out for signs of cracks, black carbon tracks (tracking) and worn, burned or loose contacts; check that the cap's carbon brush is unworn, free to move against spring pressure, and making good contact with the rotor arm. Also inspect the cap seal for signs of wear or damage, and renew if necessary. Remove the rotor arm from the distributor shaft and inspect the rotor arm (see illustration). It is common practice to renew the cap and rotor arm whenever new spark plug (HT) leads are fitted. When refitting, ensure that the arm is securely pressed onto the shaft, and tighten the cap retaining screws securely.
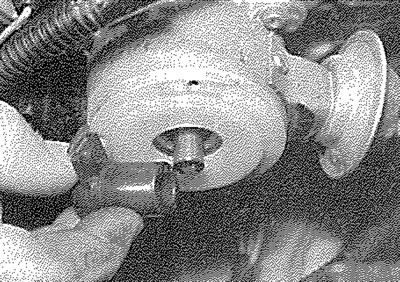
13.9. The rotor arm is a push fit on the distributor shaft (1360 cc model shown)
10. Even with the ignition system in first-class condition, some engines may still occasionally experience poor starting attributable to damp ignition components. To disperse moisture, a water-dispersant aerosol can be very effective.
Ignition timing - check and adjustment
11. Check the ignition timing as described in Chapter 5B.
Static (distributoriess) ignition systems
General component check
12. Check the condition of the HT leads (where applicable) as described above in paragraphs 3 to 8.
Ignition timing - check and adjustment
13. Refer to Chapter 5B.