



2. To gain access to the spark plugs on later 8-valve engines, and all 16-valve engines, remove the ignition coil module as described in Chapter 5B.
3. On early 8-valve engines, if the marks on the original-equipment spark plug (HT) leads cannot be seen, mark the leads "1" to "4", to correspond to the cylinder the lead serves (No 1 cylinder is at the transmission end of the engine). Pull the leads from the plugs by gripping the end fitting, not the lead, otherwise the lead connection may be fractured.
4. On certain models, to further improve access to some of the plugs, it may be necessary to remove the air inlet ducting (refer to the relevant Part of Chapter 4 for further information).
5. It is advisable to remove the dirt from the spark plug recesses using a clean brush, vacuum cleaner or compressed air before removing the plugs, to prevent dirt dropping into the cylinders.
6. Unscrew the plugs using a spark plug spanner, suitable box spanner or a deep socket and extension bar (see illustration). Keep the socket aligned with the spark plug -if it is forcibly moved to one side, the ceramic insulator may be broken off. As each plug is removed, examine it as follows.
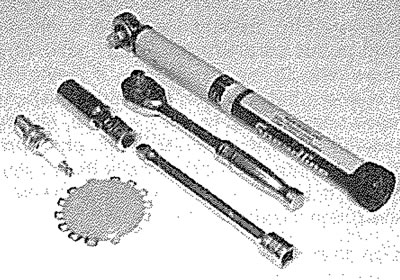
9.6. Tools required for spark plug removal, gap adjustment and refitting
7. Examination of the spark plugs will give a good indication of the condition of the engine. If the insulator nose of the spark plug is clean and white, with no deposits, this is indicative of a weak mixture or too hot a plug (a hot plug transfers heat away from the electrode slowly, a cold plug transfers heat away quickly).
8. If the tip and insulator nose are covered with hard black-looking deposits, then this is indicative that the mixture is too rich. Should the plug be black and oily, then it is likely that the engine is fairly worn, as well as the mixture being too rich.
9. If the insulator nose is covered with light tan to greyish-brown deposits, then the mixture is correct and it is likely that the engine is in good condition.
10. The spark plug electrode gap is of considerable importance as, if it is too large or too small, the size of the spark and its efficiency will be seriously impaired.
Note: Spark plugs with multiple earth electrodes are becoming an increasingly common fitment, especially to vehicles equipped with catalytic converters. Unless there is clear information to the contrary, no attempt should be made to adjust the plug gap on a spark plug with more than one earth electrode.
11. To set the gap, measure it with a feeler blade, and then bend open, or closed, the outer plug electrode until the correct gap is achieved (see illustration). The centre electrode should never be bent, as this may crack the insulator and cause plug failure, if nothing worse. If using feeler blades, the gap is correct when the appropriate-size blade is a firm sliding fit.
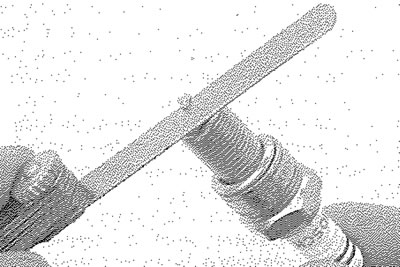
9.11. Measuring the spark plug gap with a feeler blade
12. Special spark plug electrode gap adjusting tools are available from most motor accessory shops, or from spark plug manufacturers (see illustration).
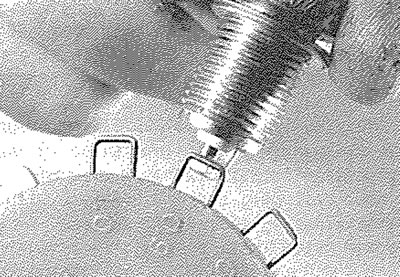
9.12. Measuring the spark plug gap with a wire gauge
13. Before fitting the spark plugs, check that the threaded connector sleeves are tight, and that the plug exterior and threads are clean.
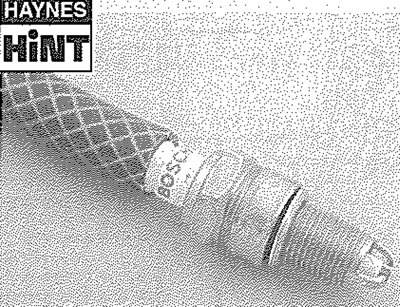
It is very often difficult to insert spark plugs into their holes without crossthreading them. To avoid this possibility, fit a short length of 5/16 inch internal diameter rubber hose over the end of the spark plug. The flexible hose acts as a universal joint to help align the plug with the plug hole. Should the plug begin to cross-thread, the hose will slip on the spark plug, preventing thread damage to the cylinder head.
14. Remove the rubber hose (if used), and tighten the plug to the specified torque using the spark plug socket and a torque wrench. Refit the remaining spark plugs in the same manner.
15. Reconnect the HT leads in the correct order, or refit the ignition coil unit (Chapter 5B) then refit any remaining components disturbed for access.