



Attention! The automatic transmission is sealed, so for this operation it is not necessary to drain the working fluid from the transmission.
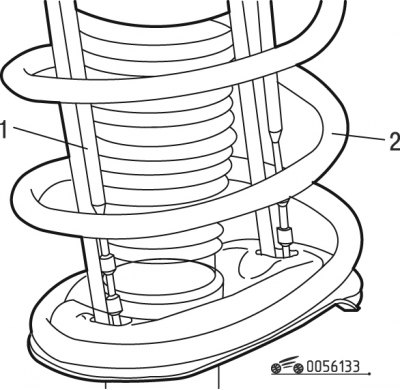
Figure 6.133. Installing the spring retaining rods: 1 - traction; 2 - spring
- install on both sides of the rod 1 (figure 6.133), retaining springs 2 shock absorber strut;
- loosen the tightening torque of the front wheel mounting bolts;
- raise the car on a lift and remove the front wheels;
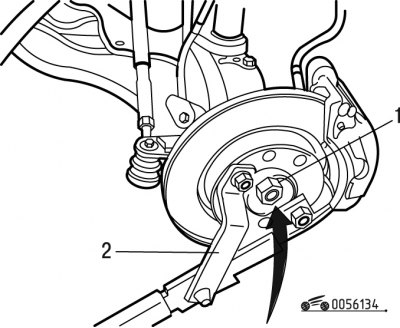
Figure 6.134. Unscrewing the front wheel drive mounting nut: 1 - nut; 2 - device
- using tool 2 (figure 6.134) lock the wheel hub and unscrew the nut 1;
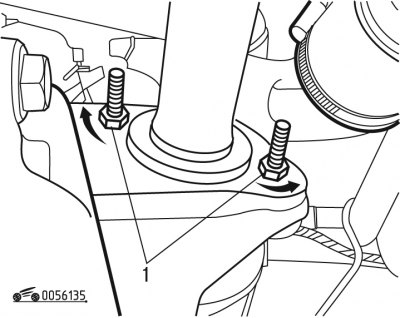
Figure 6.135. Unscrewing the intermediate support nuts: 1 - nuts
- on the right side, unscrew the nuts 1 (figure 6.135) and turn the bolts 90°;
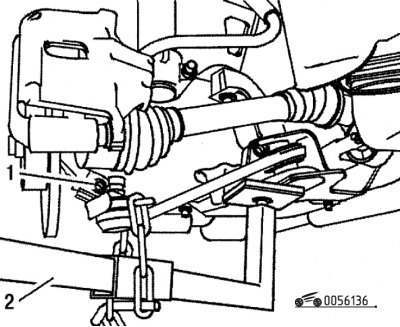
Figure 6.136. Disconnecting the ball joint from the steering knuckle: 1 - bolt; 2 - device
- unscrew bolt 1 (figure 6.136) ball joint mounts;
- remove the ball joint using tool 2, fixing the lower arm in the lower position;
- turn the wheels all the way to the right;
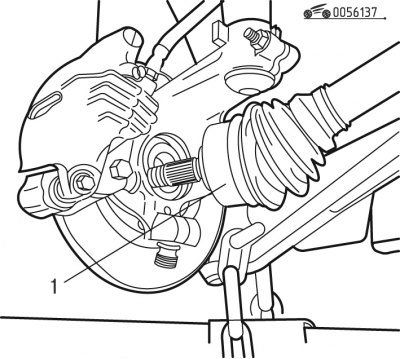
Figure 6.137. Removing the wheel drive: 1 - outer CV joint
- remove the splined tailpiece of the outer joint 1 (figure 6.137) from the wheel hub and remove the wheel drive shaft from the gearbox;
- repeat similar operations on the left side, except for the operations with the intermediate support, turning the wheels all the way to the left.
Information posted on the website peugeotbook
Install the front wheel drive in the following order:
1) check:
- no play in the hinges;
- condition of the corrugations of the mudguards;
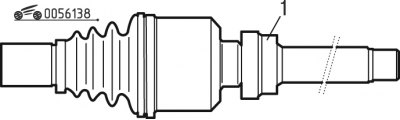
Figure 6.138. Inner joint with bearing: 1 - bearing
- bearing condition 1 (figure 6.138);
2) clean and lubricate the wheel hub splines and the outer joint tailpiece splines with grease;
3) lubricate the splines of the drive shaft on the gearbox side and the splines of the differential gears;
4) lubricate the outer ring of bearing 1 and its seat in the lower right engine support with consistent grease;
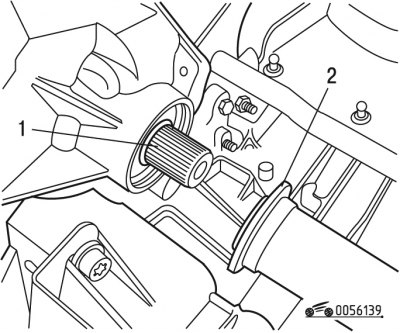
Figure 6.139. Checking the presence of the sealing ring: 1 - sealing ring; 2 - shaft
5) check the presence and condition of the sealing ring 1 (figure 6.139);
6) Complete the installation of the wheel drives in the reverse order of removal.